Generating Some Patina
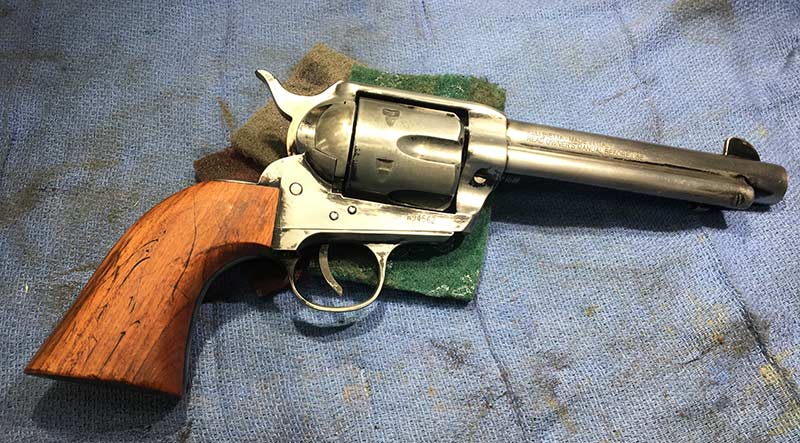
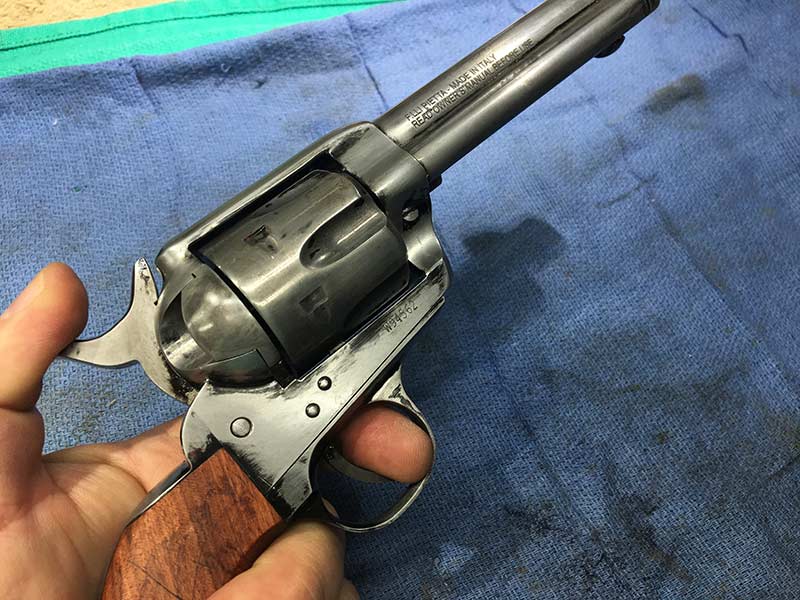
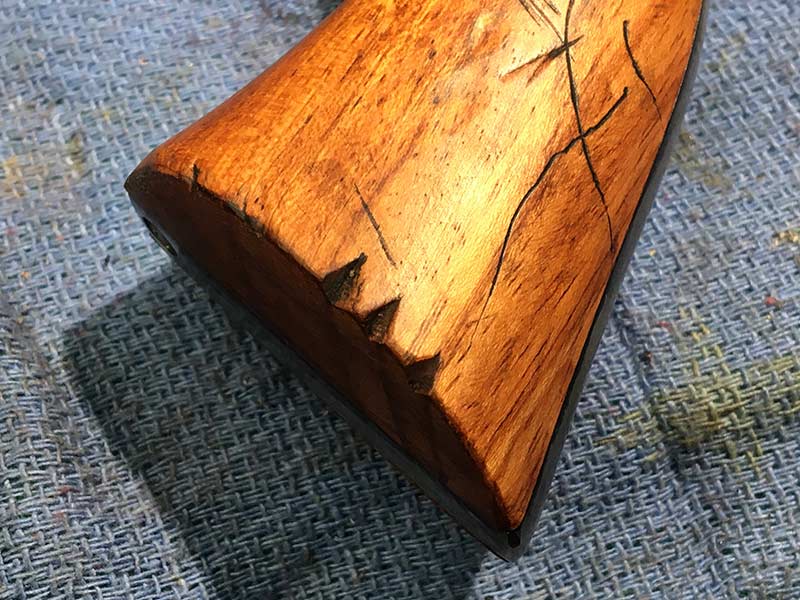
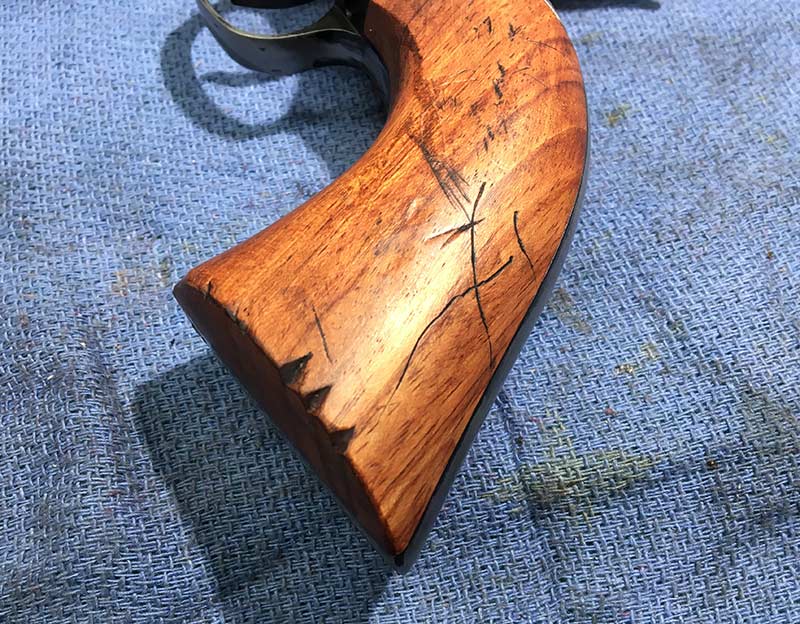
The final look. Note the “notches” on the grip bottom and finish left in
the nooks and crannies like a real worn gun.
It’s funny, but to many people — including me — a “cowboy” gun just doesn’t look right unless it has a certain patina. Finish wear, stained grips, shiny edges, nicks, scratches and even some rust pits make any “new-old” gun look like it’s been there, done that. But it’s easy to forget when the west was “new” — so were the guns. Keep in mind, the entire history of the Old West as we think about it was only about 25 years. Say, from 1865 to about 1890 was the heyday, and then civilization set in and the heady days of desperados and Indian fights were pretty much over.
During that time a new Colt SAA or ’73 Winchester was as pretty as anything you’d see out of Colt today or Turnbull’s custom shop. Jump online and look at the minty guns for sale at auction sites and you’ll see what looks like new guns, just as they appeared in the rack at the local dry-goods store in 1875. Even old-time photos show clean, sharp-looking cowboys posing with obviously shiny new guns. What we think of as “real” cowboy guns are 150-year-old antiques, with suitable patina from being exposed to neglect, rust and abuse — for 150 or more years!
But it is what it is, and while I’d never “age” a new Colt or Winchester or some other collectible, there’s plenty of very affordable “cowboy” guns around to have some fun with. So herewith is a sort of brief how-to if you’d like to make your favorite modern revolver — or auto — into a “real” Old West gun. Take some time to troll the internet and look at old guns and how they’ve worn. Look at old tools, old cars, see how the handles wear on things, how an old pot or pan looks. There’s secrets there and you can put what you learn to good use. Oh, also, feel free to file off the original maker’s name if it’s too obvious and takes away from the game — or those silly “Read the manual” markings. Just don’t try to fool anyone “too good” here, if you know what I mean.
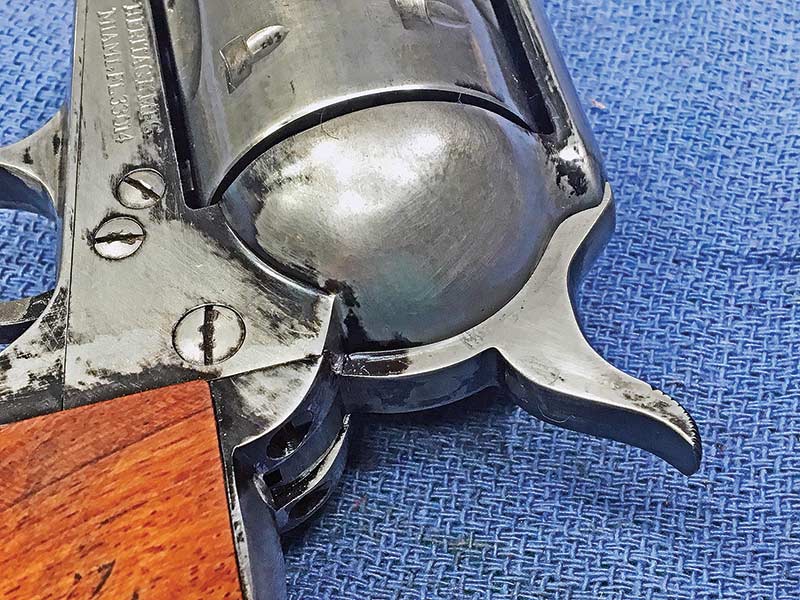
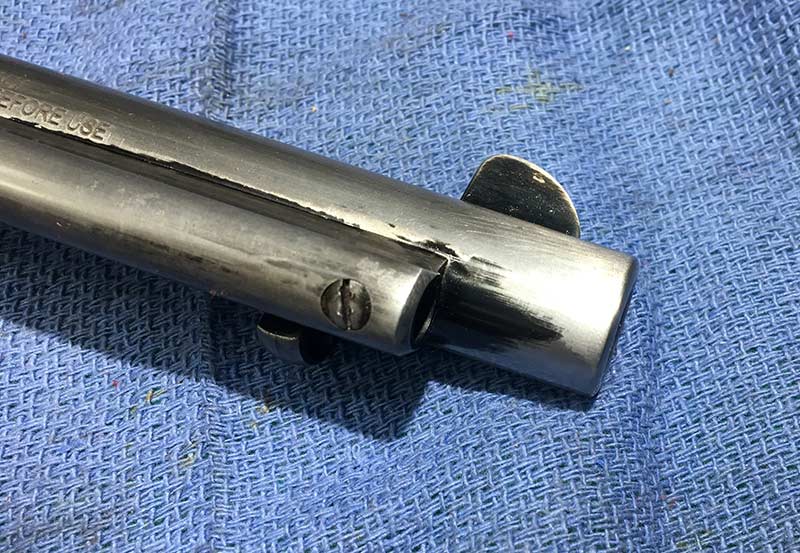
Note the bunged-up screw heads and lack of finish where it’d rub on holsters,
hands and stuff. Now the “old” gun is the “panacheiest” of ’em all.
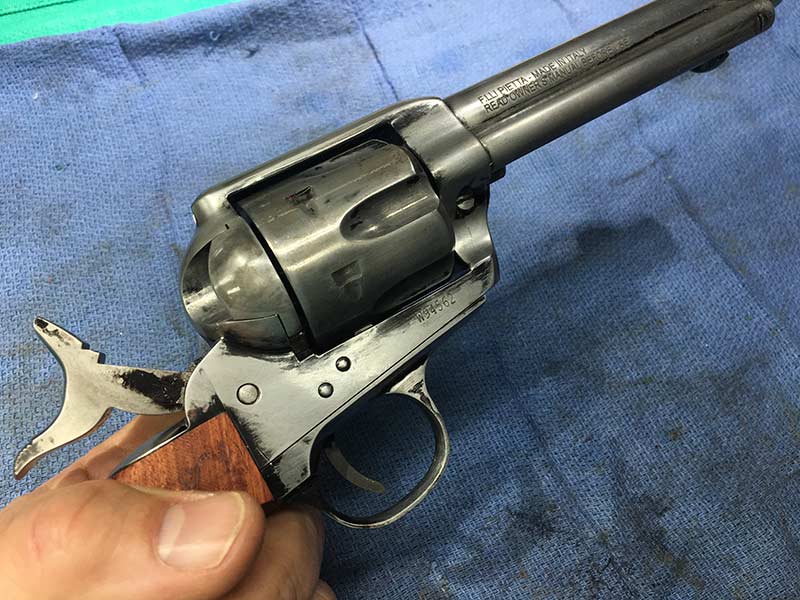
Now we’re talking. Plenty of “honest” wear is evident, along with stock abuse
and dark “oil-stained” areas around the metal. The stories it could tell!
Fun Part
I have a dear friend who saw a Rossi 92 I have I did the “patina” dance to and he dearly needed one too. He supplied me with a brand-new current Rossi 92 and I went to work on it. His charming wife also snuck me a Heritage SAA in .45 Colt to surprise him with. Keep in mind there’s little right or wrong here, just do it a bit at a time so you don’t get into too much trouble.
First off, get the rifle stock or grips off. I like to remove the shiny finish and if the stain is “walnut” I like to change that to a more reddish finish like the old Winchesters. “Home Depot” stain works fine, just get a color you like. You don’t need to do it though. Then I use a bit of kinda’ heavy chain and whack the stock or grips some, leaving good dents. Use a pipe wrench if you want. Scratch some marks, put some sharper dents and dings around and maybe even drag it along the rocky dirt a bit. Depends on how “worn” you want it. Playing fetch with the pooch can add some interesting marks. “But hey, no chewing!”
Then put the wood on the rifle and the grips on the handgun. Remember, guns “wear” with the wood or grips in place, so “age” it that way. You’ll find the creases and crevices, nooks and crannies will keep some finish on a “real” old gun, so yours should look the same. To get off old finish it depends on the finish. Some bluing — isn’t — it’s more like paint, so I like to “wear” this using a “Scotchbrite” type pad. Get three or four grits, finishing with the finest. Rub over everything and you’ll begin to see what’s happening. The high spots get worn, like real wear. For bluing, you can do the same thing, or any rust remover can help out, and Birchwood Casey makes a dedicated one. Go slowly and use it sparingly with Q-Tips and small patches. You don’t want it all gone — just some. I like to ding up the screw slots too using a badly fitted screwdriver. Bang the metal bits of the gun on a vise or something and drag ’em in the rocky dirt some too. Have fun. I’ve been known to wet the bare metal down and let it sit outside for a week or two to rust, then rub this out some. You’ll get the hang of it. I know all this goes against everything you feel about a “new” gun — but be brave.
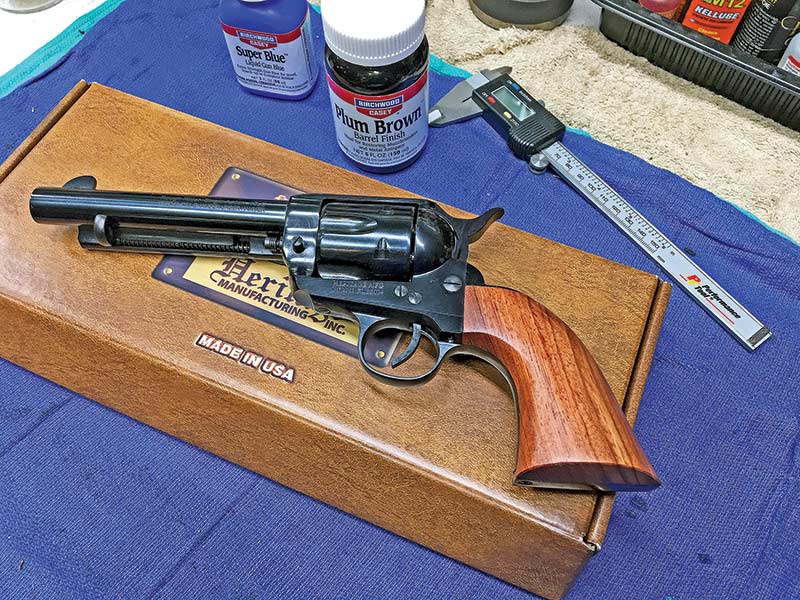
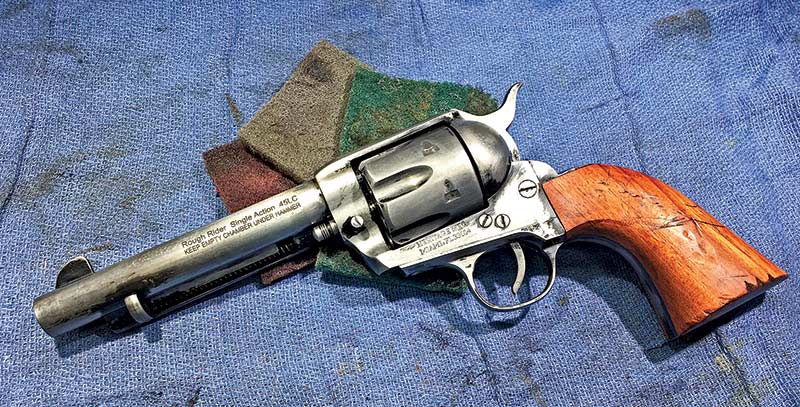
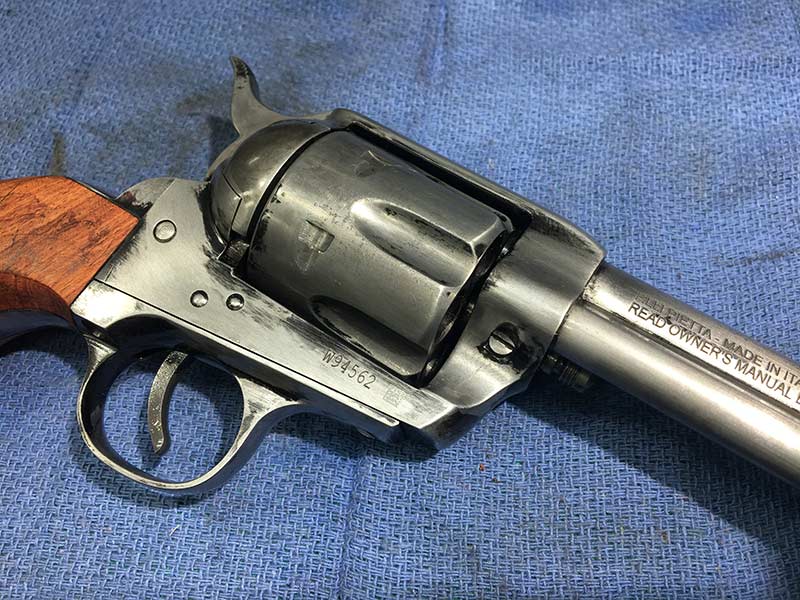
The Heritage Big Bore (.45 Colt) SA before we made it have a bit more panache.
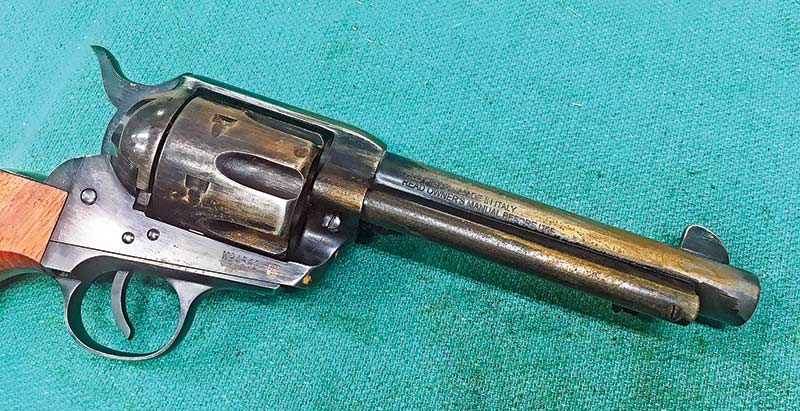
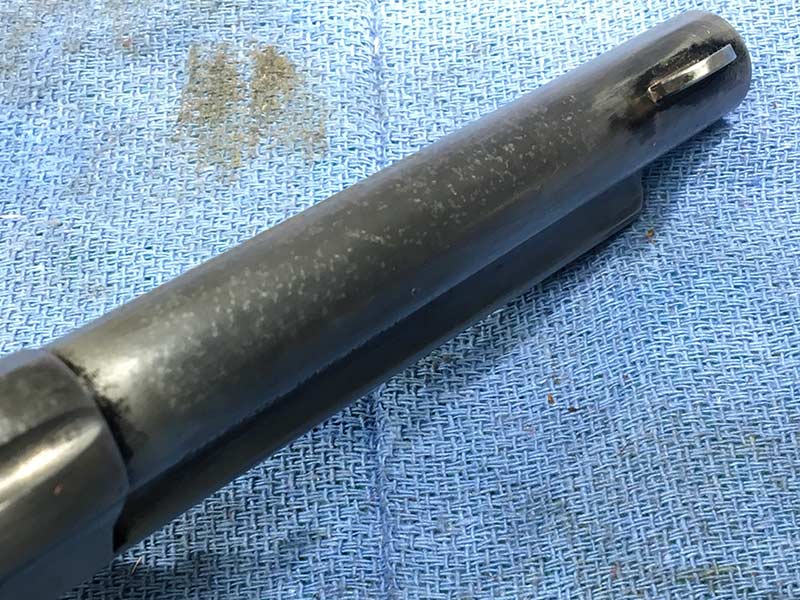
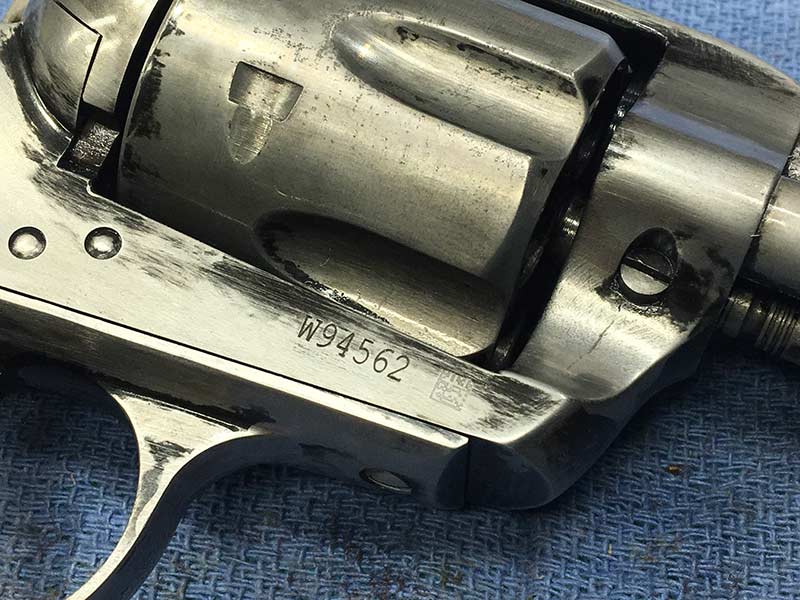
At this point, I had some of the finish off using Birchwood Casey blue remover, had wet it
and was letting it rust-up for a few days. I was using the Scotchbrite pads to blend and
soften the look of the finish too.
Then What?
Once the wood is “old” and the metal’s been abused and the finish “worn” all the edges should be looking about right. Feel free to “wear” the muzzle edges, front of the cylinder, edges on the rifle’s steel, etc. Once you have it “about right” a once-over with 00 to 0000 steel wool sort of blends things nicely, even on the wood. I like to rub old black dirty grease into the stock around the action and in most of the deeper nicks. I just rub my finger on my tractor’s axle, hit the spots, then wipe the wood good and hard with a rag to just leave the black in the pits.
My friend was delighted with the rifle and surprised with the “old” SAA with it. He’s pronounced them his “favorite” guns now (from a man with some pretty fancy guns) and said, “I just can’t put them down! I keep working the actions and my brain fills with stories to go with how they got all that history on them!”
When people see my own “old” Rossi Model 92 their eyes always light up as they reach to hold it. “Wow, what a great old Winchester. What’s the story behind it?”
“Well Pilgrim,” I say, “me and the boys had been riding hard when we stumbled onto the gang … but they didn’t give up easy, if you get my drift …”
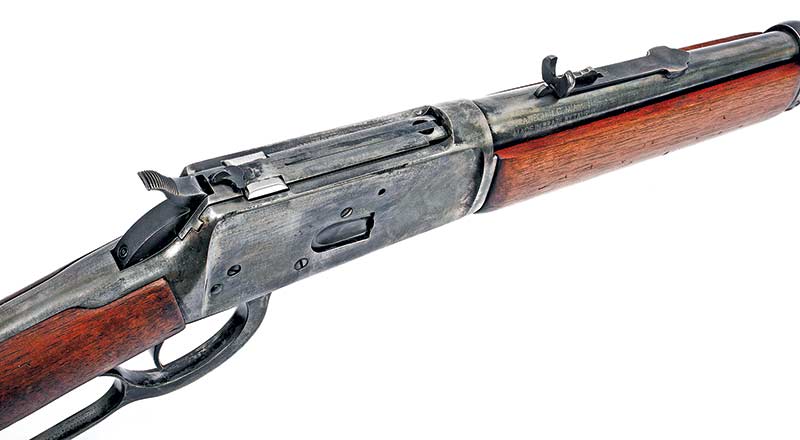
Here’s a bunch of extra photos I had from the process. We didn’t have much room in the magazine, so there might be ideas or things you see which will answer questions you might have in your mind’s eye! They pretty much show different progressive steps in the process of aging the handgun and one shot of the “finished” rifle with patina. I hope you enjoy it, and do your own too.
If you have any questions, drop me a note at [email protected] and I’ll get back to you.


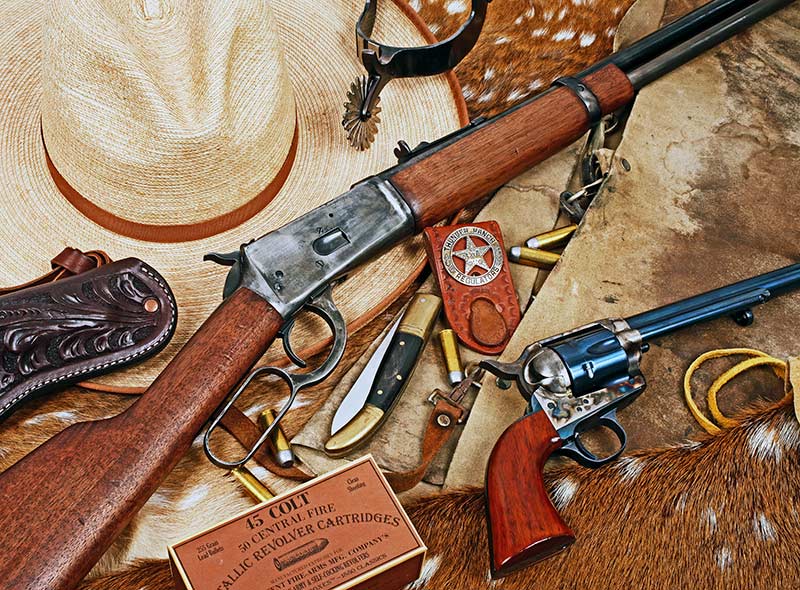
Proof if you put the “aged” cowboy gun in the right location it looks right at home.
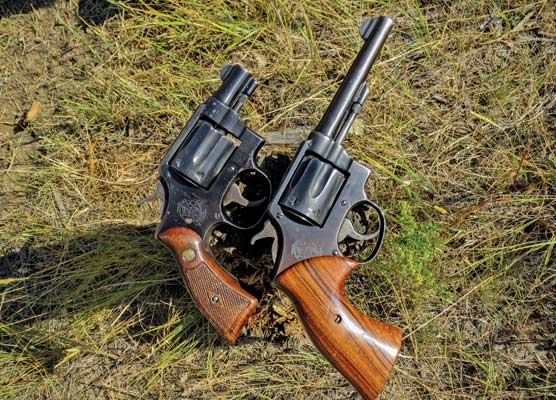
That pretty single action there didn’t get any artificial aging and is an older Italian clone Roy has.