Upgrade Those Factory Sights!
Tips and Tricks for a Pro Installation
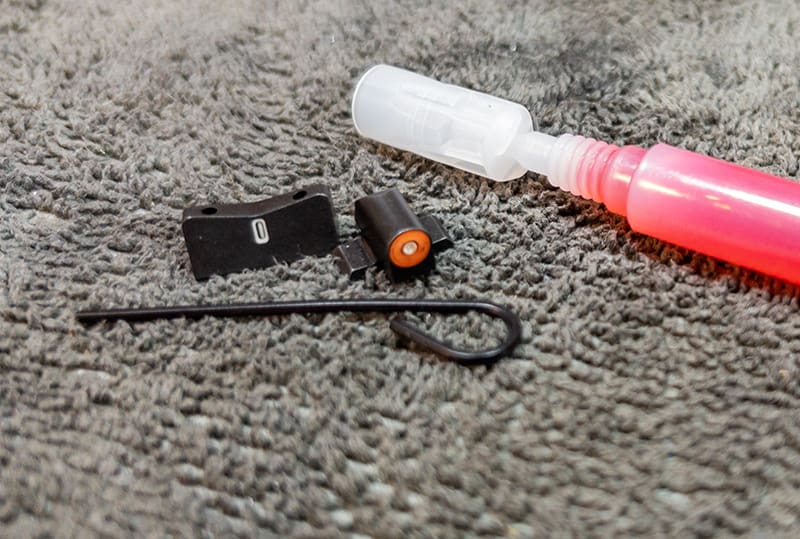
Here’s what we’re installing — XS DXT2 Big Dot Night Sights.
They come with red Loctite and a tool for rear sight adjustment and anchoring.
My eyes ain’t what they used to be. Close things are getting blurrier. More importantly, as a handgun shooter, they’re slower. It takes my eyes longer to adjust to a sight picture these days. I can still shoot traditional post and notch iron sights just fine, but after installing a set of XS DXT2 Big Dot sights on a Smith & Wesson M&P 2.0 pistol, I’m moving more pistols, en masse, to this solution.
They’re fast. Scary fast. That huge dot leaps into view when you raise the gun and settles right into a shallow V-notch sitting atop a vertical white bar, with or without a Tritium insert, depending on which model of sights you choose.
The nifty thing is you can install these sights at home using nothing more than hand tools. Here, we’re gonna show you how. Buckle up and hang on while we walk you through the tips and tricks of uninstalling your existing sights and adding new ones.
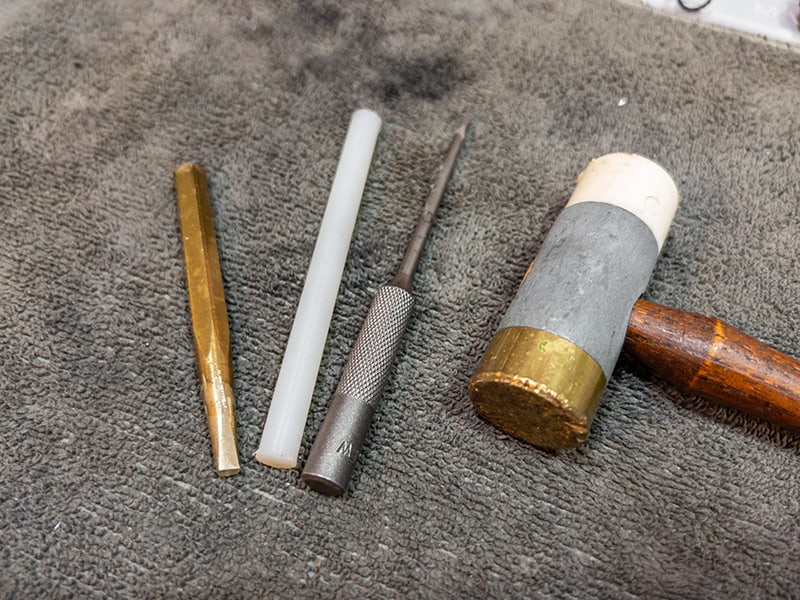
Escalation of force is a good thing when using punches to knock out old or install new sights.
The nylon in the center is softest, followed by brass (left) and steel only if needed (right.)
Escalation of Force
For geopolitical affairs, escalation is generally a bad thing. For removing existing handgun sights, escalation is the way to go. If you have a sight pusher, fine, start with that. But if your plans include upgrading just one set of sights over the next year, a pusher purchase may not be economically feasible.
I like to start with the kindest and gentlest tools to drift out old sights. You can get multi-packs of nylon “punches” from Brownells. These are about the size of hot glue gun sticks but far sturdier. The “plastic” construction won’t harm sights, barrels or slides. They’re great for installing new sights, but sometimes you get lucky, and they’ll be sturdy enough to knock out an existing sight.
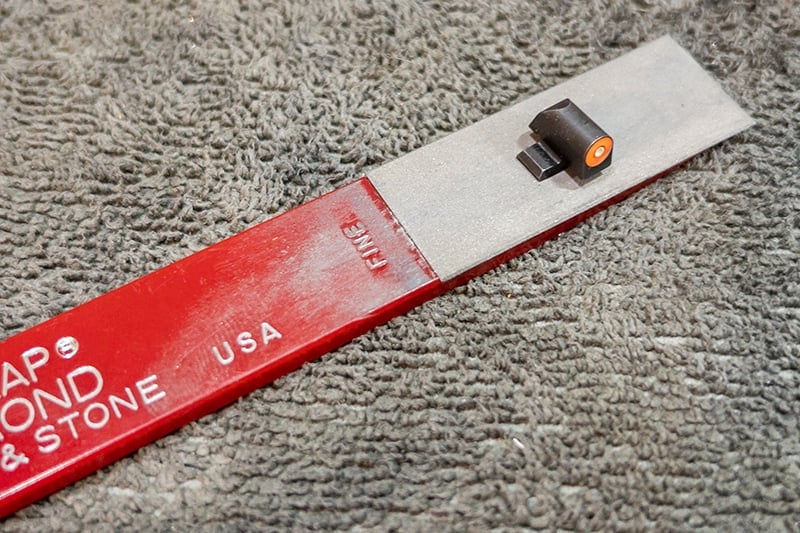
If nylon fails, it’s time for brass. Like nylon, the brass is softer than steel and won’t gouge gun parts. It will make marks, but here’s a pro tip to remove those cosmetic scars. Use a bluing pen — the “gold” discoloration will wipe right off.
Some sights, and I’m looking at you Springfield Armory XD-family pistols, are jammed into place using all 16 engines of NASA’s crawler-transporter. Don’t get me wrong; it’s a good thing these sights are near-permanently cemented into place; it’s just tough to remove them should you want to upgrade. For tough sight removal, you may need a steel punch. Do yourself a favor. Spend a few minutes making one to fit. I’ve taken old, broken punches and, with a grinding wheel, file, and emery cloth, shaped them to have a flat end a bit narrower than dovetail channels. This allows you to get good contact between the sight base and punch. Try to avoid pounding on the sight housing itself; otherwise, you’re likely to break it. Whenever possible, apply force to the sight base only.
With good punch contact, use a heavier hammer and, rather than a timid, multi-strike approach, commit to the operation with a solid whack. You may have better luck getting an old sight moving with one authoritative blow than a series of lesser ones.
The last resort is… cutting. Sometimes, thankfully rarely, you may need to cut an old sight to get it out. Using a Dremel cut-off wheel, make a perpendicular cut to the slide in the center of the old sight. Be very careful not to cut all the way through — you can leave part of the sight base intact — so you don’t touch the slide surface. This “notch approach” will free up space for the front and back of the sight base to compress, hopefully enough to get the sight moving inside the dovetail.
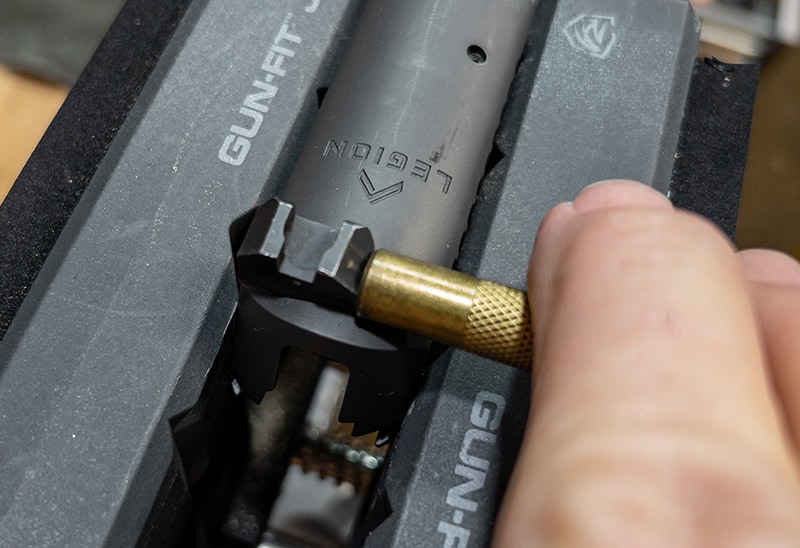
The rear end of an old broken brass punch offered a nice surface to drive out the existing rear sight.
There’s usually more surface area to work with on the rear sights.
Turn Up the Heat
If existing sights have any Loctite in place, it always helps to soften the bond with some heat. If you have a heat gun, that’s an excellent way to get things hot enough to soften Loctite without causing harm to the hardware. I’ve also used a butane torch but be careful about scorching and getting things too hot. A simple hair dryer works surprisingly well, although you’ll need to hold it close to the area in question for a few minutes.

Tom spent a few minutes filing down an old broken punch to create a square edge
to perfectly meet the front sight dovetail base. It was well worth the trouble.
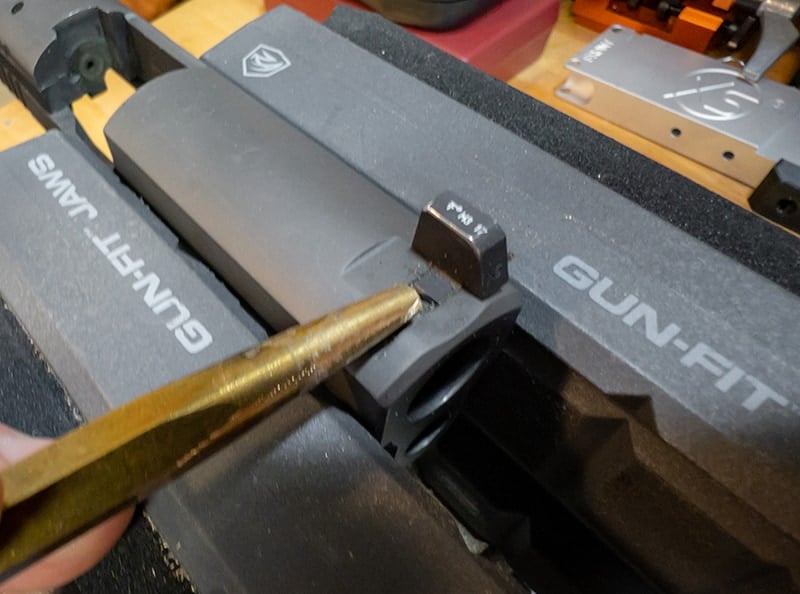
When driving out the front (or installing a new one), always punch the base only, never the side of the sight body.
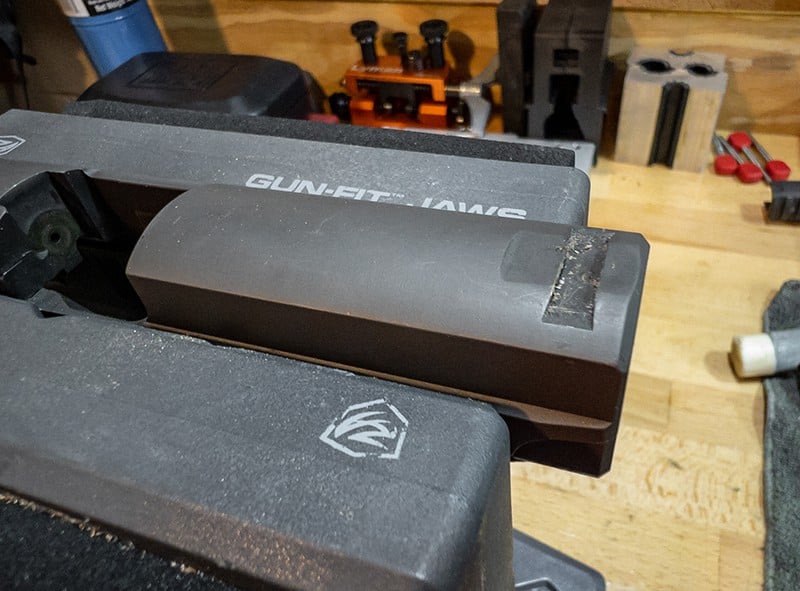
Once the existing sights are out, you’ll need to scrub out and degrease the dovetail cuts before installing the new sights.
Degreasing
Once the old sights are out, I like to apply a liberal dose of degreaser into the slide’s dovetail cuts. You can use a gun product or good ‘ol brake cleaner. Nail polish remover works just fine too. After a minute of soaking, some brass brush action will clean them out pretty well. Then clean the residue and dry with a clean patch. Be sure to get way into those dovetail grooves.
Test fitting the front Big Dot sight. This one needed just a bit more fitting. Note how clean and dry the dovetail cut is.
This will be important later for proper Loctite application.
Front Sight Fitting
Ah, tolerances. The XS Sights folks generally make the new sight dovetails a tiny whisker oversize. They never know whether the dovetail cut on your particular gun will be on the larger or smaller side of acceptable tolerances. Odds are you’re going to have to do a bit of fitting. No worries, this is easy as long as you’re patient.
Test fit first. Check pistol-specific instructions to see which side the new sight should enter and try it out. The sight should go about halfway in with some pressure and light tapping using a soft punch. If it doesn’t, you’ll need to do a bit of fitting.
You can use a fine bastard file, or a diamond hone placed flat on your work surface. Heck, you could use emery cloth stretched over a perfectly flat and smooth surface — it’ll just take a bit longer.
If you’re using a file, run the base of the sight one way into the files cutting teeth (remember, files only work one way) once or twice. Focus on even pressure and keeping the front sight base as flat as possible. Now flip it 180 degrees and repeat the process.
Stop, and wipe off any loose shavings. You should see most of the sight base paint worn off by now. Remember, you’re removing a tiny smidgen of metal from the base of the sight, not those angled edges! If you’ll think back to geometry class, if the bottom of an isosceles trapezoid (the side profile of your sight dovetail base) moves up, the whole thing gets a touch narrower and easier to slide into the sight base channel in the slide.
Now test fit again. Based on the results, proceed onward or repeat the filing process. Only a couple of passes per test, though, because you can always remove more metal, but you can’t put it back. The XS Sights team tells me Miracle-Gro does NOT work on metal!
Tom removed a bit of metal from the bottom of the new sight base with this diamond hone laid flat. Never file the edges unless absolutely necessary.
Rare Fitting Exceptions
If your slide dovetail cut is really, really small, you may not be able to remove enough metal from the new sight base to make things fit. In these rare cases, you can very carefully file just one side of the angled sight dovetail gently to fit. Do not file your pistol slide — ever. Sights are a lot cheaper to replace if you foul something up. If in doubt, call the folks at XS Sights. They’ll be happy to talk you off the ledge.

You can see most of the paint coming off. This one took a few more passes across the hone before it fit.
Final Front Sight Placement
Once the fit is correct, you’ll need to use your brass punch, or a nylon one depending on fit, to center the front sight perfectly. Once in place, you’ll apply the included red Loctite.
The pros as XS Sights surprised me on this one when I asked about secret installation tips. I assumed it was important to use a needle or some such thing to barely get a bead of Loctite on both edges of the new sight. Nope, they recommended running it along all of the seams, all the way around the sight. Don’t get any on the lens area, and don’t make a mess; just run a small bead all the way around.
Let this sit for several minutes, and the Loctite will wick in between the sight and slide. Then use clean patches or Q-Tips to wipe away the excess completely. Don’t worry about the sights being “zeroed” yet because we’ll take care of that with the new rear sight.
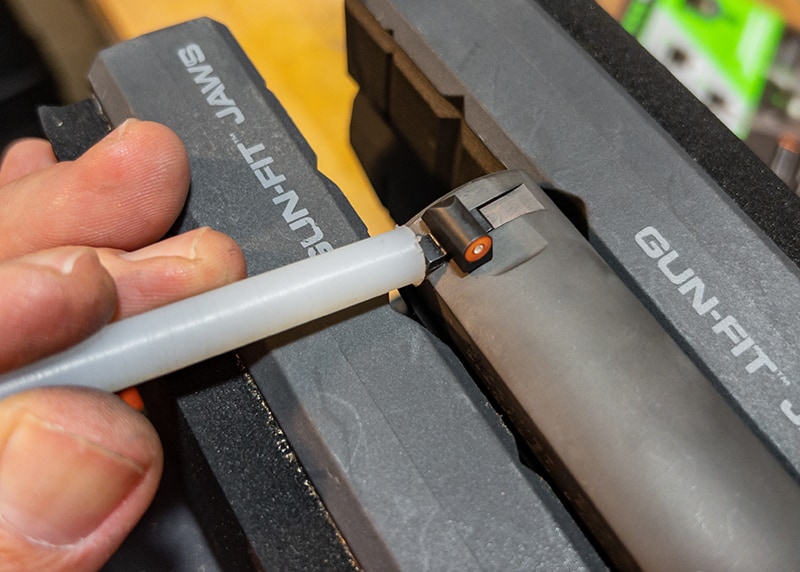
Tom was able to move the new sight almost entirely into position with a nylon punch.
A couple of whacks with a brass punch finished the job.
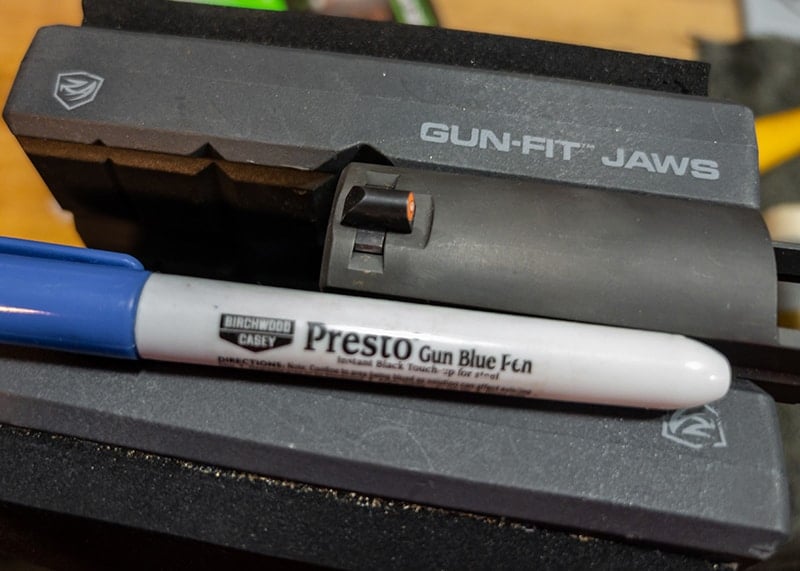
Brass punches will leave “gold” scuffs on steel. Pro Tip: Use a bluing pen like this one to clean it off.
For You Glock Owners
If your pistol has Glock compatible sights, your front sight job is easy. The sight is screwed into the slide using a special screw going through the side into the sight base.
Just field strip your pistol and use the included XS Sights screwdriver-wrench-thingy to loosen the existing screw. Clean the area up and screw the new one in place. Easy peasy.

Don’t make a mess, but feel free to surround all edges with Loctite. It will wick into the cracks.
Just be sure to clean the excess after a few minutes before it dries completely.
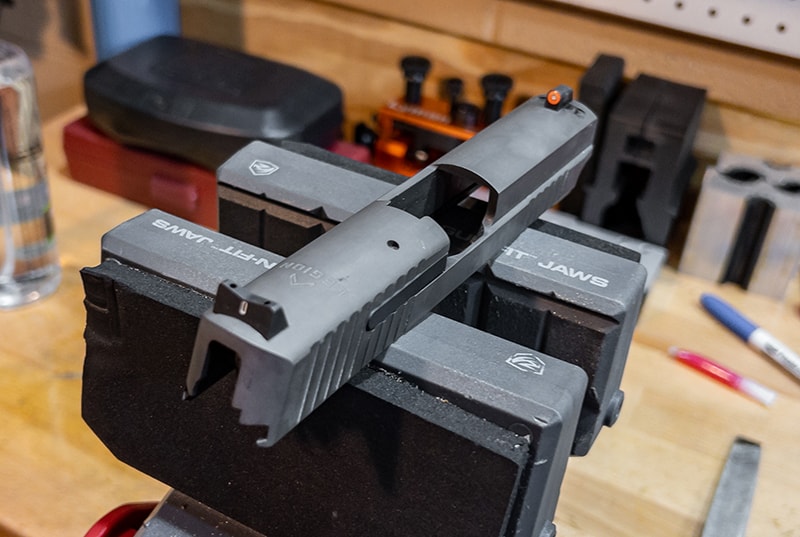
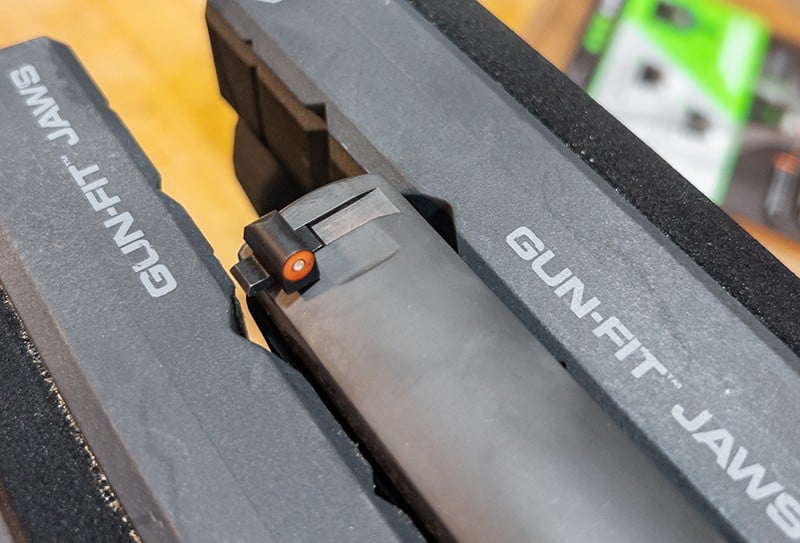
Voila! First pistol ready to dry overnight before final zeroing at the range.
Rear Sight Fitting
The two pistols I did for this project did not need rear sight fitting. If yours won’t fit into the dovetail, use the same method as fitting the front sights. With a file or hone on the bench, carefully remove a smidge of metal from the bottom of the rear sight to fit.
Rear Sight Anchoring
If you’ve had your coffee, you may be thinking, “Hey! How can I make sure these sights are zeroed to the point of impact?” Great question. Most XS rear sights use one or two tiny Allen screws to apply pressure to the slide, temporarily holding the sight in place. Eyeball it at home and turn those screws finger tight using the included tool. Now head to the range with your ammo of choice. Don’t forget to bring the Allen tool and Loctite.
Those screws will anchor the rear sight for a few shots, so test fire and move the rear sight to achieve your side-to-side (windage) zero. Remember to keep checking to make sure the sight isn’t moving. Once things are perfect, stop shooting and apply the Loctite to the rear sight just like you did for the front. Wait a few, and using a clean patch, wipe away the excess.
You’re done shooting for the day as the Loctite should cure overnight. You’ll have spiffy new sights on your pistol when the sun comes up tomorrow!
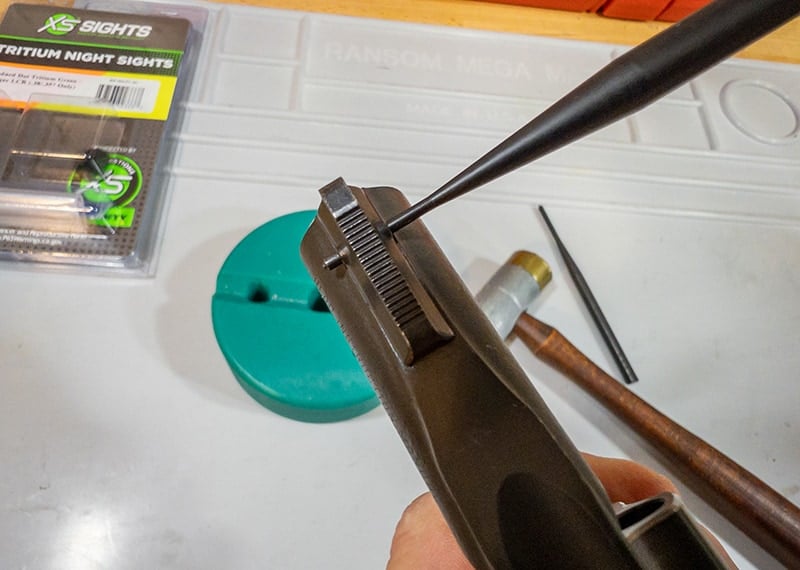
The front sight on the Ruger LCR .357 is mounted with a roll pin. Just knock it out to remove the existing sight.
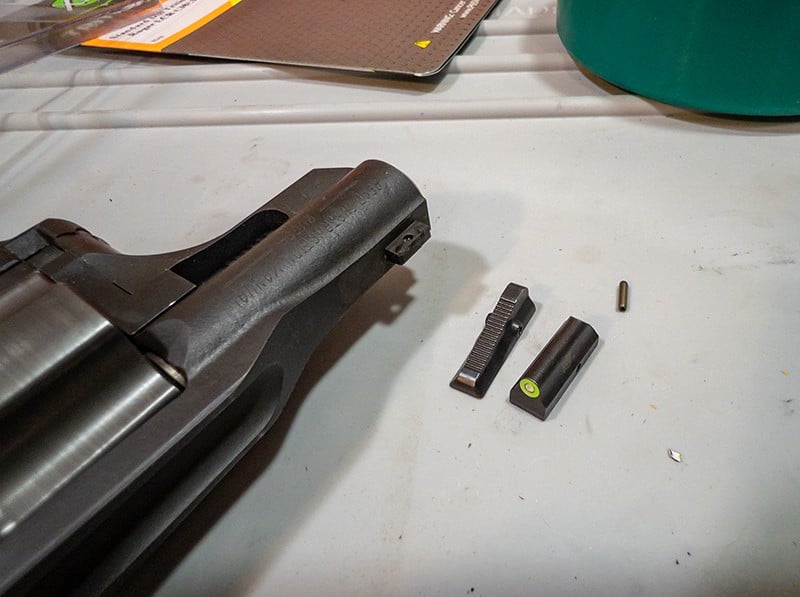
Installing the XS replacement sight for the LCR took just minutes.
Revolvers
While I was reliving my glory days of High School Industrial Arts class, I decided to replace the front sight on a Ruger LCR .357 revolver. Since this gun has a frame groove for the rear “sight,” it’s a front-sight-only swap. The sight is held in place via a horizontal roll pin going through both the sight and a nub on the revolver barrel. You just have to knock that out, and the sight pops right off.
The right tools matter. If your existing revolver sight is pinned on with a roll pin, as is the Ruger LCR shown here, always use a roll pin punch to get the old one out and the new one in place. A punch with a flat surface will deform the roll pin, pushing material into the center, thereby making a mess.
XS includes a new roll pin to install the new sight, so don’t worry if you bodge up the old one.
Closing Arguments
You. Can. Do. This. I purposely used nothing but common hand tools to swap sights on three different guns. The whole process took me maybe an hour, and much of that was tinkering around trying to get decent photos.
So, tomorrow, I’m off to the range with this Sig Sauer P229 Legion and P320 decked out with XS Big Dot Sights to see what they can do.
For more information visit: XS Sights