So... You Want To Make A Knife?
The first time my eyes locked onto Johnny Weissmuller’s Bowie knife tucked in his loincloth watching “Tarzan” movies ruined me. What if I needed to stab a crocodile or cut a black mamba into pieces while riding my bike through the neighborhood? It’s amazing what a motivated 7-year old can do with a steel can, tin snips and some ingenuity. Mom didn’t appreciate my 8″ Bowie as much as me — and confiscated it. But the bug never left me.
You’ve likely seen the “KnifeKits.com” ads in our magazines. Battling a bout of cabin fever, I was reading one lately and I realized, my knife-building dream was leaping out from the page at me! A certain blade-style caught my eye. Called the Arctic Skinner, it’s a sexy, sweeping blade feeding the imagination of any wannabe Yukon trapper with a dog team. I was hooked! Flashing back to my Tarzan days, I needed that knife now! I called “His Editorship” and asked if I could build one for an article. He upped the ante and said, “Hang tight Tank, I have a kit here from them and I’ll send it for you to build.” I began to practice my Tarzan yell.
Getting Started
I’m no expert by any means, but after building my first kit, I’ll graciously let you learn from my mistakes. When you’re done with your own, I promise, you’ll have the feeling of pride and accomplishment only felt by making something yourself. Now just read the captions.
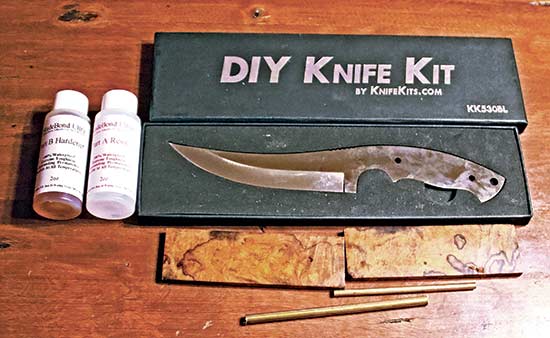
Here’s all you need to make your knife ... ... blade, wood scales, 3/16”
and 1/4” brass rods (for handle pins) and epoxy.
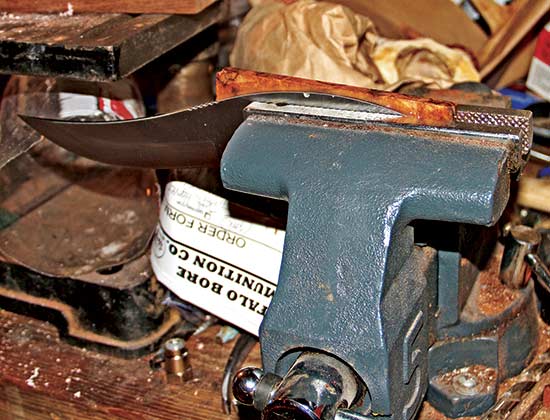
Mix your epoxy on some cardboard and apply to one side of the knife tang. Place the
wood scale in place and clamp in vice. Cure time depends on which epoxy you use.
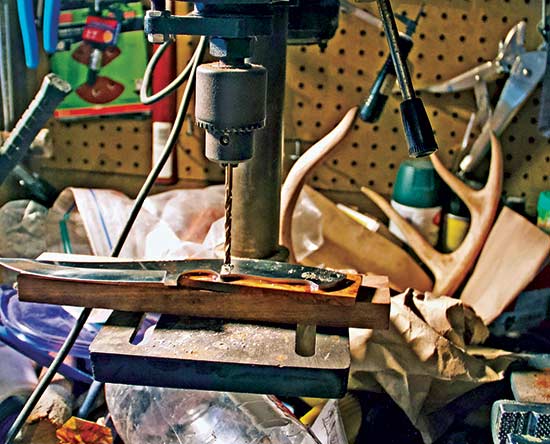
Using your knife handle as a jig, use the existing holes in the tang to drill through your first scale.
Then glue on the other scale and clamp.
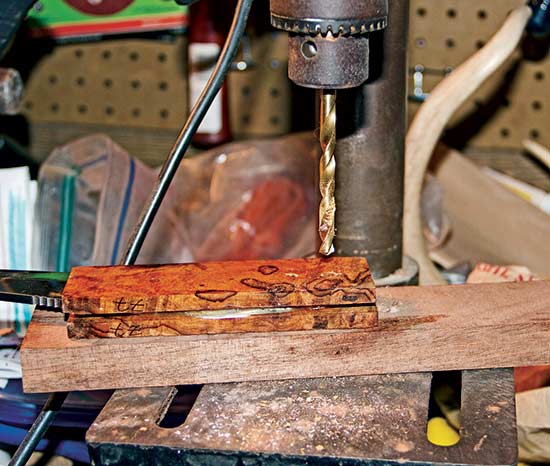
Using the proper sized drill bits (in the instructions), drill through the holes of
the first wood scale, through the blade tang and out the second wood scale, ensuring
proper alignment for your brass pins.
Cut your brass pins to size, making them slightly longer than your wood scales and knife tang.
Mix some epoxy, and place in holes to be pinned. Tap pins in with hammer (note Tank used his
“good” hammer), using gentle taps, then let the glue cure.

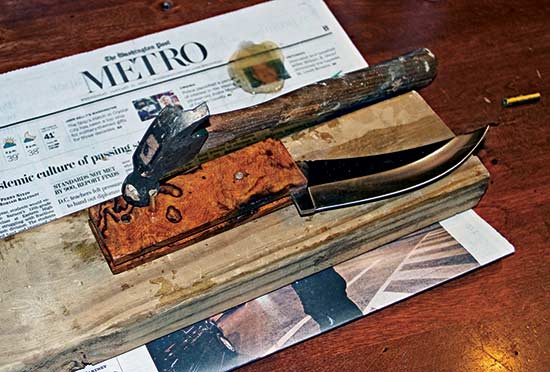
I used a coping saw to remove bigger, overlapping hunks of wood. Then a file was used,
followed by the Dremel tool. Work slowly; it’s easier to remove than replace wood!
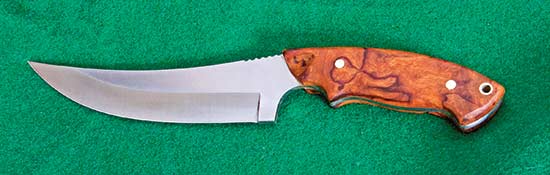
A little elbow grease, some oil or your favorite wood finish, some invested time
— and things will fall into place.
Just Do It
These DIY Knife Kits are great! I’ve already got my eye on a nifty pocketknife, along with some other fixed-bladed beauties. These blades are sharp so wrap yours in blue painter’s tape while you’re working on it. Warning: These kits are addicting! They also offer various holster/sheath kits so make sure you check that out too.
Trust me … if I can do it, no doubt you certainly can!
For more info: www.americanhandgunner.com/index, Ph: (877) 255-6433.