The Muzzle Chamfer Challenge
Does A Square Muzzle Matter?

Roy was surprised as he thought the stock gun would do better.
Maybe that rough muzzle was an issue after all?
About a year or so ago I had the crew from the Cylinder & Slide shop here at the old homestead for a week-long “How to rebuild a S&W K-Frame revolver into a good shooting gun” class. Under Jon Tank and Bill Laughridge’s stony-eyed gazes, we stripped a K-Frame (I used a new Model 10) down to nothing then re-did everything, either truing and nudging things here and there, or replacing parts entirely, mostly using Ron Power custom parts. I ended up with a smooth, efficient Model 10 and learned a huge amount in the process. One thing I didn’t do during the class was cut the 11-degree chamfer on the muzzle.
In looking at my gun, it seemed to me the factory chamfer was really nothing more than a quick rounding-off of things, perhaps done automatically. It looked roughly done, with an uneven edge at the rifling’s end. I “saved” that part until I found the time to do some careful shooting before and after a chamfer. After some shooting, cutting and more shooting, was it worth the time?
An even chamfer is important so the bullet gets a balanced start on its journey. If gas escapes in one place before another place, it can skew the bullet. Place a soft drink can on a table with one end facing away. Now, push an edge facing you as if you’re trying to push the can away from you. The side of the can opposite where you’re pushing will veer off. Try another spot and you’ll get a similar result. Pretend that’s gas escaping at a point around the base of the bullet. So, if the gas escapes unevenly (crooked muzzle cut) then the bullet might skew. If the gas escapes evenly, the bullet has a better chance of being more accurate. At least that’s what most people think. But does it hold water?
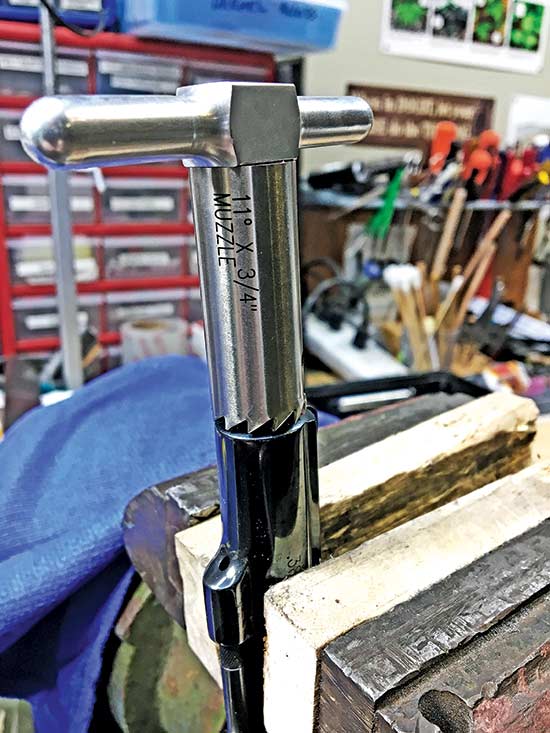
This is the basic set-up. Cutting fluid goes on the cutter blades, the pilot holds it
true to the bore and the cutter is turned clockwise carefully as it cuts.
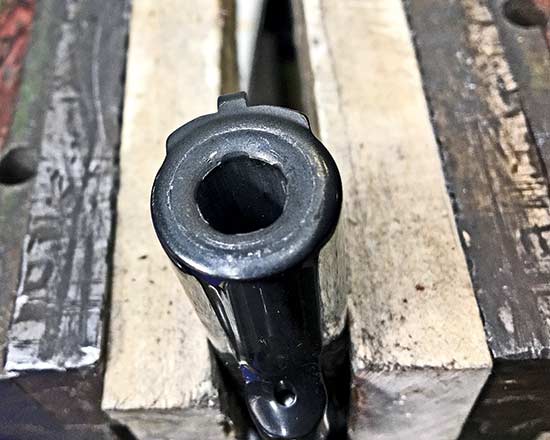
The Model 10’s original muzzle looked rough and uneven.
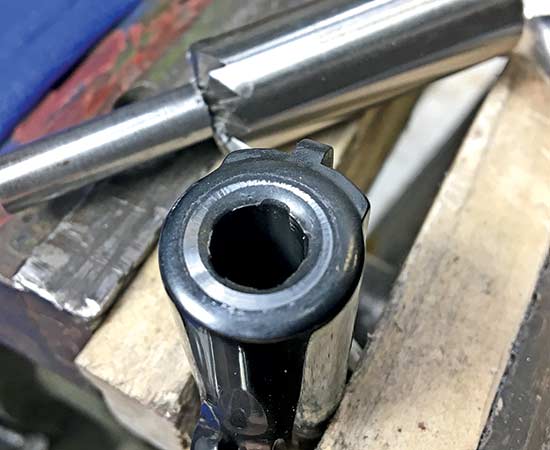
The first light cut shows there was quite a distance to go yet. Note the uneven cut
means the end of the muzzle is not square to the bore. The plot thickens.
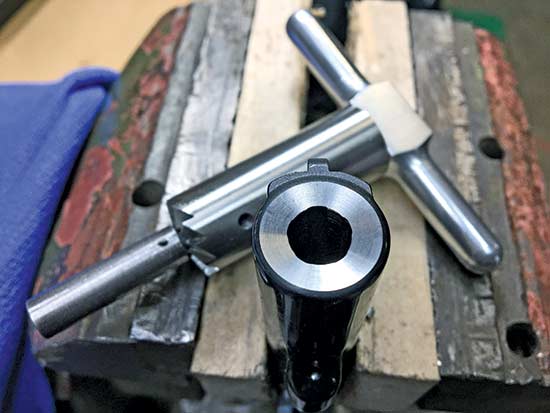
The end result is a clean, square 11-degree chamfer, square to the bore,
with the rifling ends sharp and clean.
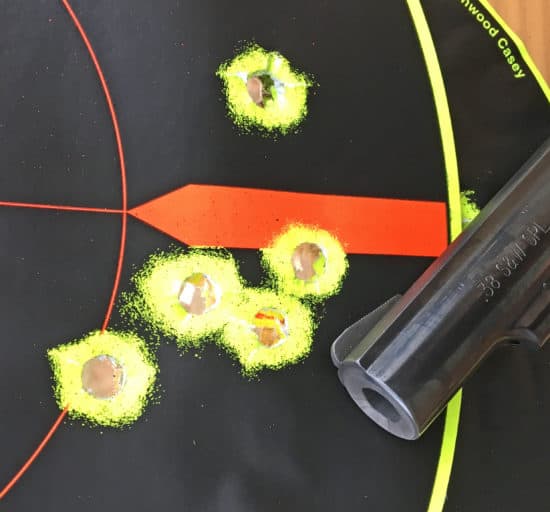
This is the best post-chamfer group. The four measure 1.35″ and that embarrassing flyer
is Roy’s fault. The new chamfer delivered consistent, tight groups — as long as Roy paid attention!
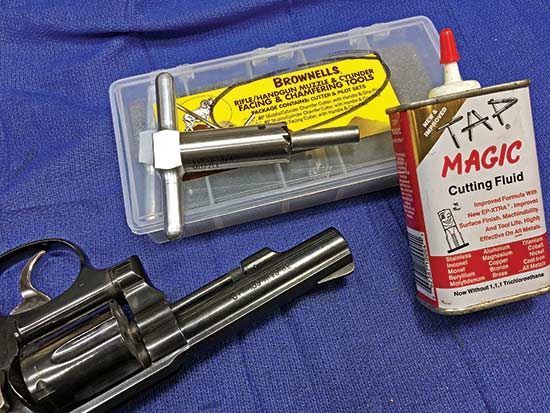
Using a Brownells chamfer tool kit Roy carefully re-cut the Model 10’s
muzzle to 11 degrees. Did it have any effect on accuracy?
Chamfer Or Crown?
The 11-degree chamfer cut seems to be the most popular. Others use different angles and seem to get good results too, while some target barrel muzzles are actually perfectly flat. The “crown” is the raised part around the muzzle chamfer, protecting the chamfer cut. If you drop your gun on the muzzle, this raised “crown” hopefully will prevent a dent or gouge from impacting the rifling’s edge. So the two terms mean different things, it seems.
Check out the “before and after” chamfer pics on the Model 10 to see what we’re dealing with here. Shooting from a Hyskore pistol rest at 25 yards using Black Hills .38 Sp. 148-gr. wadcutter target ammo, showed the Model 10 (pre-cut) to average about 3.75″ groups. Some were a bit smaller, some a bit bigger. I’m a pretty good revolver shot and frankly, I thought the gun would do better than this, but that muzzle did look pretty rough. An L-Frame (with a nice 11-degree factory cut) I used as a standard averaged about 2.75″, so it was a bit more accurate from the factory. Maybe the cut matters?
I used a Brownells chamfer kit with a “pilot” going into the muzzle to hold the cutter centered. The cutter is extremely sharp, you need to use cutting fluid and to remember to only cut “clockwise” — never turn it backwards as it will harm the delicate cutting blades. As you near the end of the full chamfer, you lighten the pressure until at the end, it’s just the weight of the cutter. Then a final quick hone using 220-grit paper polishes things. Nice, eh? But did it perform any magic?
Indeed, it did. Groups averaged about 1.75″ post-cut, with some going as small as 1.35″ or so, while some chased 2″. Still, the “target” chamfer basically cut groups in half — or better. Keep in mind this worked on this gun, using this ammo and your results may vary, as they say. But I think it’s worth a try. If you have a gun which you think isn’t shooting to par and have tried different ammo and loads, take a hard look at the muzzle. On the Brownells website you can see different cutters, pilots (various calibers can use the same cutter) and other related tools. If you buddy-up you can share the cost with a few friends and all take advantage of it.
I’m thinking this was worth the time and expense. Now I feel a need to gussie-up that Model 10 since I know it’s a “shooter!” More on that later.