A Taste Of Carry Optics
What you need to know about
handgun red dots for defensive use
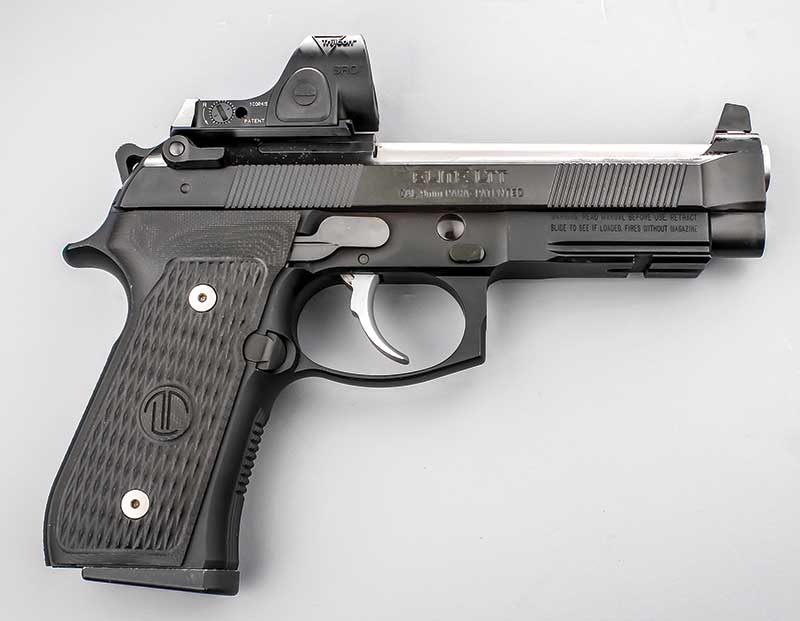
We have it on good authority this is Mas’ favorite optic configuration:
A Langdon Tactical Beretta 92 LTT with Trijicon SRO.
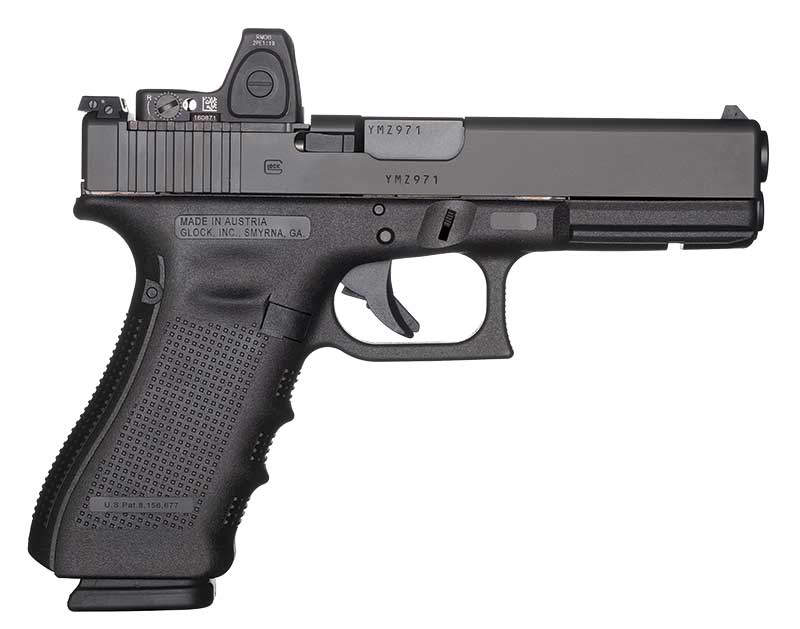
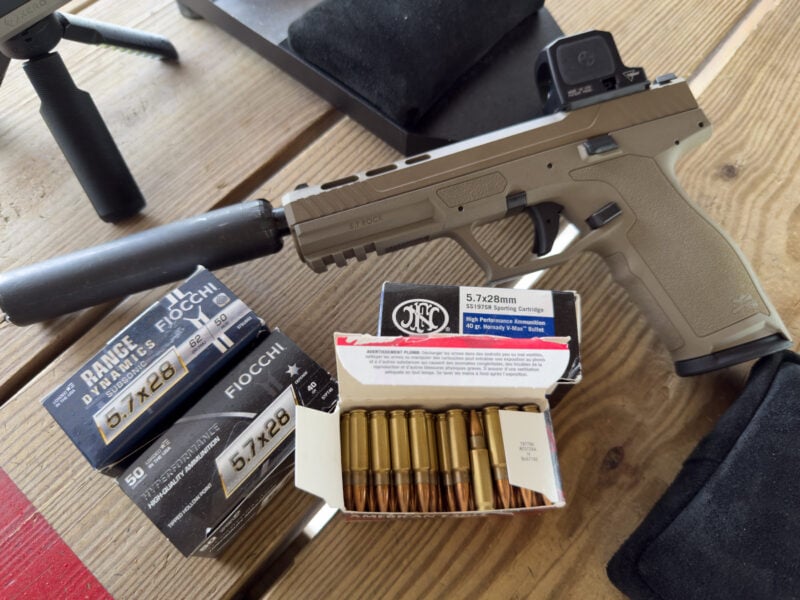
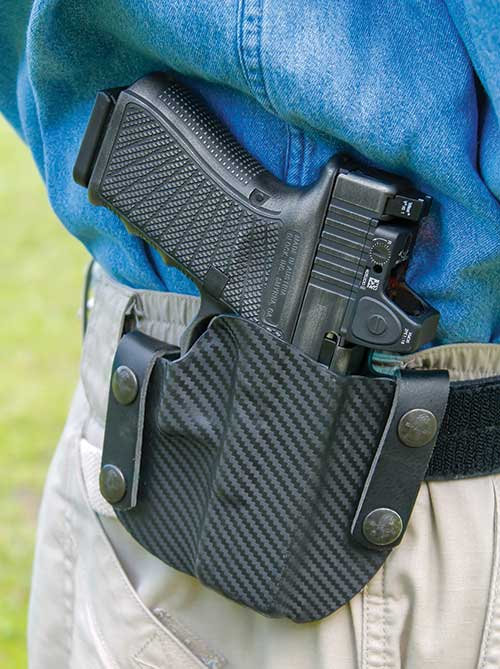
A GLOCK 17 MOS with Trijicon RMR carry optic.
Carry optics. Passing fancy in concealed carry, or true state of the art? The answer depends on the needs of the user and the gear chosen.
Carry optics are red dot optical sights compact enough to be practical on a concealed carry pistol. They’ve been around a while and have become a “love or hate the concept” type of thing. For some they are a blessing, and for some others, not so much. Let’s start at the beginning.
First Course: Alphabet Soup
A deep dive into carry optics will find you swimming in an alphabet soup of acronyms. These sights are known generically as RDO (Red Dot Optics), MRD (Micro Red Dots), RDS (Red Dot Sights), PMO (Pistol Mounted Optics) and MRDS (Mini Red Dot Sights). Individual models may also be acronymized; Trijicon makes the popular RMR (Ruggedized Miniature Reflex) and SRO (Specialized Reflex Optic) while Leupold offers the DPP (DeltaPoint Pro). GLOCK produces its MOS (Modular Optic System) series of pistols expressly made for carry optics, competitors to Smith & Wesson’s CORE (Competition Optics Ready) option. MRS signifies Multiple Reticle System, as on the Holosun brand. Of course, you’ll want BUIS (Back-Up Iron Sights) in case the red dot can’t be found. The size of the red dot itself is measured in MOA (Minute[s] of Angle).
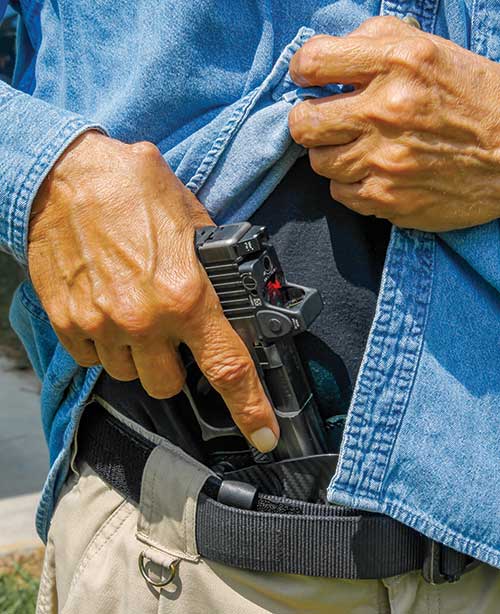
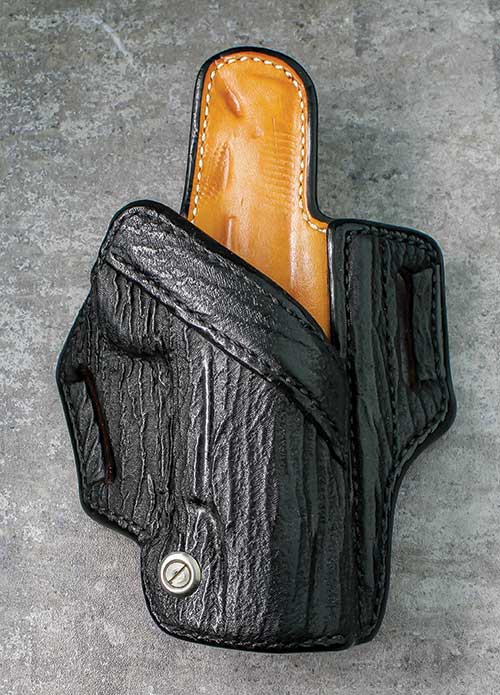
Appendix carry is popular with carry optics as it can be easier
to conceal the extra bulk of an optic.
An extra front cutaway is required for carry optics holstering.
Also, using a forward cant holster like this Cobra Gunskin’s Shelby
Cobra helps conceal the sight under the slide.
Presentation
My friend and colleague Karl Rehn has studied the use of carry optics more than anyone else I know, and is a certified Grandmaster with them. You can access his training and his blog at KRTraining.com.
He wrote, “Several years ago we did a 120-shooter study that measured the learning curve for shooters of a wide variety of levels. What we found was the lower the skill level of the shooter, the more difficulty they had finding the red dot under time pressure. Many red dot advocates complained our results were not valid because we didn’t first provide all 120 people a 16-hour course so they could get familiar with the dot before being tested. We were more interested in how the typical shooter — the 99% who don’t seek training unless the state forces them to — would or could do using the dot in a realistic drill.”
Karl continued, “By far the most common problem was bringing the gun up to eye level, seeing the target through the window and not seeing the dot. Worse, having no visual information available to identify what to do to find the dot, usually resorting to wiggling their head and the gun around until they either ran out of time or found the dot or (most often) fired with no dot, missing the target entirely.”
I’ve found much the same thing — generally, an increase in accuracy, particularly at distance, once the shooter has acclimated to the “follow the bouncing ball” effect of the red dot and isn’t jerking the trigger. But often, there is slower time to the shot. Therefore, the user has to use every trick in the book to get that red dot to the eye early. Some of those tricks include:
The press-out draw technique came from my friend Todd Louis Green, a gifted master instructor in the field who left us all too soon. It’s distinct from what some call the “escalator draw,” in which the shooter starts the gun both up and out toward the target at the same time, creating a 45-degree movement path that only presents the sights to the eye at the very end of the draw stroke. In the press-out, the draw path resembles a capital letter “L” tipped 90 degrees clockwise. The muzzle snaps up toward the target (“rock and lock”) as soon as it clears the holster, but the whole gun itself is brought more or less straight up to the pectoral area and then thrust toward the target.
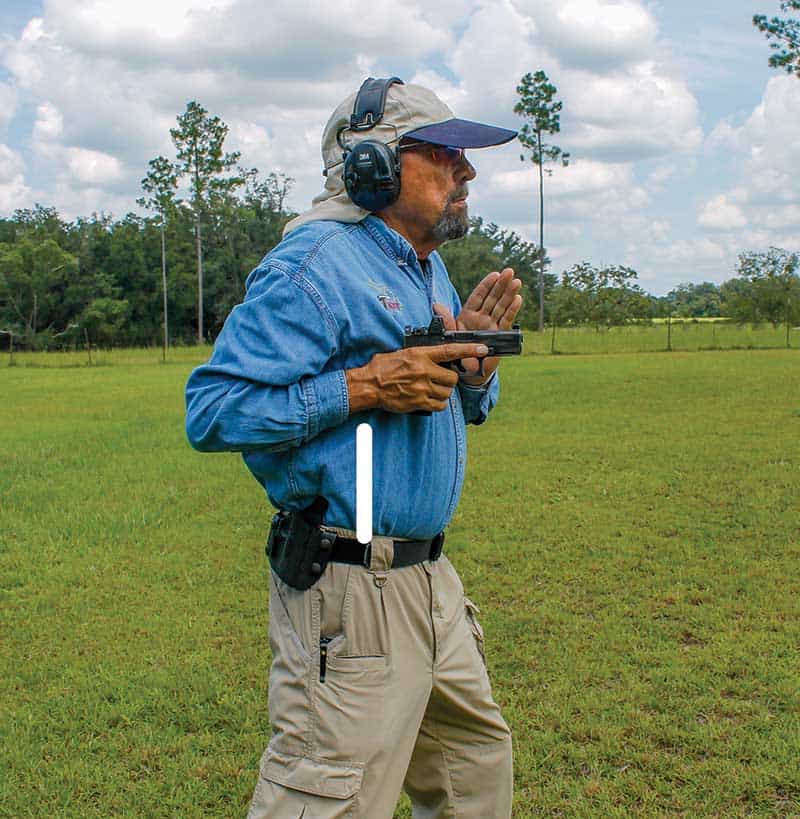
Step one of the press-forward red dot draw technique. Instead of
moving the handgun from holster to full extension along a 45-degree
angle, raise it vertically first.

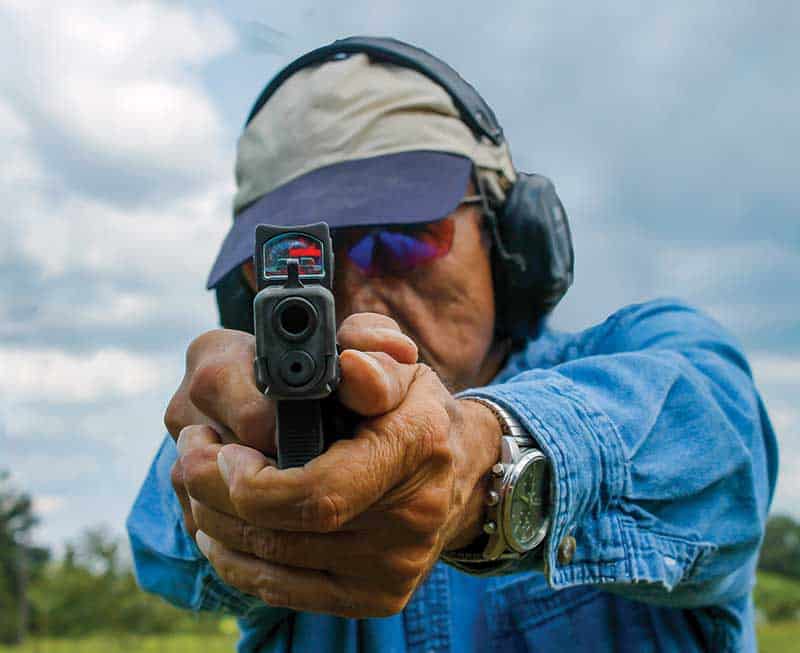
Step two of the press-forward technique. You have more time to “find the dot”
during the horizontal extension. You can fire at any time during this stage.
In this last leg of its journey to firing position, the long part of the tipped-over “L,” the eye can see the sights much sooner and even begin the trigger press as the gun is pushed forward, the eyes indexing the shot all the while. This draw also keeps the gun from being snagged by a close opponent’s fast hand, a table if drawing while seated at a desk, or a vehicle’s steering wheel if you have to draw while seat belted in the driver’s cockpit.
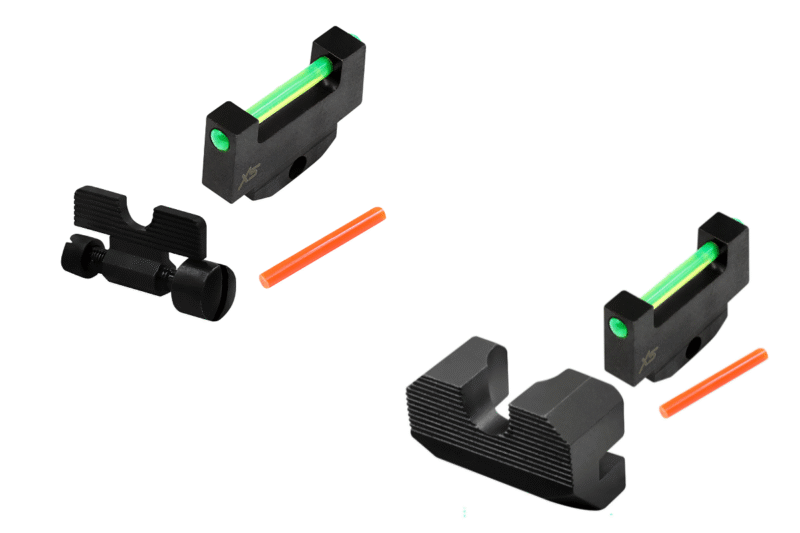
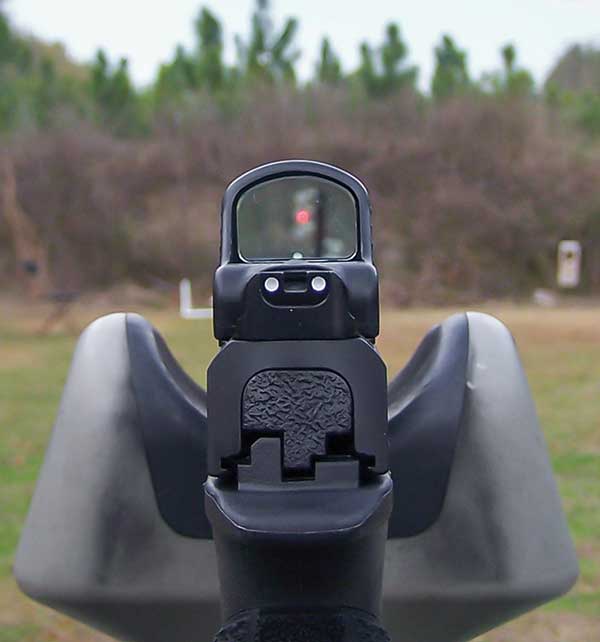
Start the draw “to the irons.” Those backup iron sights aren’t there just to give you an aiming index if the red dot “goes out.” If you have spent your shooting career drawing to a conventional sight picture, doing the same with your backup iron sights on your carry optics gun will generally get you “on the dot” faster. For this to work well, the iron sights and the red dot have to “co-witness,” that is, both be visible in line with the same point of aim.
Do note while this seems to be the majority opinion among seasoned carry optic users and instructors, there exists also a credible minority who feel going straight to the dot and ignoring the iron sights unless the red dot fails is the fastest way to mastery. As is usually the case when considering two techniques or approaches, the best bet is to try both and see which works best for you.
Mas demonstrates the bridge index technique. Behind his hands,
the cheek is anchored to the bicep.
I figured out the bridge index when I started working with handgun optics (mainly telescopic sights at the time) in the 1970s and red dot handgun sights in the ’80s. I became acutely aware of why they work so much better and more naturally on long guns than handguns. With the rifle or shotgun, you have a third anchor point at the shoulder, and if the long gun and optics are set up correctly for you, cheeking the stock provides yet another physical index. You do not, of course, have those latter advantages with a handgun.
Back in the ’70s I figured out with iron-sighted guns, if I could aim the gun and find a meeting place where cheek or jaw met bicep or shoulder, I could snap the gun up to where I could feel that “head area to arm area contact” and find the sights in line with my eye. Because it was sort of a bridge between the body position index of “point shooting” and the visual index of aimed fire, I called it a “bridge index.” It turns out to work particularly well with optically sighted handguns.
For me personally, being right-handed and right eye dominant, that index is the right side of my lower mandible with my right bicep. To go cross dominant, firing right-handed with my left eye aiming, it’s chin to bicep. None of us are clones; you must experiment to find your own “sweet spot” for a bridge index. I have, however, found it much easier and faster to get the dot to the eye with this technique.
You can also try allowing the red sauce to splash. One Master shooter known for awesome performance with carry optics advises, “The key to speed is learning to shoot the streak of the dot and not just a steady dot.” He adds, “I am talking about speed on successive shots, and that has to do with how you use the dot. Slowest is a stopped, steady dot. In between is a round dot moving within the scoring zone. Fastest is shooting a streak of dot as it enters the scoring zone.”
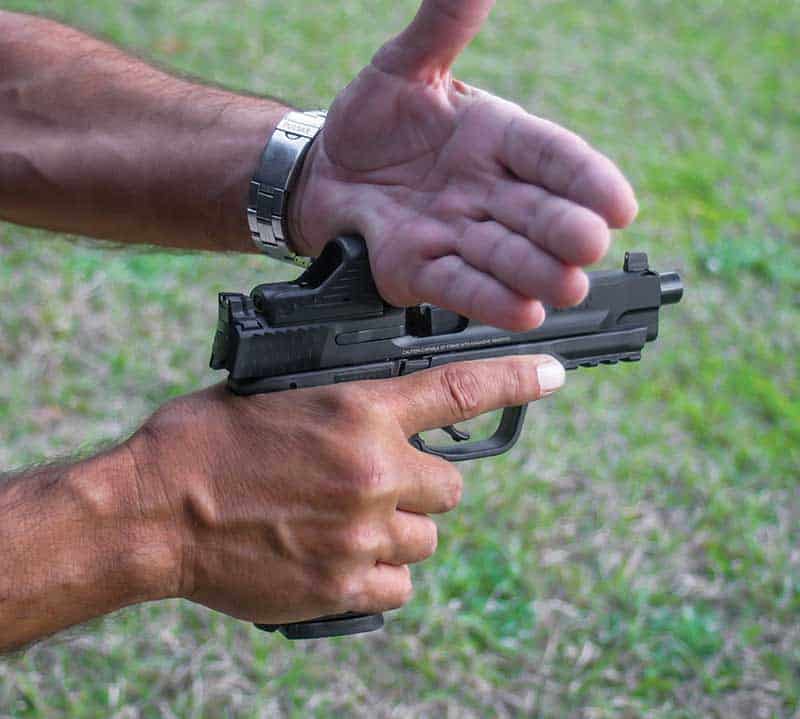
Though not usually recommended, carry optics give leverage for this style of slide racking.
The Carry-Out Menu
When “carry” becomes the operative term in “carry optics,” concealed carry holster choice is critical. More and more holster makers are cutting the front of their scabbards down to make room for carry optics. For carry on the hip, consider a forward tilt, rearward rake, that is, with the holstered pistol’s muzzle pointing a bit back behind your leg. The butt moves forward and the carry optic just a tad down, reducing potential “printing profile” just a little bit. As we’ve already discussed, AIWB (Appendix Inside The Waistband) carry seems to go with carry optics “like soup and a sandwich.”
Carry optics holsters need cutaways to accommodate the sight, as seen on this Wilson Combat by Anderson 1911 scabbard.
Seasoning To Taste
Having spent 40-plus years with gun and badge in a frozen wasteland four-season climate, my first concern is going from freezing weather into a heated house or car can fog the lens, blocking out everything including the iron front sight. When I retired to the subtropics, I found the same going from air-conditioned home or car into humid heat. Having once had to shoot a cottonmouth in my carport down South, this was a concern. The answer is a defogger, and the near unanimous choice among carry optics users seems to be the Cat Crap brand, despite its unappetizing name.
Advantages of carry optics include a better view of the target from the tactician’s perspective (it would be good to be able to see if the adversary dropped the pistol he was drawing from his waistband before you shot him again) and from the marksman’s point of view, the ability to see the aiming index (the red dot) as clearly as the target when focused on the latter. Carry optics can be a godsend for those whose eyesight won’t let them focus on their front sight for a precision shot.
Not all eyes work well with carry optics, though. There were years before eye surgery corrected things where my cataracts showed me only a blurry starburst where I would have seen a red dot, and my rifles wore iron sights, conventional scopes or ACOG. (Fourth of July fireworks were awesome, though.)
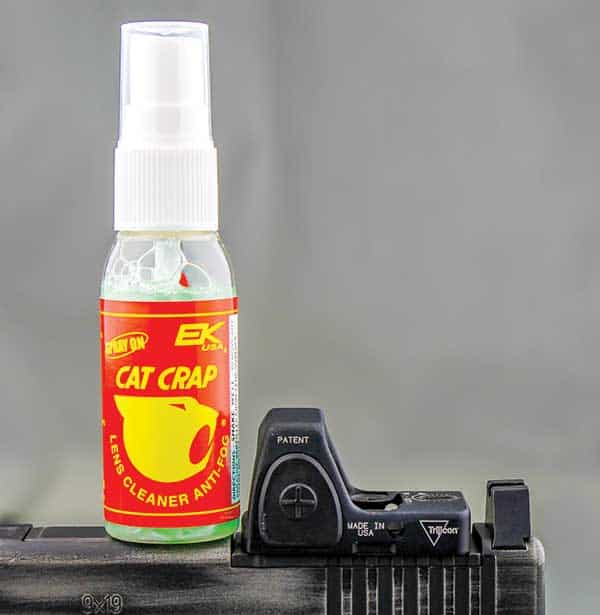
Cat Crap seems to be the defogger of choice among carry optics users.
If you live in cold or humid environments, it can make a difference.
Acquired Taste
Don’t kid yourself: There is a learning curve to red dot sights, particularly for those of us habituated over a lifetime to iron sights. It can take hundreds, or maybe thousands, of rounds to get comfortable with them. Fellow gun writer Jim Tarr has noted a concern with issuing these to rank-and-file cops: If most of them only shoot when they are required to, will they develop the reactive speed they need to defend themselves and the public? Right now, carry optic service pistols are in the hands of SWAT and individual officers willing to pay for their own, which means they’re probably into guns — general issue would be another story.
Thus, my final advice on carry optics: Don’t get into them unless you’re willing to commit time, ammo and training to the concept. It will make the experience go down a lot smoother and tastier, with less heartburn, and better nourish your self-defense capability.

Get More Carry Options content!
Sign up for the newsletter here:
Looking For More Concealed Carry Articles?