Stories from the Bench
Pistolsmithing
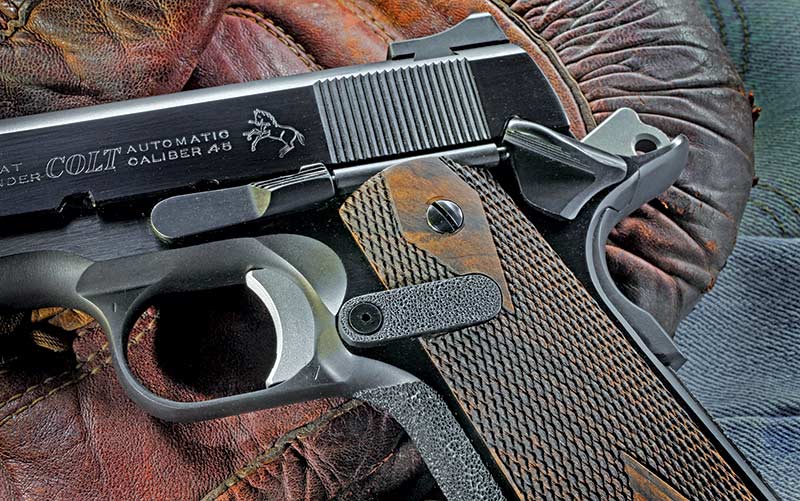
Custom Colt Combat Commander in .45 with a “Devel”
style magazine release paddle inlaid into checkered walnut
grips with minimal gaps for a precision fit.
Excessive Dry Firing
As a precision shooter, I advocate dry firing. It’s a great method of improving trigger control. But like anything, there are some rules. For rimfire, you must use a “dryfire plug” or a spent piece of brass. Rimfire firearms usually allow the firing pin to travel far enough to come into contact with the barrel face. In a normal firing scenario, the firing pin would make contact with the soft brass rim of the cartridge, punching it enough to ignite the primer compound.
If you don’t use a plug, you will eventually create a divot on the steel barrel face. I recently repaired a rare High Standard Olympic Model 102 .22 Short that had this issue. The divot was deep enough that the firing pin could no longer ignite the ammo. This was caused by both the firing pin being deformed by impacting the hard barrel and a lack of rim support on the barrel face. The firing pin was replaced. For the barrel, it was laser welded, re-machined, and the chamber reamed round. The weld of steel will provide plenty of support for the rimmed case and good ignition.

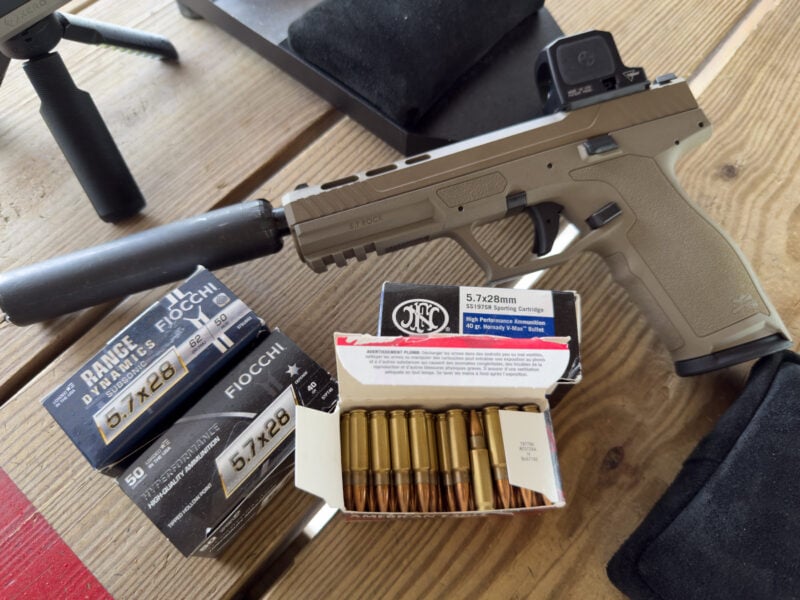
Rust and salt water corrosion on a Taran Tactical striker firing pin.
The pistol was used in a salt water environment. The issue was
only found during a detail disassembly of the slide.
It’s What’s Inside …
A client brought in a set of Taran Tactical Model 17 and 19 GLOCK slides for optic cuts. Both looked well cared for. To get the work done, I had to strip each slide of firing pins and extractors. One had a little surprise inside. The striker spring and striker were covered in rust and corrosion, almost to the point of impeding function. It was an easy fix: new springs and thorough cleaning of the strikers.
I asked the client about how and where the gun was used. Turns out he spends a lot of time on the ocean. The pistol must have been exposed to salt water at some point. The client does take care of his equipment; each was very clean and well-oiled on the visible surfaces, but detail stripping the slide is not something that he normally does. It’s important to get to the inner workings of a firearm at least once a year if not more, particularly if you are exposing them to harsh environments of water, salt or sand. Treat them like your life depends on it; it may.
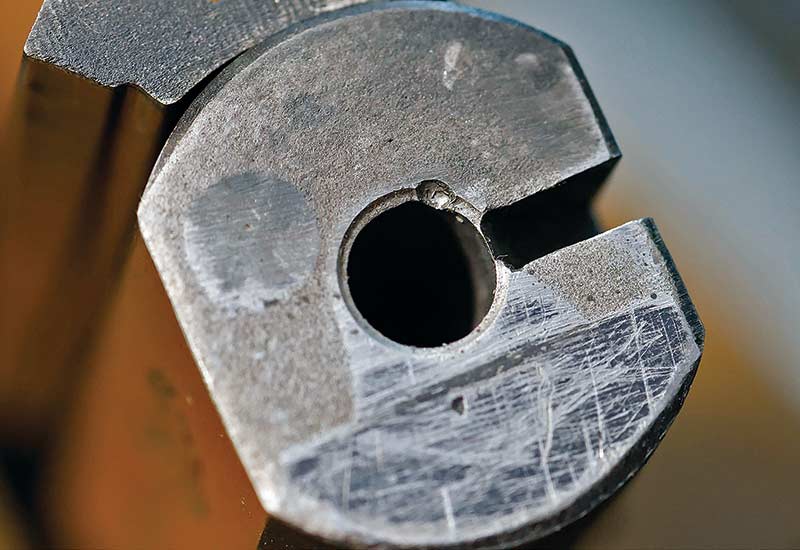
The barrel face of a rare High Standard .22 short pistol
that has been damaged from excessivedry firing without
a chamber plug or “snap cap.”
Fine Fitting
All custom gunsmiths take pride in the way they fit parts. Whether it’s a pistol, shotgun or rifle, the fit and finish of parts is what makes custom work stand out. A revolver side-plate, a 1911 beavertail, sights on a Browning Hi Power, and how the cylinder closes and locks up on a Colt revolver. These are all things that a knowledgeable gun owner looks at.
For a recent project, I was asked to replicate a large paddle magazine release for 1911. This style of mag release was created by Charlie Kelsey for his Devel line of pistols in the 1970s. I had done this before for another client as a retro build. Kelsey made the large flat paddle with the name “Devel” engraved on the side. To function, he made a large cutout in the left grip panel for the 1911. Kelsey’s grip cut had a large bevel, which I thought was excessive.
For this project, I aimed to inlay the paddle into the grip without removing excessive wood. To do this, I had to map out the angle, depth and width of the slot to be cut into the grip panel. And I had to make the cut without chipping the custom ironwood grips. After numerous tests on old grips, I was ready to make the cut on the “real” grips.
To make the pocket, I used an Al Marvel grip holding jig, turned my milling vise to 69º, and using a 10mm cutter spinning at 700 rpm, I made the cut with a slow feed. Did I mention these were custom walnut checkered grips by Jon Aho at High Figure Grips? Not inexpensive but worth every penny. No room for mistakes here, and this would be a focal point for the owner. All the practice paid off; the fit was perfect. The paddle was hand stippled to match the front strap and the mainspring housing that the client selected.
All in all, there were about three hours into just fitting the paddle, never mind the fabrication, so when you look at a custom firearm, look closely and “mind the gaps.”