Threat Response Fundamental Number 3: Shoot… If Necessary
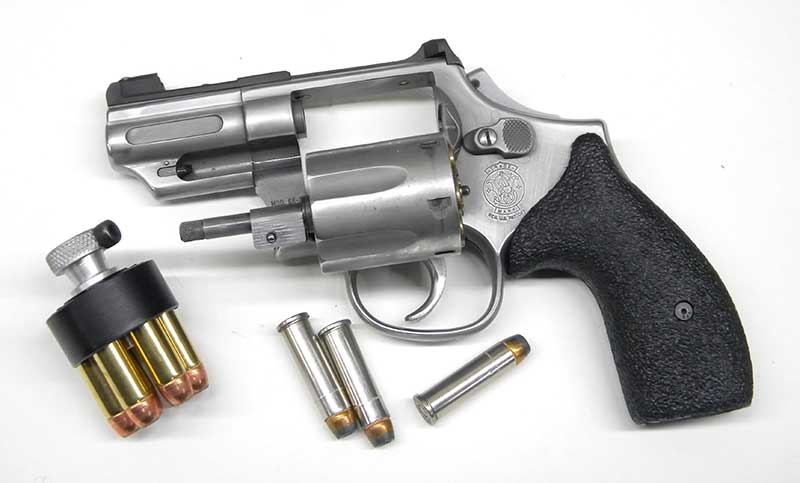
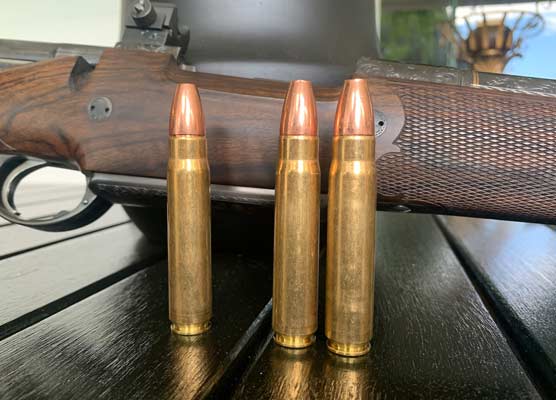
Regardless of what you carry, load it with defensive ammunition.
The increased velocity and the bullet’s expansion improve your chances
of stopping the threat with fewer shots.
You’ve moved to create distance, backing away from the threat, issued verbal commands — “Stop!” — and gotten behind cover for protection. The threat is still advancing. You’ve done everything possible to avoid having to fire your pistol. The only option left is shooting. Firing accurately is one part of the equation. To stop the attack efficiently, your shots must be placed in the proper areas of the threat’s body.
Every option for solving a violent attack should be attempted before using your handgun for defense. Moving, issuing verbal commands and getting behind cover often produces a “psychological stop.” You’re not the easy “victim” they anticipated. When these actions don’t create the desired results or the suddenness of the attack doesn’t permit their application, the pistol is used to physically stop the threat.
The critical thing to remember is that you shoot to stop the threat, not to “kill.” Yes, firearms are lethal weapons and may cause death, but that’s not your intention. The firearm is the most effective weapon to end the confrontation when all else fails. Stopping the threat or forcing them to leave due to injury is your opportunity to break contact and retreat to a safer area that’s easy to defend if matters escalate.
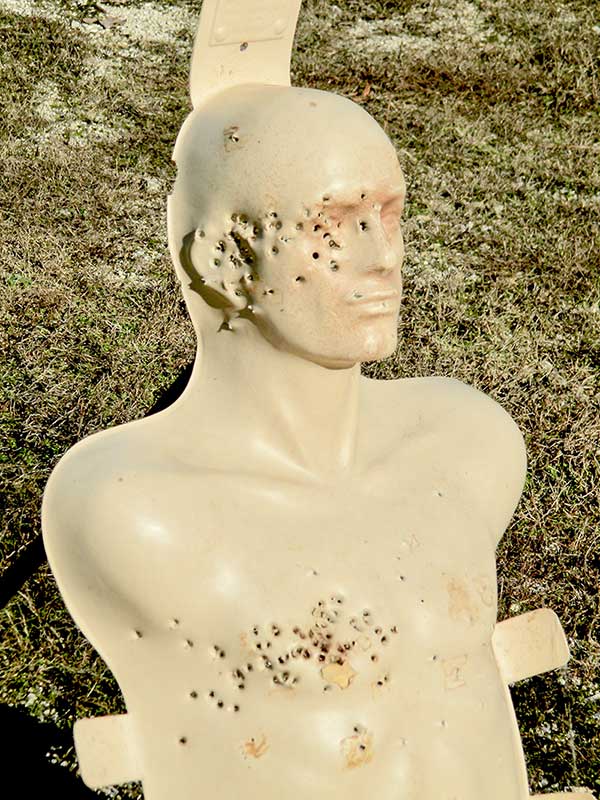
Invest in some three-dimensional targets, then place a cardboard backer
behind it so you can check for center mass hits. Putting an old T-shirt over
the target provides more realism — it’s difficult to tell where your hits went
until inspecting the backer.
Fight-Stopping Targeting
Handguns don’t have much “stopping power,” especially compared to high-velocity rifle rounds. Although there are exceptions, three and four shots are most often seen for self-defense. The handgun advantage is that it can be carried concealed. When facing violence, chances are you’ll be armed with a pistol. To stop the threat as quickly as possible requires understanding the body’s anatomy and its three primary target zones.
Placing shots in the ocular cavity of the head provides immediate incapacitation. The problem is that it’s a tiny target — the triangular area between the eyes and nose — and the skull does an excellent job protecting the brain. Peripheral hits are often deflected, never penetrating the skull’s cavity. This will cause pain, which isn’t always effective, especially if the threat is mentally unbalanced, on drugs or alcohol. Surgical headshots are difficult, especially when you and the threat are moving. Headshots are the exception, used when immediate incapacitation is needed, or it’s the only part of the body you see to engage.
Most people focus on the center mass of the chest cavity. It’s not a bad place to engage, but not as effective as seen in the movies. The heart is very small and protected by natural body armor. Results depend on which part of the heart is hit and whether that section is full or empty of blood. There are numerous incidents where the threat took “fatal” hits to the heart yet continued to function for three to four minutes. That’s a long time in a fight.
To many people’s surprise, the quickest way to stop the threat is placing hits in the center mass of the pelvis. Regardless of caliber, almost everyone hit in the pelvis ends up on the ground. Very few will get back up. Jim Cirillo and the New York Stakeout Squad officers noted that everyone they shot in the pelvis went down immediately.
The pelvis is a large target. You’re firing at a lower angle, a plus when you’re worried about what’s behind and beyond the threat. This area contains major arteries, veins and nerve bundles. The pubic symphysis — where the two halves of the pelvis join together — is front and center of the girdle. When this is separated, there’s no way to remain standing. At the bottom of the spinal cord is the cauda equina, or “horse tail.” A sudden, sharp impact or shock to these nerves and the legs immediately collapse. There’s more body armor showing up on threats, but most armor doesn’t protect the pelvic girdle. Taking away the threat’s mobility makes it much easier for you to break contact.
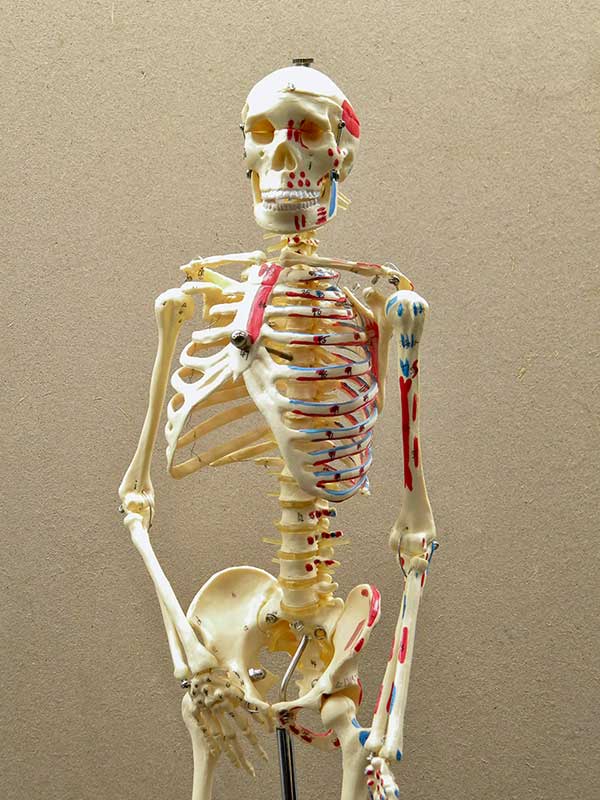
Studying the anatomy of the body reveals the three target zones. The pelvis is
the largest part of these, and hits here will put the threat on the ground. This creates
your opportunity to break contact, retreating to a safer area.
Don’t Assume Results
Shooting is the final option to stop the threat. Shift zones if two or three shots to one area don’t produce the desired results. Continue working the various zones until the threat leaves or goes down. Remember, just because the threat is down doesn’t mean they’re out of the fight. Also, remember that the body is three-dimensional, unlike the two-dimensional targets we practice with on the range. Invest in some 3-D targets. Always carry defensive ammunition as opposed to full metal jacket ball ammo. Practice regularly so you’re fully prepared if and when the time comes. Then, do everything possible to avoid having to use your pistol.