A Mini-1911 From a Colt 1903?
No... Really...
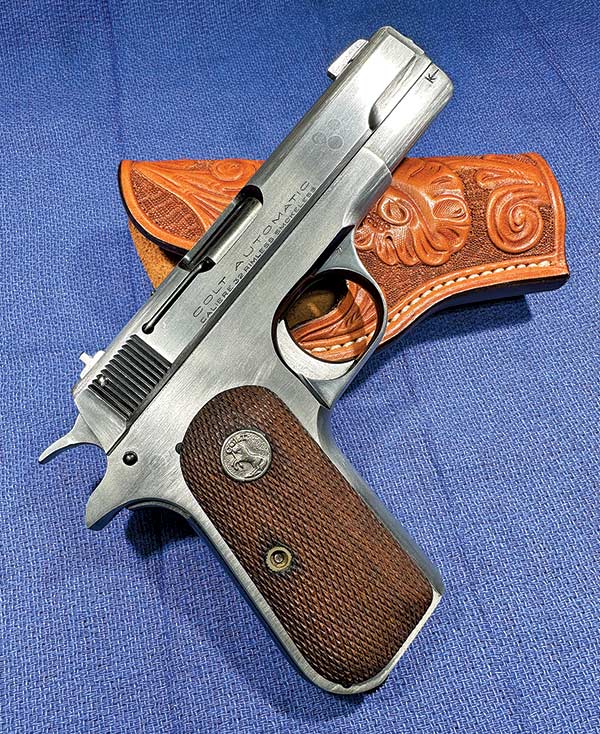
Extensive machine and hand work teased the Mini-1911
into existence. Look carefully and you can see the weld
repair marks and bevels and such that were done.
I always knew there was a tiny 1911 lurking just inside a 1903. If you looked, you could “almost” see it taunting you. “Oh, I’m here,” it’d say with a wry smile. “You just have to find me.”
So I did.
Before all you Colt addicts out there lose your collective minds, please read all of the article. The gun started as a certified beater, something I picked up for $150 years ago, complete with pits, gashes in the surface metal, dings and plenty of rust damage. So what we did here, friends, was bring an old gun destined to likely die a slow death back to life as, dare I say it — something even more interesting?
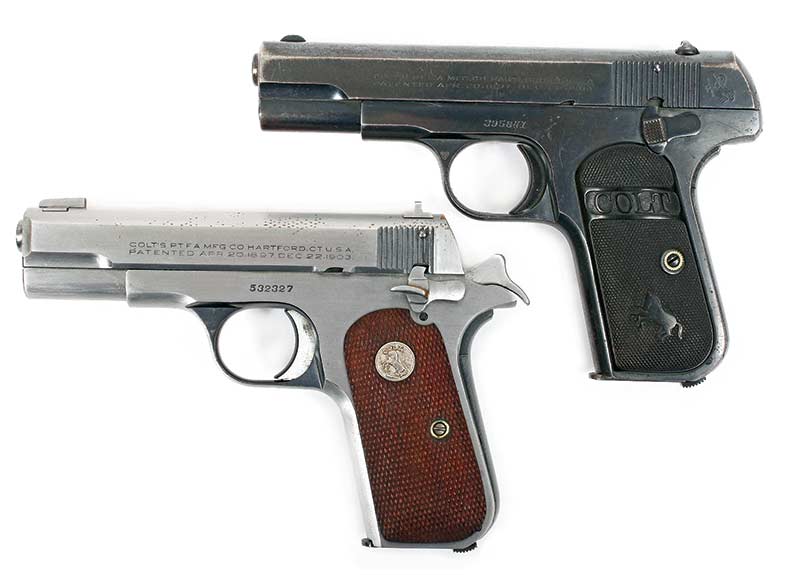
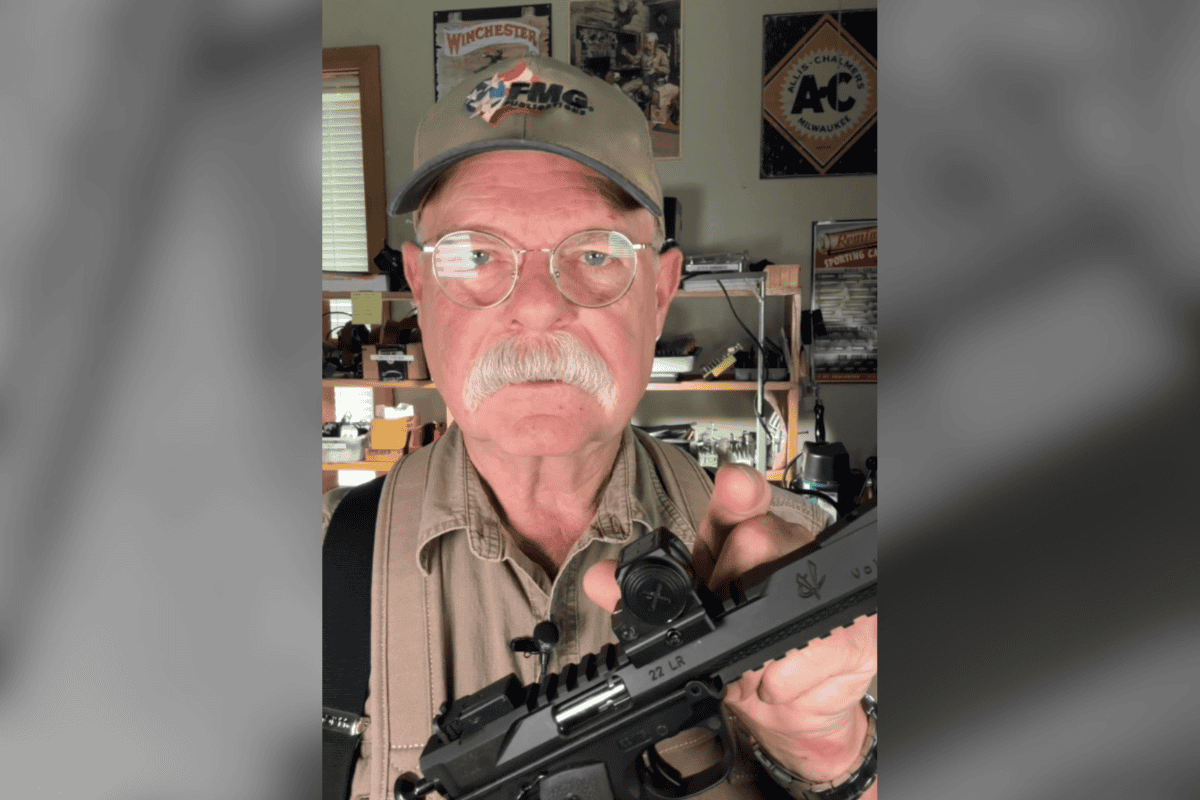
Roy always thought there was a Mini-1911 hiding inside
of a Colt 1903. After a month’s work, he found out he was right!
The Old Days
If you know about King’s Gunworks and names like Swenson, Keith, Croft and Fitz, then you’re in the right place. In those days, it was, as I like to call it, “Old School Gunsmithing.” After-market parts didn’t really exist. If you wanted something, you had to invent it, then make it. Small shop gunsmithing from the 1920s through the 1970s basically created the look and function of many factory guns, even today. That extended safety on your 1911? Thank you, Mr. Swenson. Bobbed hammer and slicked-up action on your revolver? Thank goodness for Mr. Fitz. Customized single action? Kudos to Keith. Get the picture?
I like Old School Gunsmithing and it’s most of what I do. If I need a single-shot rifle, I build one using a stock receiver and some imagination. Can’t find an S&W DA revolver with the features I like? I craft one. I recently put an S&W J-Frame adjustable rear sight on a Taylor’s & Co. miniature 1873 .38 Special. In the 1940s, I’m sure gunsmiths put S&W sights on Colt Single Actions, so I’m tipping my hat to them. But that’s the spirit. If you can think it up, you can do it, unencumbered by the fact no “factory” gun exists like the one you want. Please do assemble the kit guns, learn, figure things out, hone your tool skills — but then take it to the next step.
Which is what we did here.
Some rough shaping prior to TIG work. The cut-off extended
into the rear sight dovetail so the sight had to be moved forward.

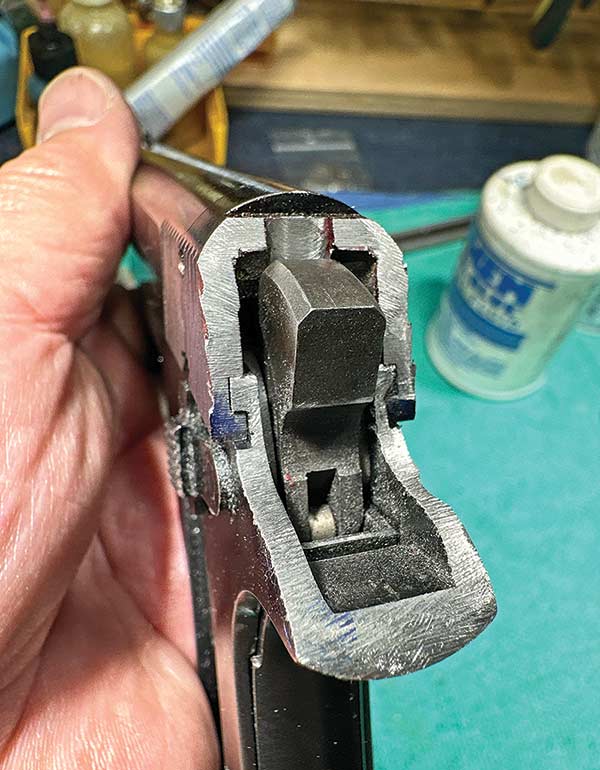
The rear is shaped better now, the hammer spur welded on
and the rear of the slide TIG brazed and machined. Lots of
handwork yet to do, a rear dovetail to be cut, safety to be
modified and much more.
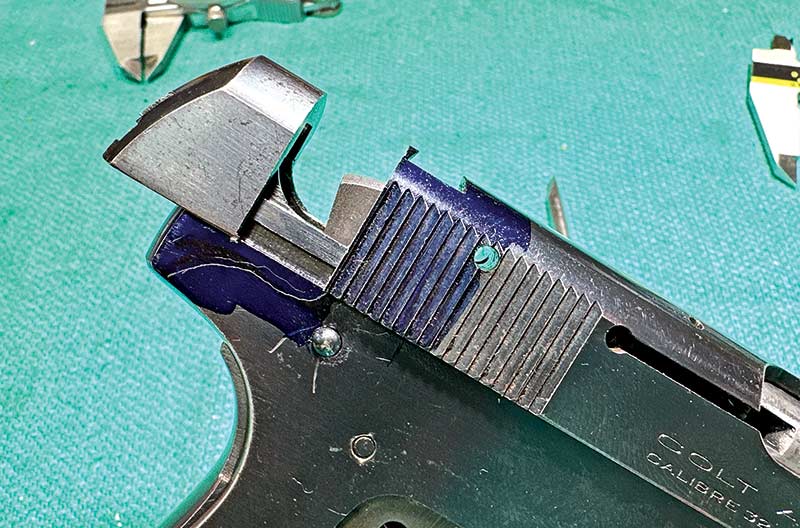
Here’s how much came off the back of the slide. Roy’s
marked a rough shape on the grip frame here. Time to mill and file!
The Transformation
The 1903 looks hammerless but it actually has one hiding inside. The rear of the slide is covering it. If you squint your eyes, you can imagine that hammer with a spur welded on sitting there with the back of the slide gone. So, tossing caution to the wind and without a single drawing or real-life design idea, I got my hacksaw and, after some amount of holding the slide up and thinking, “Oh, about there …” hacked off the back of the slide. The game was afoot then.
By continuously “holding things up and looking at them,” I guessed how much of the rear of the frame to cut off, then attacked it with my mill and files. I had to use TIG braze to fill up voids in the back of the slide, then machined it to look like a 1911. Welding a hunk of steel on the hammer and safety allowed me to reshape things with lots of file work. There were also dozens of hours spent with files and stones to shape things so they all flowed together.
More milling time allowed me to cut the bevels on the bottom of the slide sides and that little scallop at the front of the slide. I crafted proprietary tiny combat sights, then cut very shallow dovetails to mount them. The front barrel lug extended high, so I had to cut a cavity in the underside of the front sight to allow the barrel lug to fit. I used my TIG torch to weld up a zillion pits, dents, dings, gouges, etc., then spent hours dressing them down with files, diamond hones, stones, then paper grits to 400. I still need to do some final cosmetic work, but we’re getting close.

Cosmetic work still needs doing here but
this shows the rough relationship to the original
shape. Note how the rear sight is moved well
forward. The hammer still needs checkering here.

Lots of hand work with files, stones and wet-or-dry papers
after welding was worth the effort. Note the new, flat surface finish.
What’d I learn?
I had to do a bit of a redesign to the ejector assembly, getting the hammer spur “just right” took two rewelds and plenty of file work. The backstrap shape of the frame took no end of fussing and a few of the internal edges had to be re-cut and re-fit. There were other unexpected surprises, but I managed to work through them. The final finish will likely be that wonderful satin nickel Colt used to put on the Commanders in the 1970s. Remember that?
Much to my surprise, the final assembly proved the gun shot just fine. I had restored the action before I started and found the pistol to be a real shooter with a sharp bore even then. Once finished, the much better sights made a huge difference, and it was funny, but the 1911 “feel” made it point more naturally for me than a stock 1903.
Some might say, “Oh, you could have just bought a Mustang or one of the new Browning .380s,” but they aren’t the same at all. This has a unique feel and look. I think if Colt had made these instead of, or along with the 1903 after the 1911 was introduced, they’d have sold like hotcakes.
The real win here, at least to me, is I confess to a good deal of satisfaction at pulling this off after years of wondering about it.
And … it’s only one around.
P.S. I just found a Colt .25 Vest Pocket Auto. Stay tuned for a little brother to the 1903/1911.