Basic Gunsmithing:
Bunged-Up Screw Heads
A few simple tools are all it takes to restore bashed and mangled screw heads.
And it's fun to amaze and astound your friends with this bit of magic.
Maybe you’ve bought a nice used gun and are trying hard to ignore the elephant in the room — a squished and otherwise bunged-up screw head. When I was new to gun stuff, I messed up my share of screw heads (and still do now and again just to keep in practice). But once the damage was done, other than adding new vocabulary words to my list of “Things I shouldn’t say in front of nice people,” I just suffered through it and glared at the messed-up screw. Trying to find a replacement is sometimes hit or miss, especially on old guns.
But there’s a way out in almost every case — just fix the old one.
But, you might scoff, “How can you add metal and reshape it, polish and blue it without being a fancy gunsmith with all sorts of expensive tools?”
It’s um, actually pretty easy, as they say.
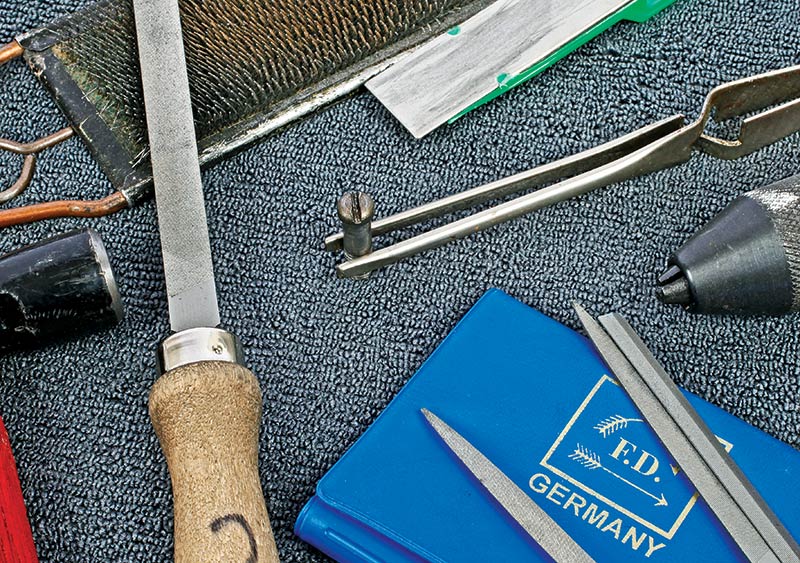
First off, you probably have the tools already. A set of small files, some 220 to 600 grit wet or dry paper, a small bench vise, an electric drill, cold blue and a small ball peen hammer are the basics. A small pin vise (to hold a screw), file cleaner and a Dremel for final polishing to a high gloss if needed are handy too, but you sure don’t need them.
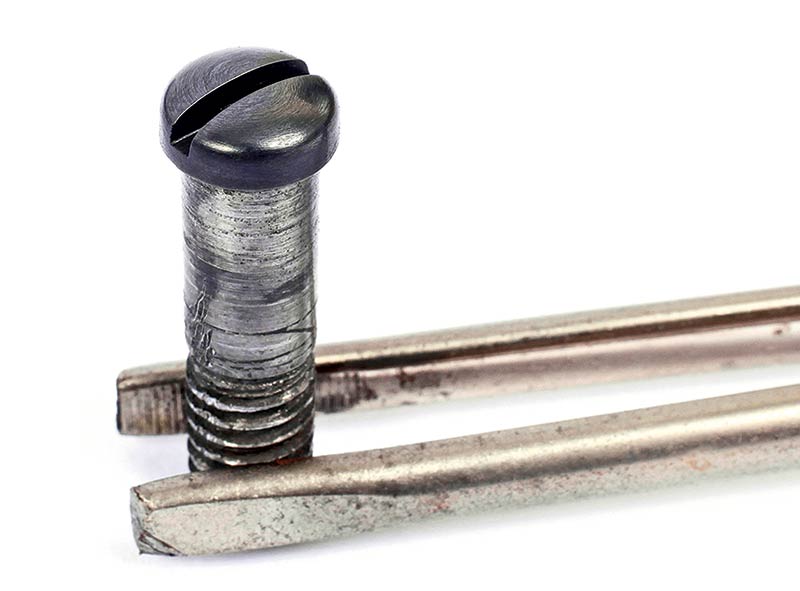
What I’m showing you is a pretty typical way to fix a slotted screw with a beat-up slot area. I grabbed this screw from my “old screw” stash (which you should have, too), and I’m thinking it’s a hammer screw for a single-action revolver of some sort. On a side note, my total time, from “grab the screw” to final blue, was about 15 minutes, so this doesn’t take long. Let’s do this step by step.

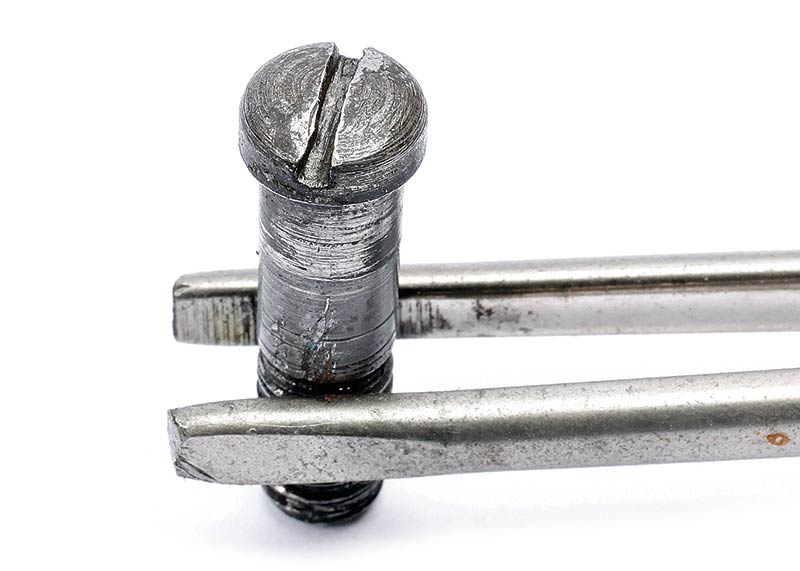
The damage is done. Gunsmith screwdrivers are hollow ground, so the blade fits into the bottom of the slot and bears on the sides down low. Standard screwdrivers are tapered, so when you torque them, they tend to want to ride up and out, which is what happened here. That action deforms the lips of the slot. Most gun screws are not very hard, but tend to be “tough” so they don’t snap or shear off, hence are easy to distort.

Resting the screw in a vise like this allows you to peen the metal back into the slot area where it used to live. Light “tap, tap, tap” movements with a smooth-faced hammer moves the metal. Push it a bit farther than you need to go so you can file it back. I think you’ll be surprised at how easily the metal moves.
I’ve got a bit more peening to do here but you can see how the metal is filling the voids left by the raised burr.

Now, those tiny files come into play. Good ones cut better and are shaped correctly, with proper angles and flats which are actually flat. Use appropriately shaped files to square the slot and re-contour the screw head. If you’re careful, you can come pretty darn close to duplicating the original shape. Take off tiny bits and keep examining things so you don’t go too far.
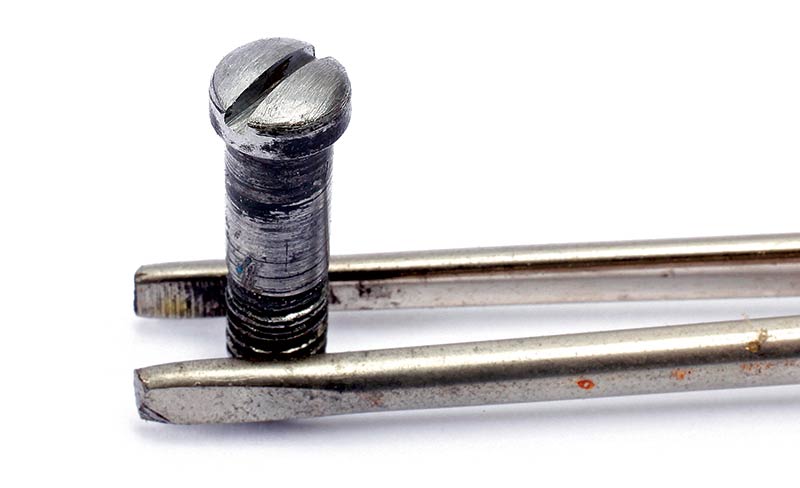
Ta-Da! Don’t worry about the file marks; they’ll come out with polishing, but you can see how the head is nicely rounded again and the slot sharp and squared. You may need to file around the circumference a bit and widen the slot a tiny bit if your thinnest file won’t fit into the original slot. If you have a thin-slotted screw (think: O/U shotguns) look for jeweler’s tools to help you out.
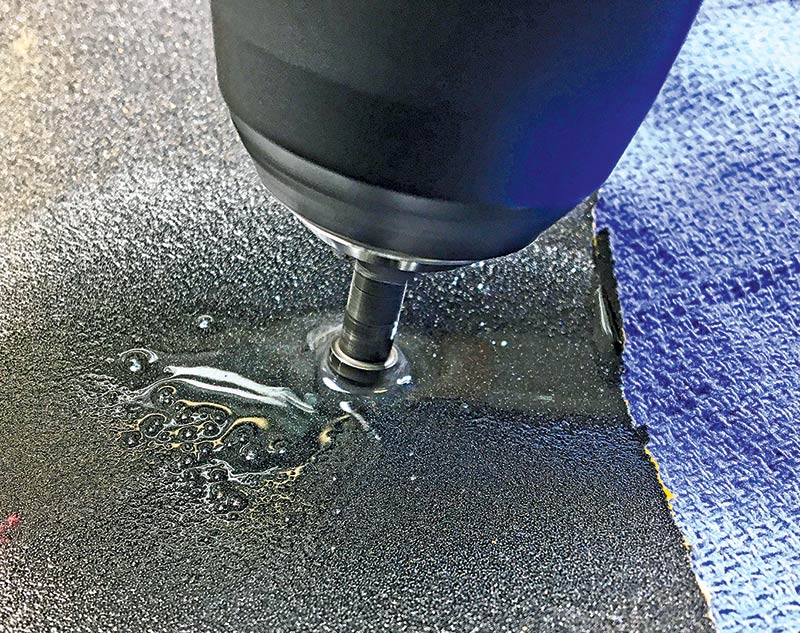
Chuck the screw into an electric drill and go to work with 220 grit wet or dry paper. A shot of light oil goes onto the paper, then just turn on the drill and spin the screw head, sort of moving it around the paper so it gets “new” grit all the time. Change to 320, then 400. If you want a matte finish, you might stop at 220 or 320. If you want a higher polish go to 600 and don’t use oil, allowing the screw to run in the same spot for a while. You can get a higher polish using crocus cloth or by polishing with rouge and the Dremel and a felt bob or rouge on a stiff cloth and use the drill. I stopped at 320 as I wanted a softer finish.
Here you can see how the paper and drill work to get out the file marks. The spinning also imparts a nice circular pattern. Tilting the drill allows you to do the sides and edges too.

I used Brownells Dicropan T-4 touch up bluing. They key to cold blue is to apply several coats thickly and then apply even more using 0000 steel wool soaked in the blue solution, rubbing lightly. If you warm the part some (hot hair dryer sort of warm) it goes on even better. Oil it when you’re done.
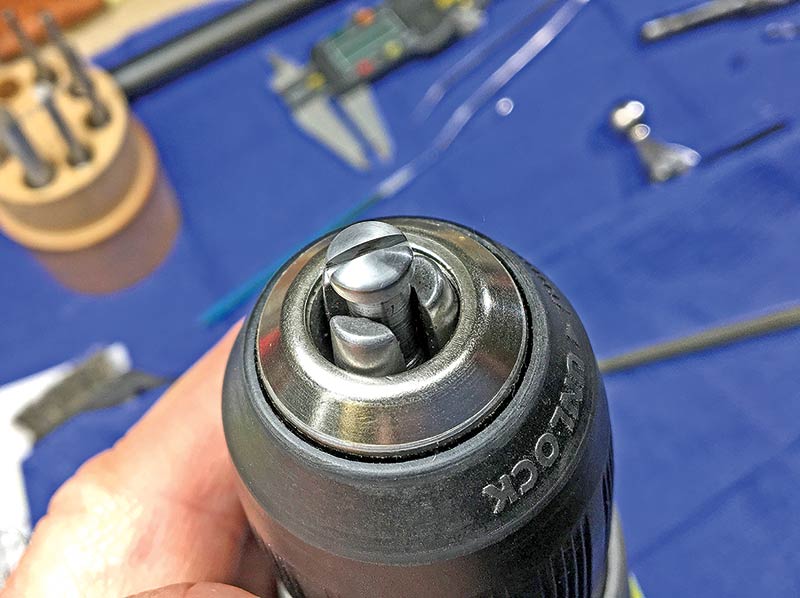
Presto, a “new” screw. If I were really going to use this one, I’d clean up the threads with a threading die and likely chuck it in my small lathe (or that drill!) and polish the shank, getting rid of the gouges in it so a hammer would rotate smoothly. Okay, no excuses now — you know how to do it. Just practice on some old screws before you tackle a “real” one.