Holster How-To
Aww, Shucks! I Made It Myself …

After final shaping and sanding, presto — you get a holster. Practice makes perfect, and as your skills
improve so will the fit and finish. Tank’s happy with his first-attempt though!
This piece is for you idle-handed hooligans who enjoy the challenge and satisfaction of doing things yourselves. Ever made a shuck? You know, those things we carry our shooters in. I’ll admit to being partial to cowhide, but Kydex is pretty easy to work with, while being functional, giving you bragging rights when some range-rat asks, “Where’d you get that cool-looking holster?” Plus, they’re mighty handy, as you shall see.
The fine folks at KnifeKits.com do holster kits, too, and have all the goodies necessary to help you become the Kydex King for your herd of handguns. Did I mention making your own holsters is fun? As time goes on, ideas will magically “pop” into your noggin for a custom style holster all your own.
So sit back, relax and ol’ Tank will walk you through the steps to making your own gun bucket!
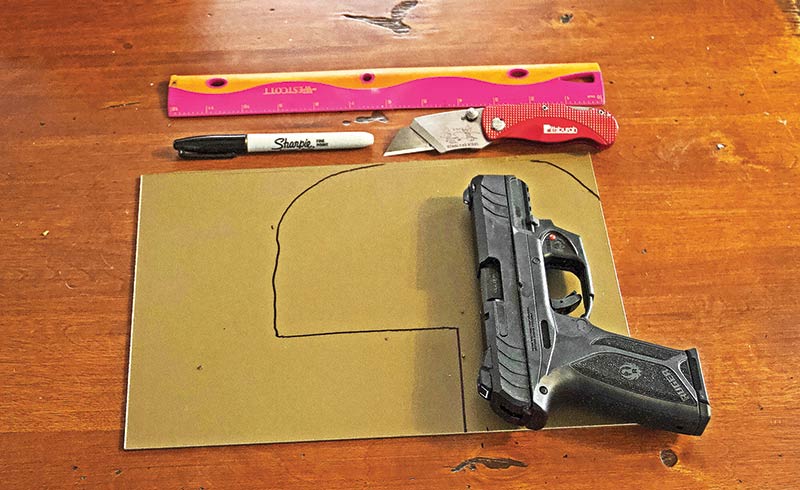
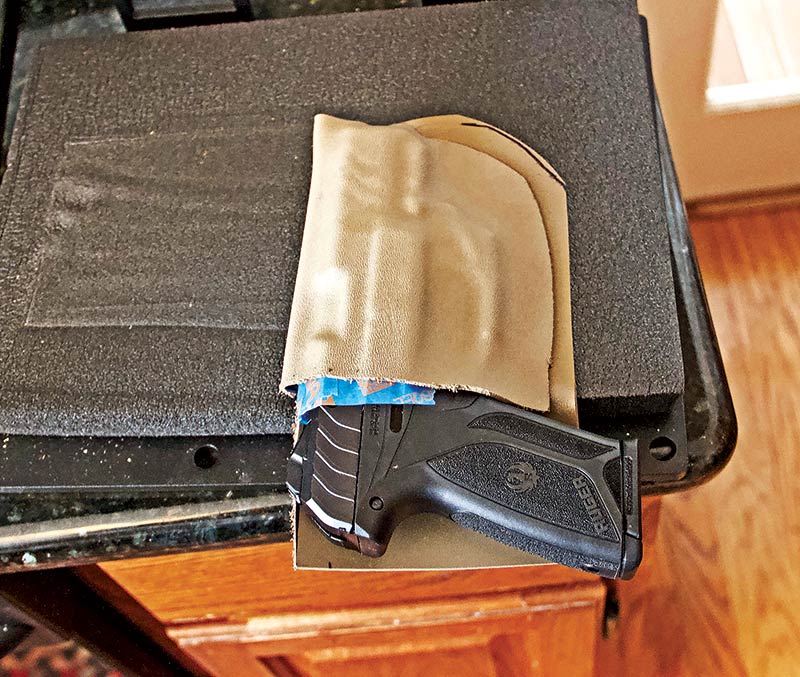
Tank lays out his Ruger Security 9 on the Kydex to set a “rough” pattern. The tab by the grip will be folded over for a self-contained clip.
Gettin’ It Done
Get your Kydex sheet and lay it shiny side up on your workbench. Lay the gun on top, with about an inch of extra Kydex on the edge.
Now, slowly roll your pistol over and trace a rough outline of the gun. You want to leave that tab. It’s going to be our means of attachment for the holster. Use a band saw, coping saw or razor knife to trim your excess Kydex.
We need some painter’s tape and a 1/4″ dowel for this next step. Simply tape the piece of dowel behind the front sight, extended to the rear sight. This will make us a nice sight channel so our front sight won’t get stuck while drawing.
Now comes the fun part. Preheat your oven to 350 degrees. Lay your Kydex rough-side down on a baking sheet and bake until the Kydex gets soft, usually around 10 minutes or so.
Place the hot Kydex into your press and place your pistol in place, and roll the Kydex over, making sure to press the top of the gun tightly against the Kydex to form your barrel channel. Close your press and clamp it tight.
Here’s our Kydex taco after heating/pressing. The detail printing you see is what holds your gun in place.

Using a pencil, we fine-tune our pattern and mark where we drill our 1/4" rivet holes. We’re getting close.
Final Bits
When the Kydex cools, remove your gun. Since this is our first run, there will be plenty to trim. As you get more experienced, you’ll know better how tight you can cut your pattern. But hey, this is my first run too, so we’re learning together.
Mark your rivet points and drill your holes with a 1/4″ drill bit. Set your rivets, and examine your “rough” holster. Using a pencil, draw lines where you want to trim, remembering tension comes from the trigger guard area holding your gun in place.
After trimming, finish your edges with 320 grit emery cloth or sandpaper.
You’ll need a heat gun for this next step. Get a piece of wood the width of your belt. Lay the tab over the wood and apply heat from the heat gun. The tab will soften and droop over the wood. Fold a small bend for extra gripping ability and let it cool.
Ready to make another? The nice people at Knifekits.com have all the accessories you need, including tips and tricks, instructions, and clips and fancy fasteners to customize your holster as you see fit.
For more info: www.knifekits.com