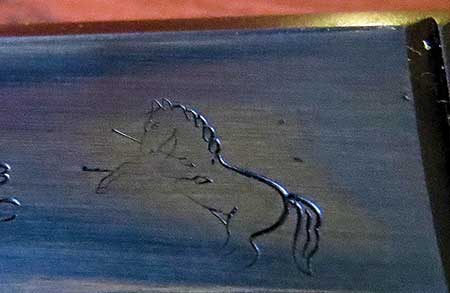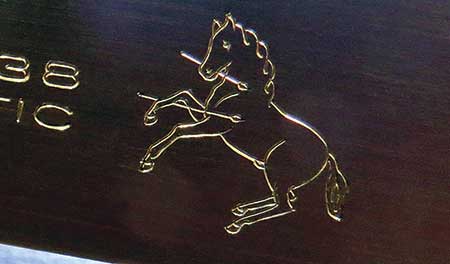
Simple — But Complicated
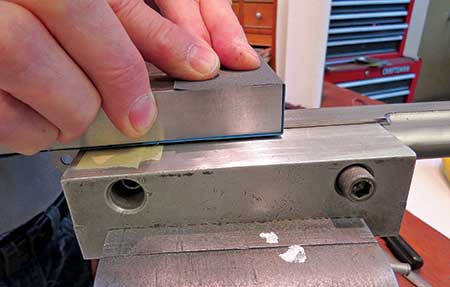
If you’re prepping a gun for a finish with bead-blasted edges and polished flats, keep this in mind — every mark you put on those flats will have to come out. So don’t scuff up the flats during the work, and don’t bead blast them either. Protect the flats with tape while you’re working, and again when you blast the round bits. I carefully mask the flats with two layers of Frog tape (it holds up best in an abrasive cabinet), and trim with the edge of a razor blade for a clean line. Don’t concentrate the media on the edges of the tape, or it’ll lift the tape. Sneak under and roughen up the finish you have to polish. Once the bead blasting is done, carefully peel the tape and touch the blasted edges as little as possible.
On to the polishing. The goal here is a flat surface, polished to the same sheen and luster overall. Most of the newer frames are pretty flat, but a lot of the older Colt frames have little hills and valleys adding a real challenge to the job. Let’s take the easy path first. With a reasonably flat surface, you have very little correction to do, so pick a good starting grit (usually 320, unless you’ve put a few dings or scratches in while working). Use a good grade of wet/dry paper, and don’t be skimpy. When it loads up, change it.
I use a flat steel block for sanding, but mine is a little different than the norm — it’s 2.5" x 5" and about 1" thick, weighing a couple of pounds. This does two things for me. It controls the block, and running it dead flat is easier. And the weight means the block does the work. Whenever possible, run the paper in one direction. Every time you change direction, you put marks into the finish. Decrease grit size in small increments (don’t go from 220 to 600). It greatly reduces the overall amount of material you end up removing, and quickly reveals any fine scratches you may have missed. Once finished, protect those flats from fingerprints, impacts with other parts and humidity until you can get them to the finisher.