Breaking The Mold By
Making Your Mold
It all started with a YouTube video. While searching for something, I ended up down the rabbit hole. You know how that goes. But I stumbled onto a video about making a cast bullet mold. Hmm … It didn’t look too complicated — especially since I had someone else in mind to do the work! And it was actually quite interesting. So, I forwarded it to our own special editor, Roy Huntington. Roy responded, “I think can do that, Tank.” And a plan was hatched.
A few months later, Roy asked for the bullet’s dimensions. Since I was going to be powder coating the lead slug, lube grooves wouldn’t be necessary, making it a nice beginner project. I made a rough sketch on the clean part of my napkin and sent the sketch to Roy. He did the rest.
I was looking for a slug weighing around 400 grains for my BFR .500 Linebaugh. I was off by about 120 grains. So much for my calculations! But the 520-grain slug would now serve two purposes: Its original purpose was for my BFR .500 Linebaugh, and I now also had a proper slug for my CZ 550 .500 Jeffery rifle. Sometimes, so-called mistakes are actually blessings in disguise.
Roy did a great job taking pictures, along with telling us what he did to make the cutter for the mold blocks. Stephanie at Lee Precision was kind enough to send us some #90801 blank double mold blocks.
At this point, I have cast a few dozen bullets, powder coated and sized to .512” with a Lee Automatic Processing Press (APP). I will load them for my .500 Linebaugh and .500 Jeffery rifles and write a follow-up article with the load data and results.
Roy had a piece of drill rod, which is hard enough to drill aluminum easily.
He turned to .513” diameter, which matched the bullet Tank wanted.
He then shaped it into a flat point with a .360” radius on the nose.
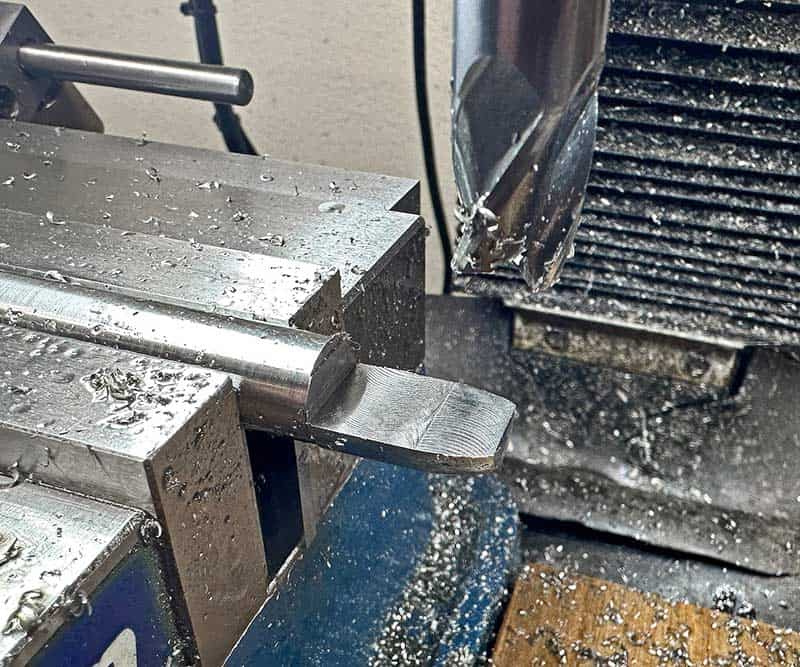
To make a cutter, the original round shape had to be milled exactly in half,
then the cutting edges sharpened, with reliefs cut so it acted a bit like a drill.
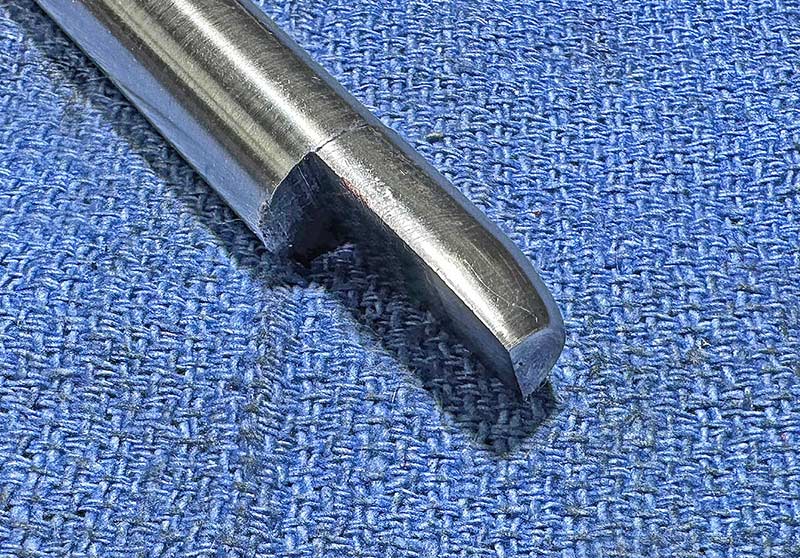
The final cutter, sharpened and with small relief cuts. This was the
first time Roy had done this sort of thing, so both he and Tank
were wondering if it was going to work!
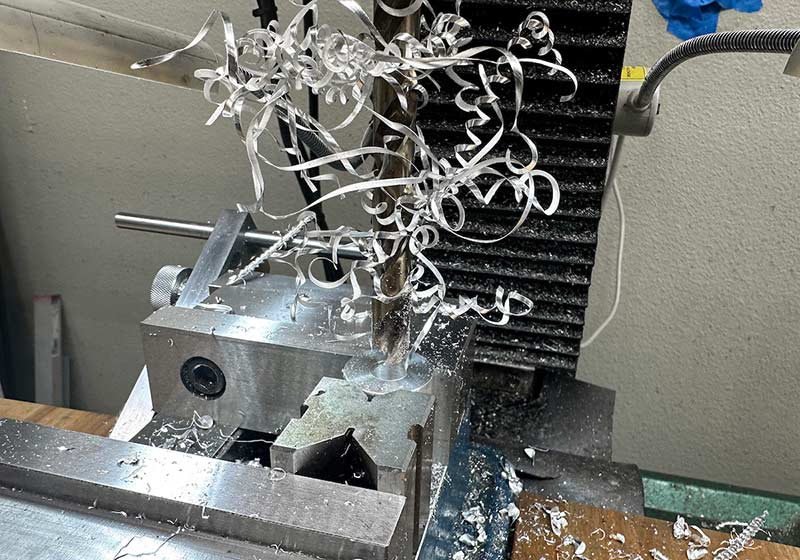
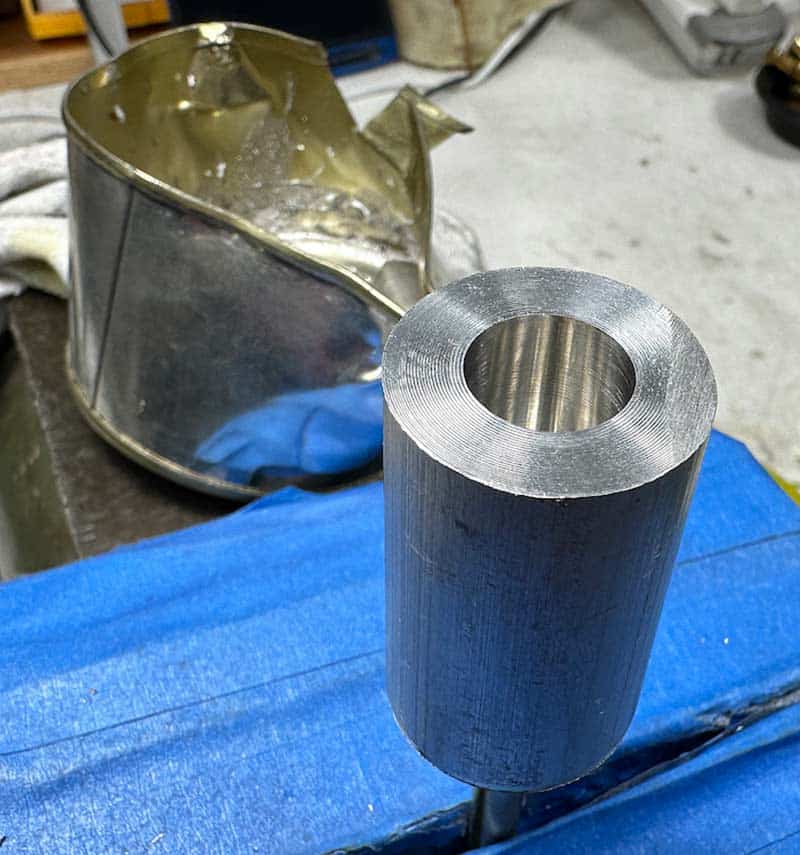
Roy setup a piece of aluminum round stock to test the cutter to see
if it actually worked. Since the cutter was more of a reamer, Roy drilled
out the majority of the stock first. Aluminum makes a huge mess when drilled!
The reamer Roy was going to use for a set of blank Lee
mold blocks cut the test block perfectly!
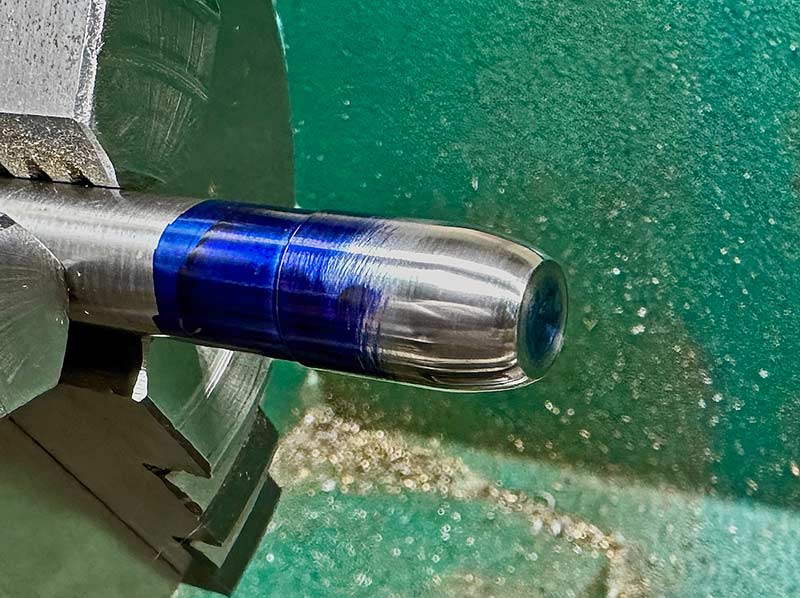
Roy used Brownell's Cerosafe, a low temp metal alloy, to see if
the mold worked. He drilled a through-hole in the other end
to punch the bullet out when done.
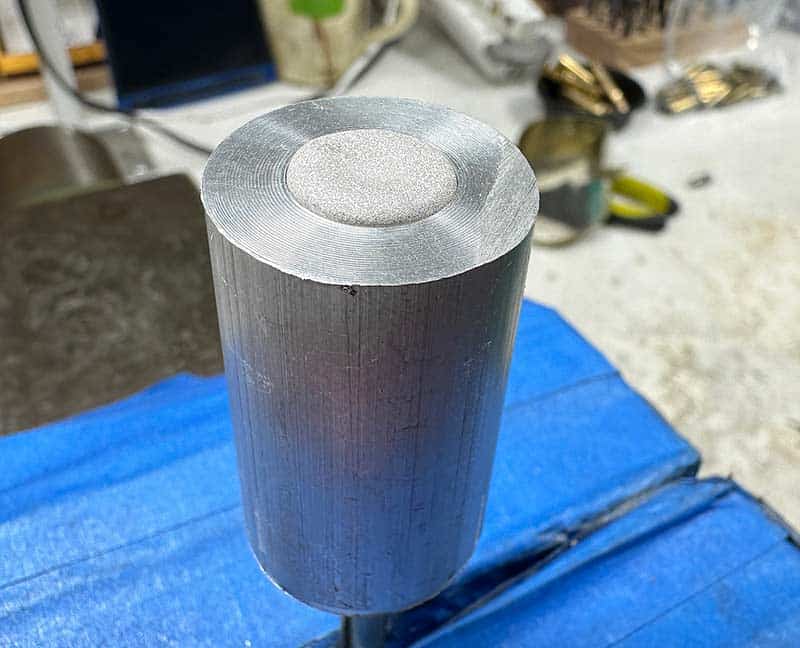
Cerosafe melts at about 180 degrees and a heat gun can be used.
Here, the pour has filled the text block. It sets up almost instantly.
It’s most-often used for chamber casts.
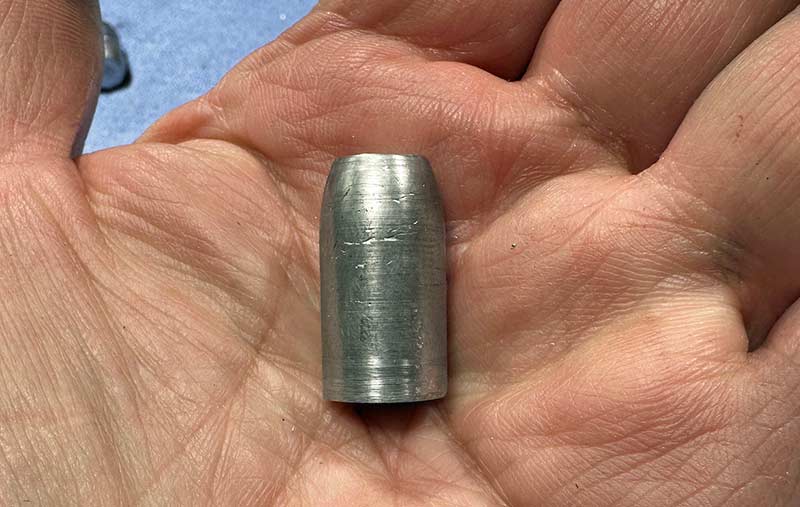
After knocking out the “bullet,” Roy saw the mold shape was good to go.
The imperfections are common in pours and Cerosafe doesn’t act the same as lead.
Roy followed Tank’s dimensions to make the cutter and
found the final bullet matched them spot-on.
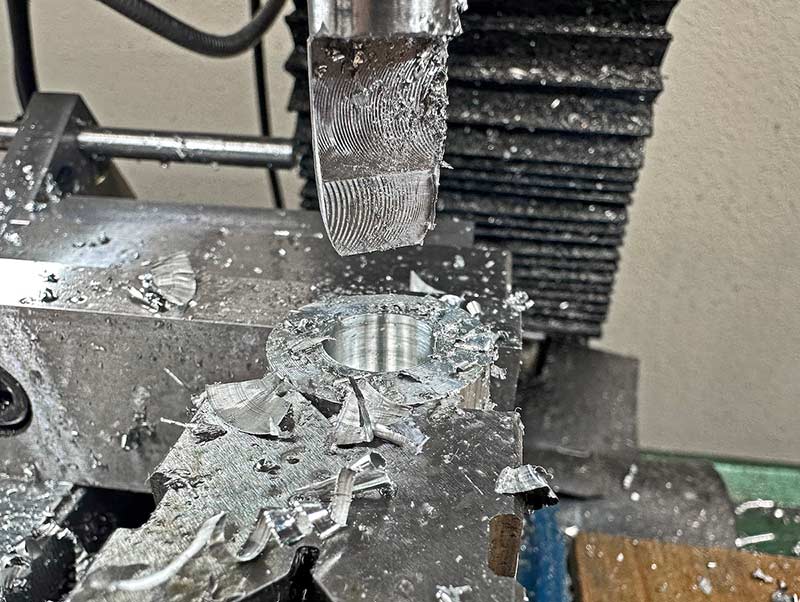
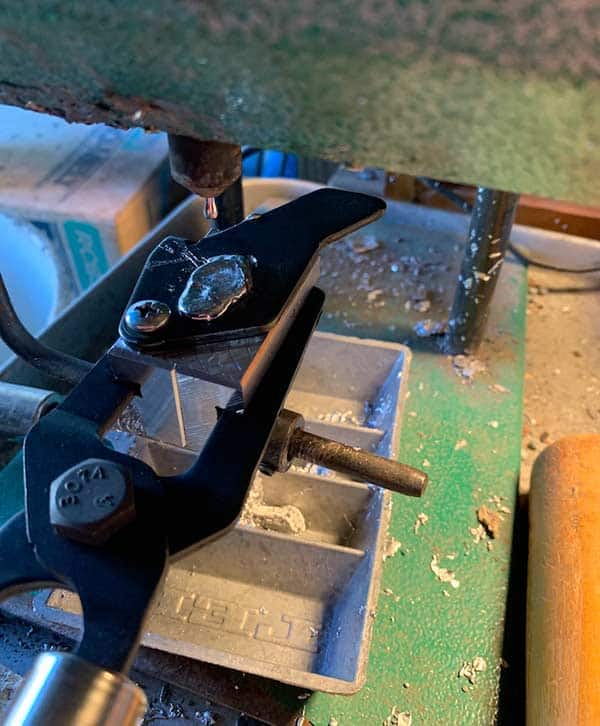
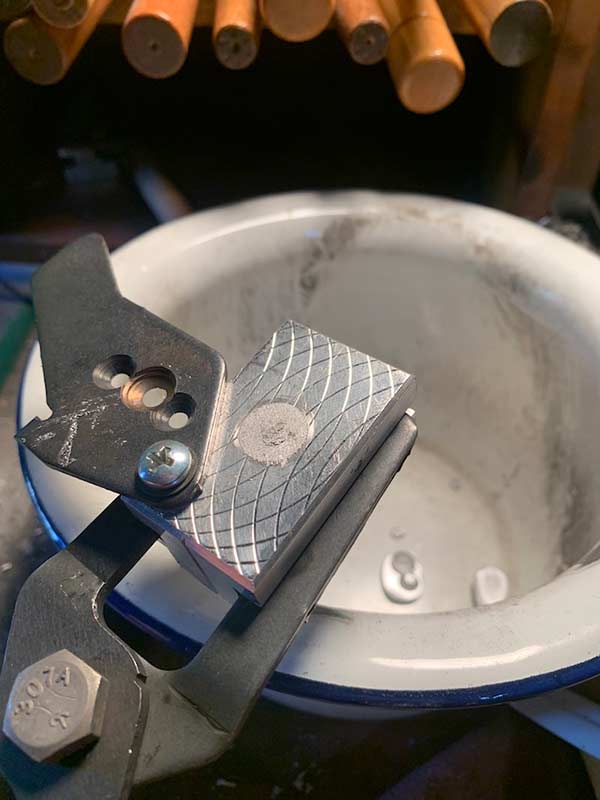
The big moment arrives! Roy uses a .50” mill to accurately
mill out much of the raw aluminum in the blank Lee mold.
After much “measure 10 times, cut once” thinking, the cutter did a <>br>
clean job in the Lee mold. It’s slow going, as the chips need to be
cleared constantly since there are no flutes to clear them like a drill bit has.

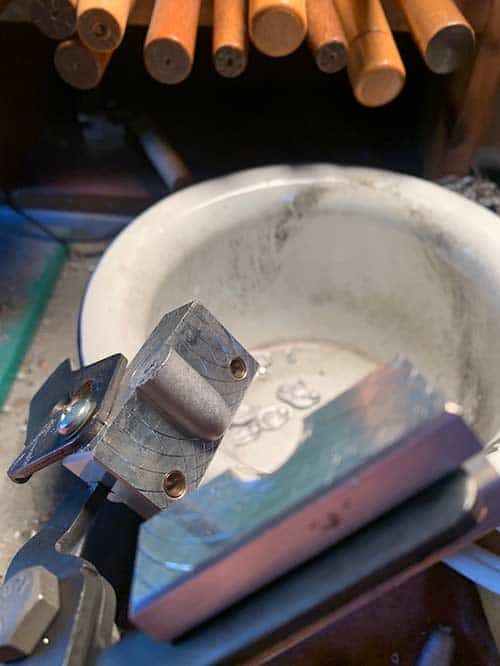
This gives an idea of what the cutter does. This is half of the Lee mold,
with the cutter almost inserted completely. Roy was surprised by the
excellent finish the cutter left.
“Just like downtown …!” Here’s the final mold and a Cerosafe bullet cast in it.
Everything spec’d out fine. Roy did have to drill another pour hole as he forgot
to line up the drilled hole with one of the original pour holes in the sprue cutter. Oops
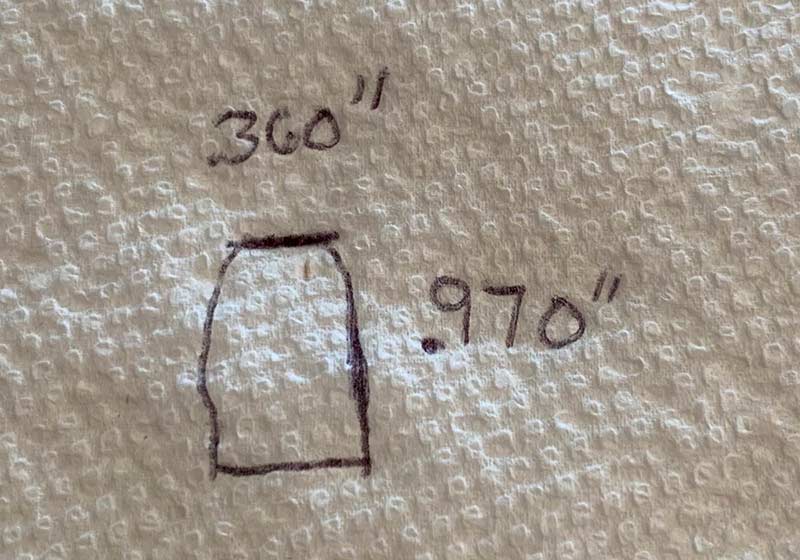
Tank’s high-tech sketch sent to Roy.
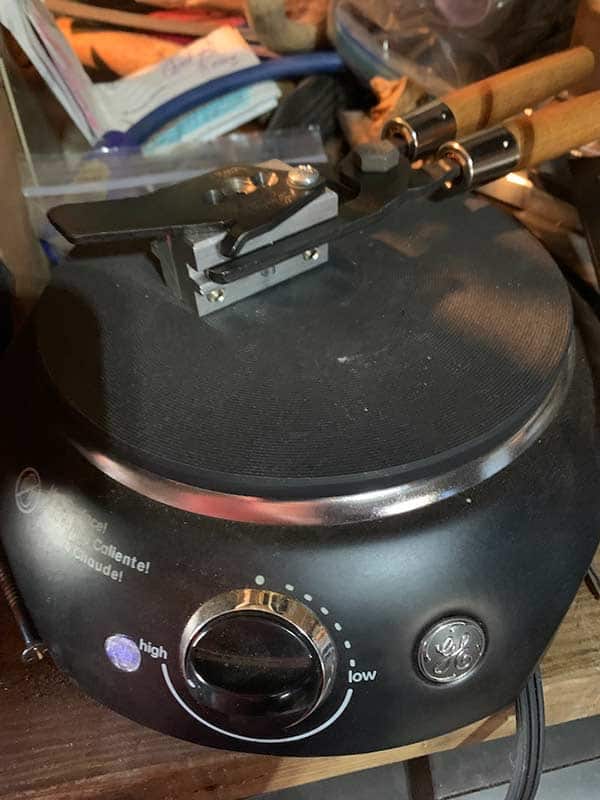
Prior to casting, Tank pre-heats the mold on a hot plate.
Filling the mold with hot lead alloy.
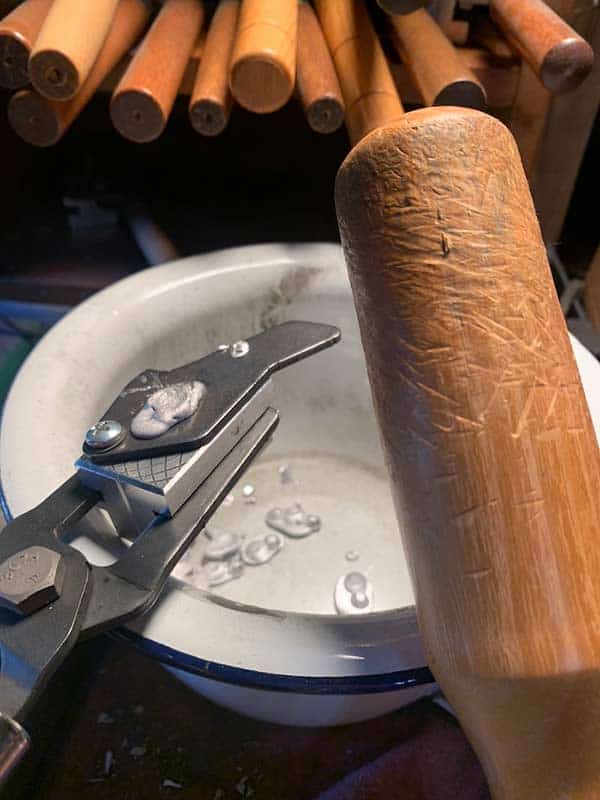
Getting ready to tap the sprue plate with a mallet Roy
made for Tank. Roy’s sure is handy!
Bottom of the slug after sprue is cut.
There’s our slug! Look how smooth it looks!
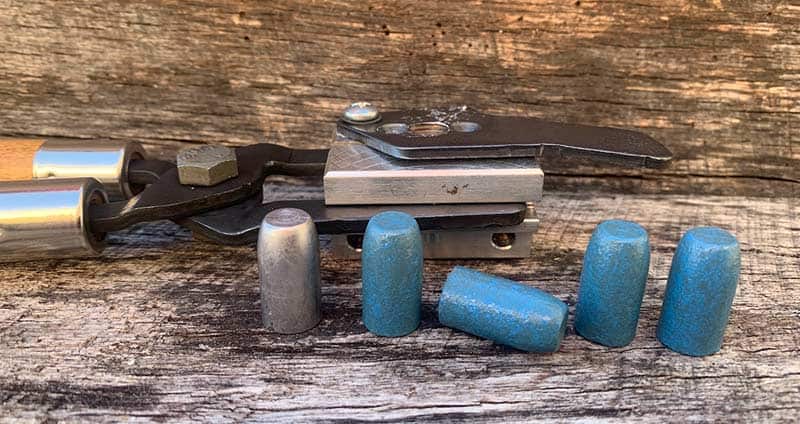
Here’s the mold, a naked bullet and some powder coated slugs ready to load.