DIY Gunleather
It's Easier Than You Think
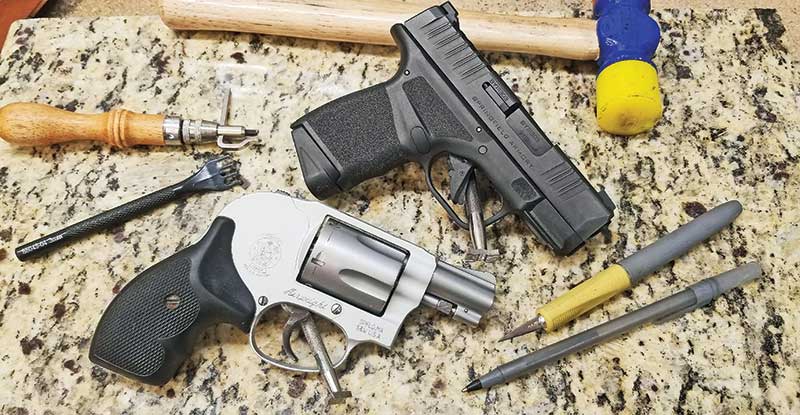
Your firearm of choice and a few tools and materials will get you started making
your very own holster. Our sample design works well for revolvers or autos.
The world of concealed carry is brimming with cutting-edge synthetic materials and complicated designs. They often promise to remedy every problem encountered when trying to pack some heat. Kydex and other polymers seem to dominate the holster market, especially with us younger guys. It’s cheap, rigid, molds well and does a great job of retaining its shape — and the gun.
But — leather has a spirit, a class to it plastic can’t touch. People have been using leather since before history was penned, and its value as a material has yet to wane. Many still prefer leather holsters to their synthetic counterparts, and more often than not I forego rigid practical plastic for supple, old-world cowhide.
I enjoy making my own holsters these days and readily confess I’m no expert. Call me a hobbyist with a few years under my belt — and experience to share with you. You might find creating your own gear will save you money — and quickly become a satisfying hobby.
This is a simple process at its core but can be as creative and customizable as a person can dream. Stamping, tooling, texturing, dyeing and other decorations add to the overall look of the holster but aren’t critical to making a quality piece of gun leather. It’s so satisfying to carry a gun securely in a holster you made, and I have a hunch you’ll soon find this out for yourself. Keep in mind there’s plenty of YouTube videos showing this process so give some a watch to answer questions we didn’t have the space to cover here. Now, go do it!
For more info:

Use a strip of leather to measure around the gun and mark where it touches.
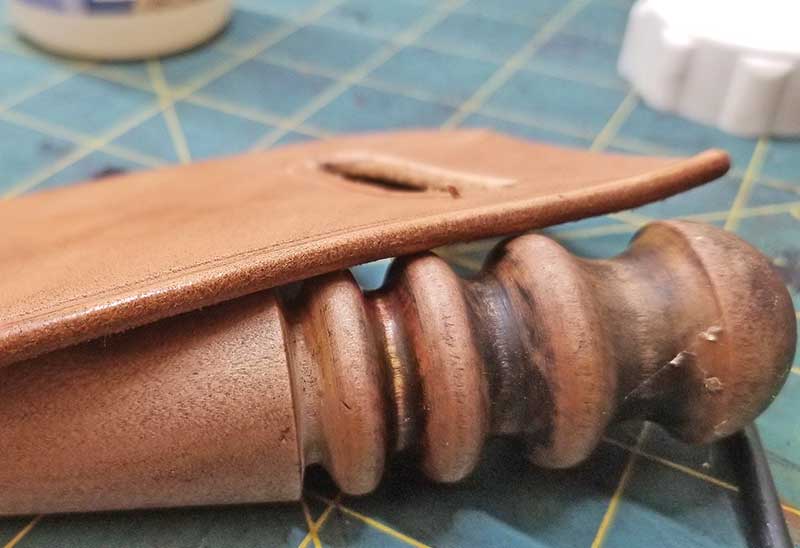
This is a critical measurement and will ensure a good fit. Use some type of
dowel to make a sight channel. The front half of the pattern is complete.
Now fold it in half and make the back.

Use lightweight cardboard, like a file folder or cereal box for the pattern.
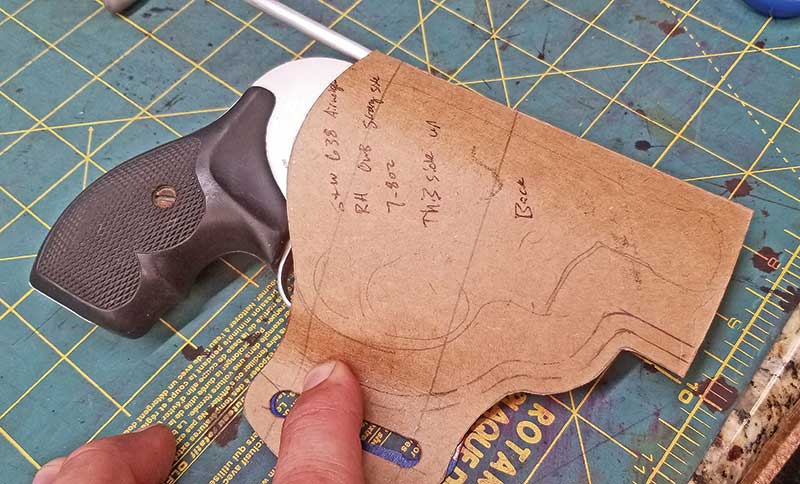
Once the main holster pattern is cut out, test fit the gun to
make sure stitch lines are in the right place.
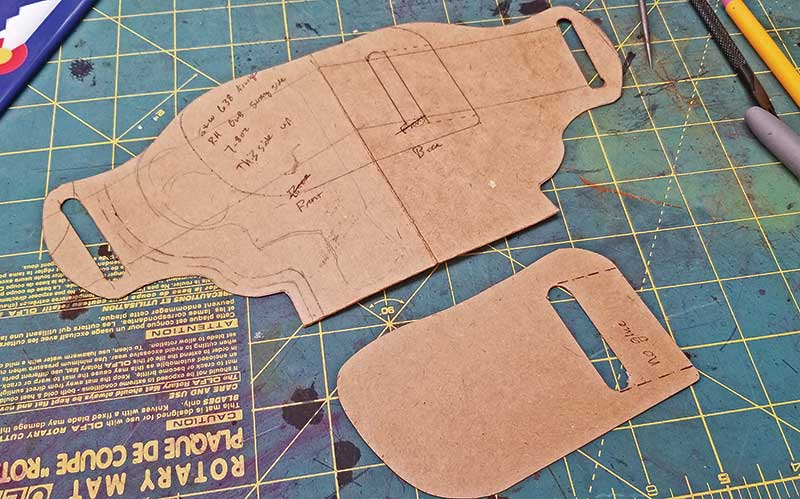
The finished holster pattern starts to give you an idea what the final design will look like.
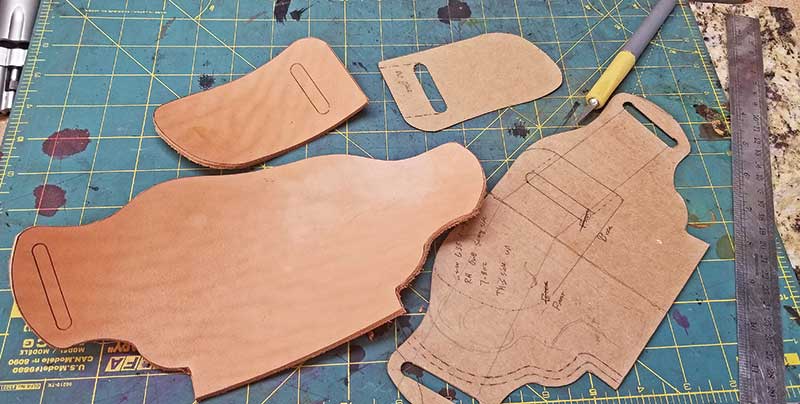
Inspect the leather before tracing and cutting. Leather is a natural material
and will sometimes show scars, brands and other blemishes. If you don’t want
these on your holster, make sure to avoid them.
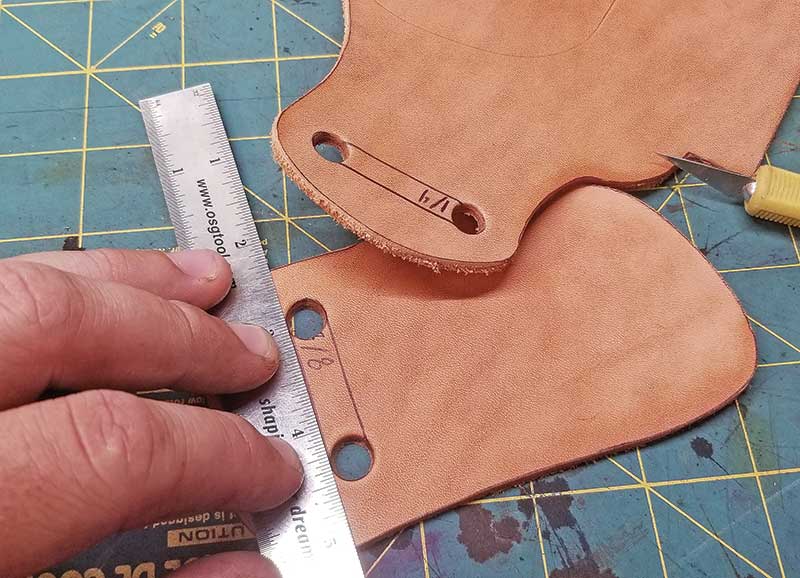
Making belt loops is easy with a round punch and razor knife.
Connecting the two holes along the lines makes for one smooth, oblong hole.
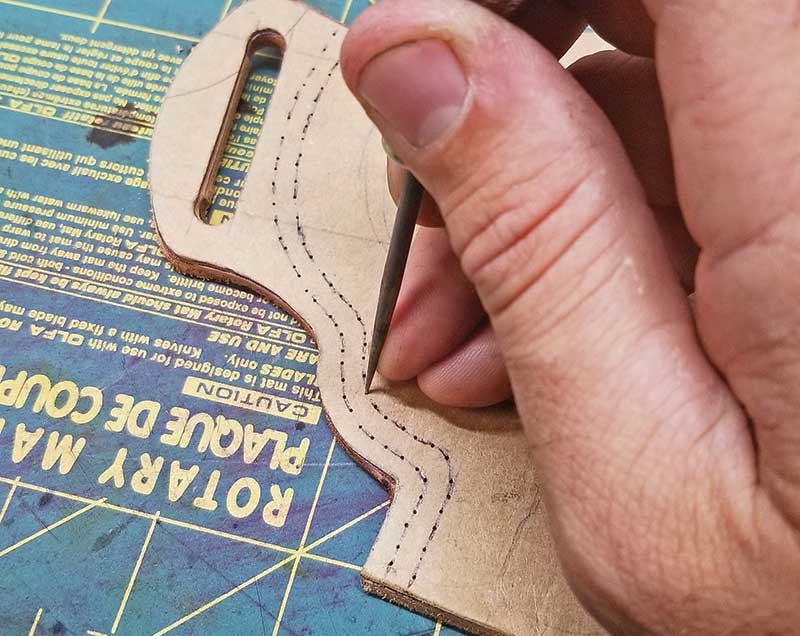
Transfer stitch lines from the pattern to the leather by laying the pattern
over the leather and pricking a small hole through the cardboard into the leather.
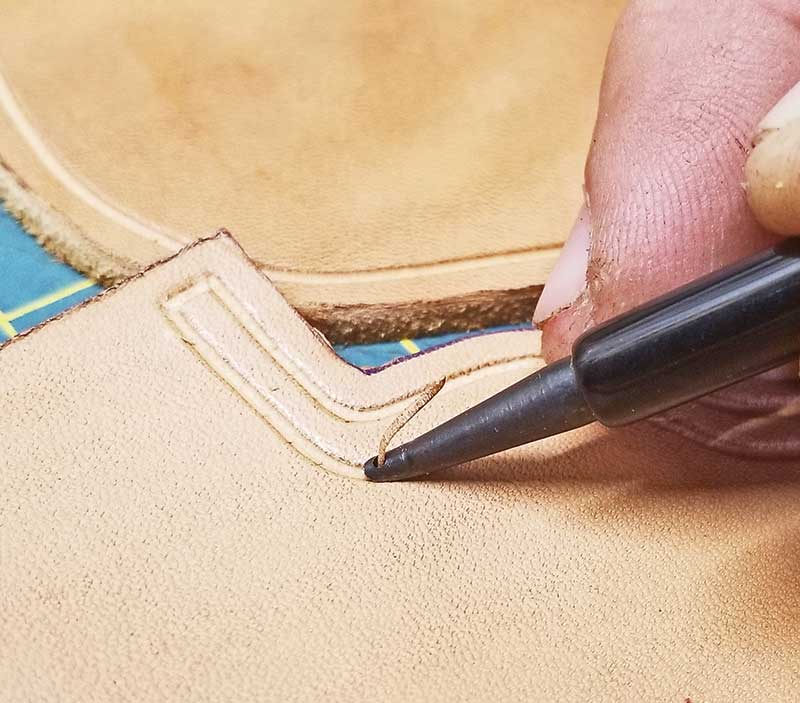
After transferring, use a stitching groover to groove over the stitch lines.
Slicking the edges makes for a much more professional, finished look.
A product called gum tragacanth is applied to the edges before burnishing
to make them nice and shiny. Water and a smidge of soap will do the trick as well.
Canvas makes a good “polishing” cloth.
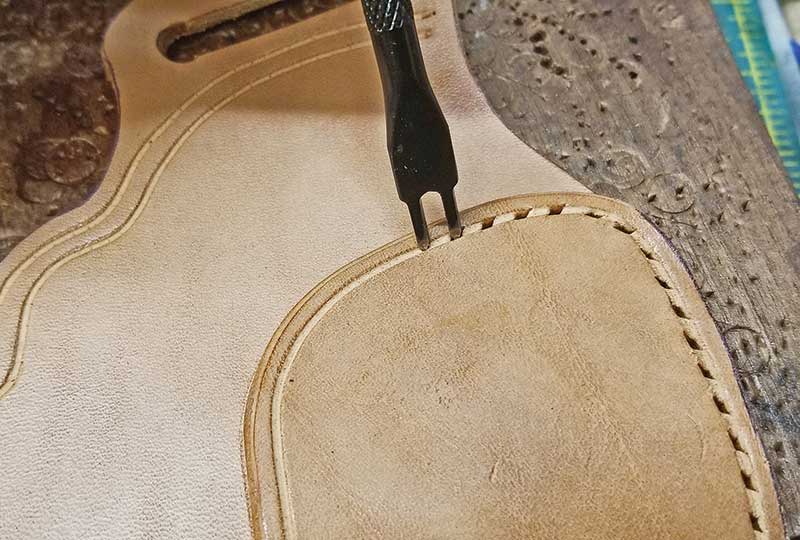
Use a diamond-shaped stitching punch to create evenly spaced holes.
Wing dividers and a small drill bit work well too.
A glue like Barge or “contact” cement is used to “glue” the pieces prior to stitching.
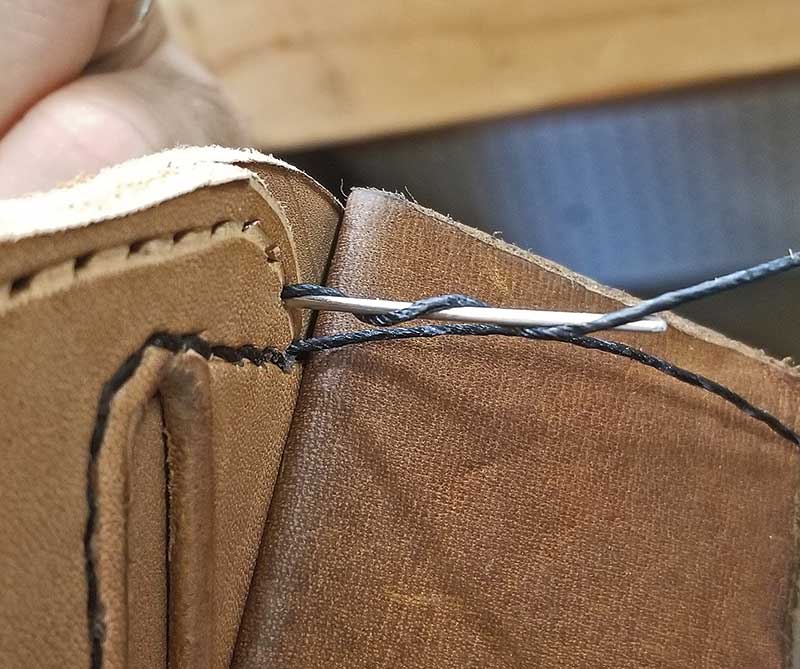
When stitching, it’s important to wrap the thread once around the second needle as
it passes through the hole so it ties a knot to keep the stitch secure.
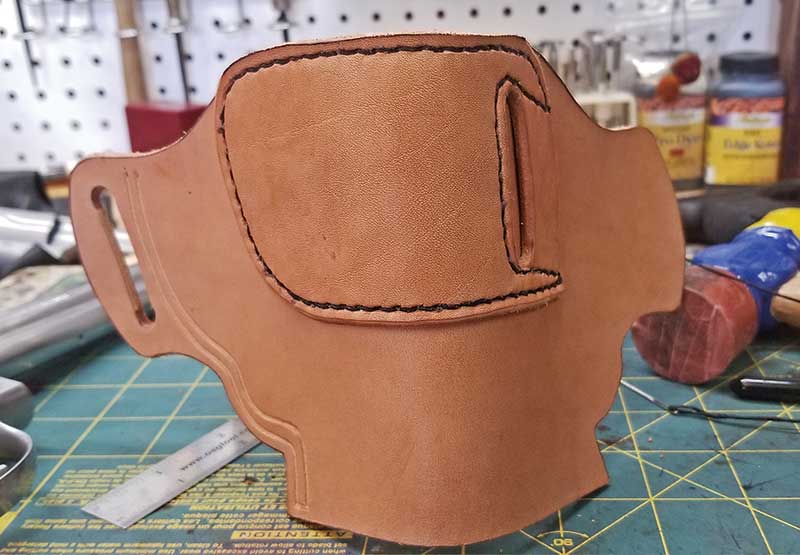
After stitching on the stiffener, the hardest part is complete.
Be sure not to stitch the belt loop closed though.
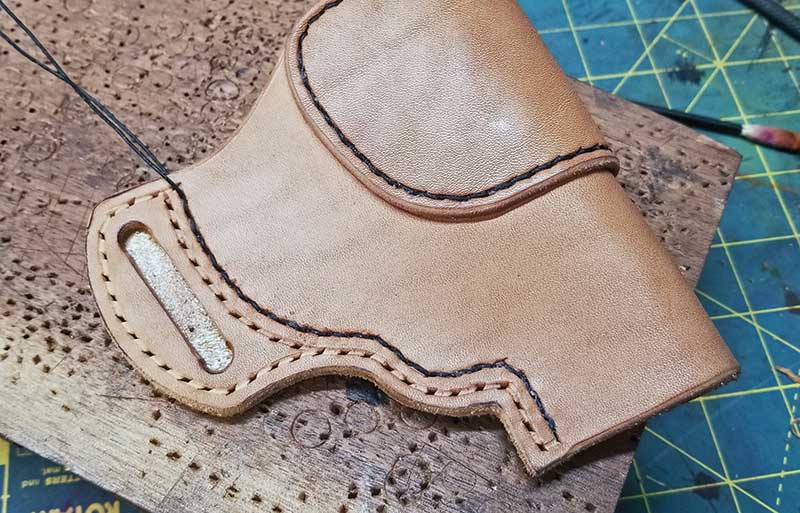
Repeat the same hole punching and stitching process for the main stitch line.
Then the rest of the welt loop can be punched. The stitching ensures the
leather won’t move and the hole will line up and look professional and finished.
Wetting the holster for a few seconds helps to mold the holster to the gun.
Leaving an old gun belt in the loops while they dry will make sure they aren’t too tight.
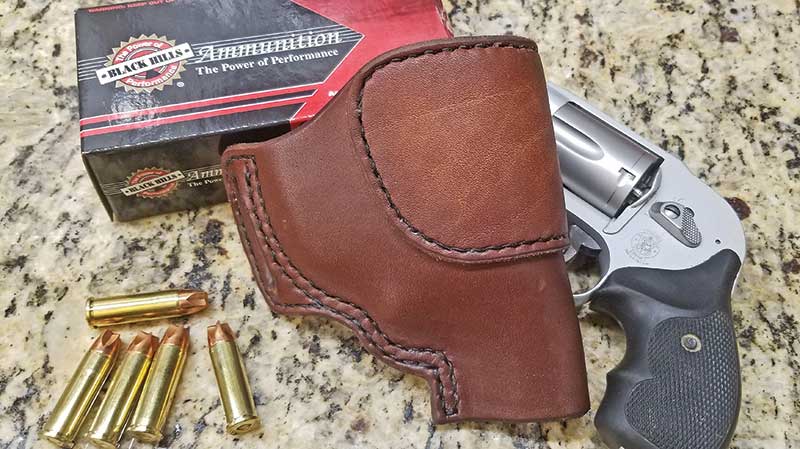
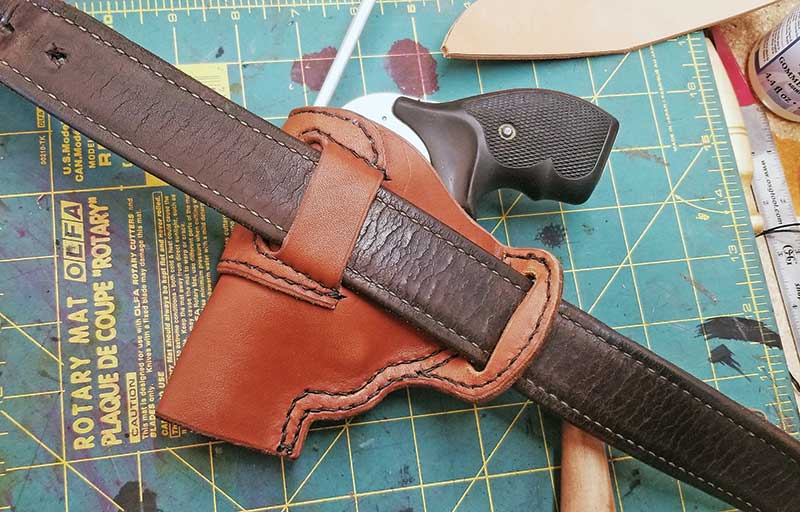
After the holster is completely dry Neatsfoot oil is applied.
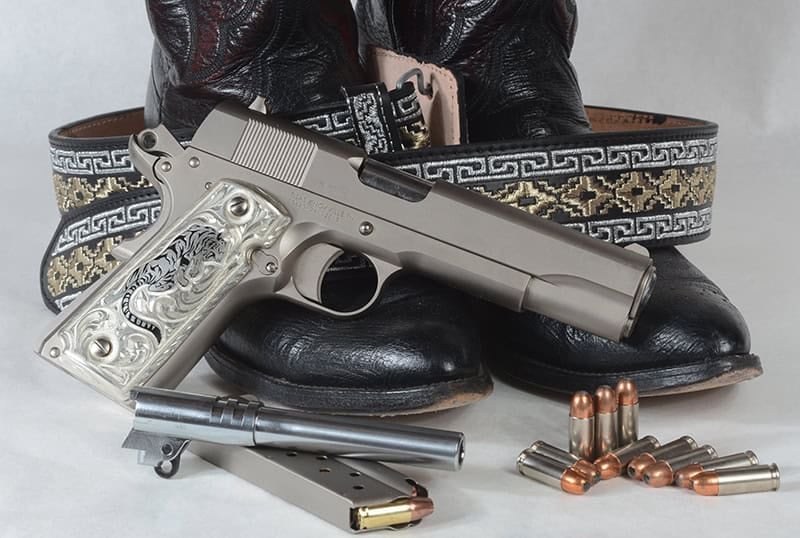
The holster is now ready to carry your favorite gun.
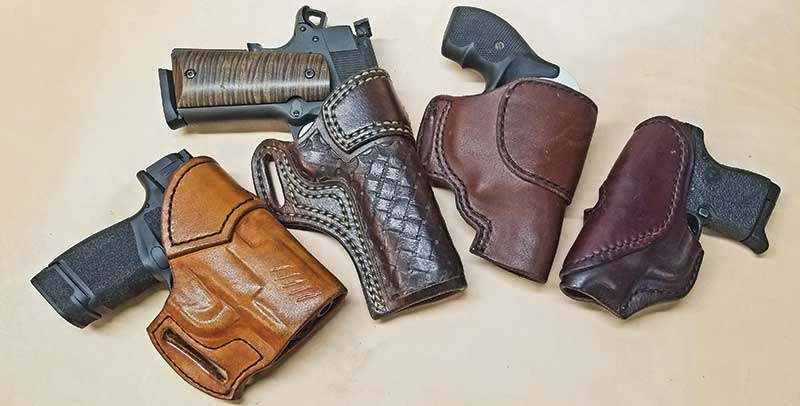
Dyes, stamping, stitching, tooling and other elements can
really dress up an otherwise simple holster design.