How To …
Now on to process, for which I relied heavily on both instructions from Brownells and the book Colour Case Hardening of Firearms by Dr. John A. Seim. You’ll find Dr. Seim’s book on Amazon, where it runs a cool hundred bucks. Even so, it’s an invaluable resource and I would be hesitant to take on CCH without having read it.
The first step is annealing, a process undoing any prior hardening the part has undergone. In addition to reducing the chances the part will warp or crack later, annealing softens the material. This will make it easier to polish, which is important because CCH shows up better on polished surfaces than matte (Brownells recommends a 400-600 grit polish).
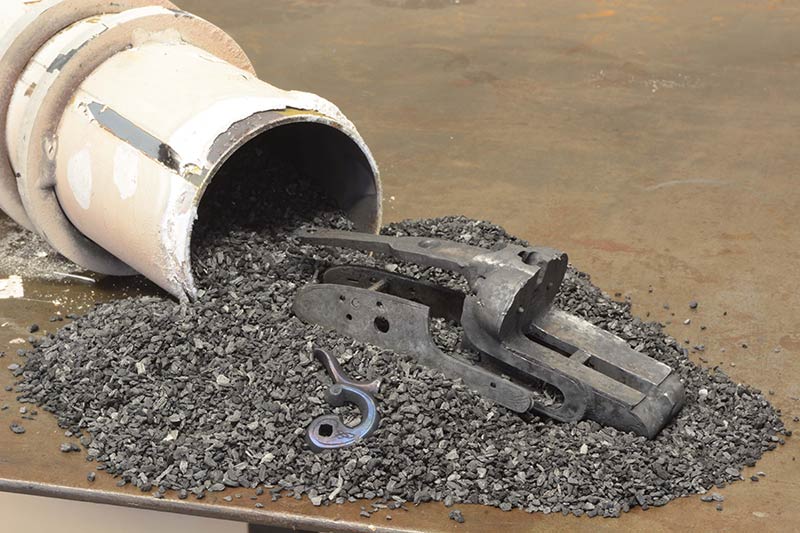
While Seim describes a couple different ways to anneal, the method I chose is packing the part in the crucible with hardwood charcoal, heating it to 1,400 degrees and keeping it there for an hour, then allowing it to cool slowly without opening the kiln, a process which can take several hours.
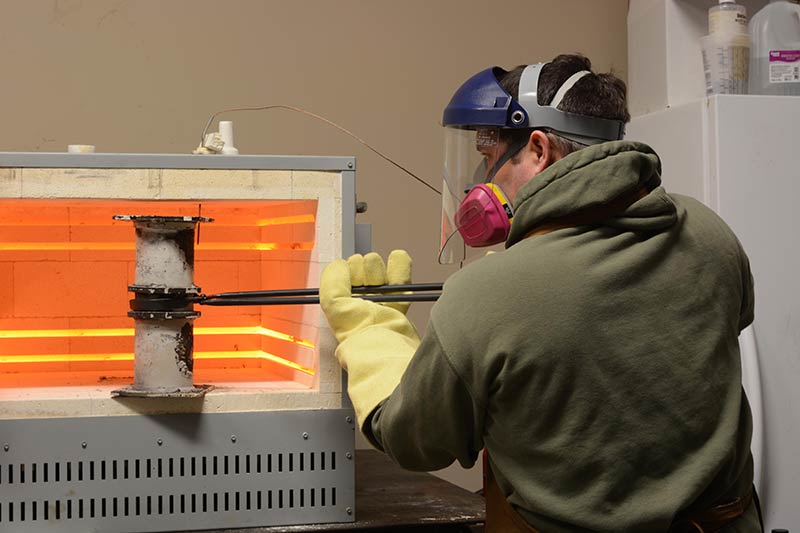
The next step is what produces the color, and it’s really two: heating and quenching the parts. Most of us who have seen steel heated by a torch, welder, grinder or some other source know it changes color when it gets hot. Suddenly dunking this hot piece of steel in liquid, called “quenching,” basically freezes the color in place, and with it the hardness of the steel at that temperature. So, while the color is usually the desirable part of CCH today, it’s largely a byproduct of the heat and quenching process.