Tips And Tricks
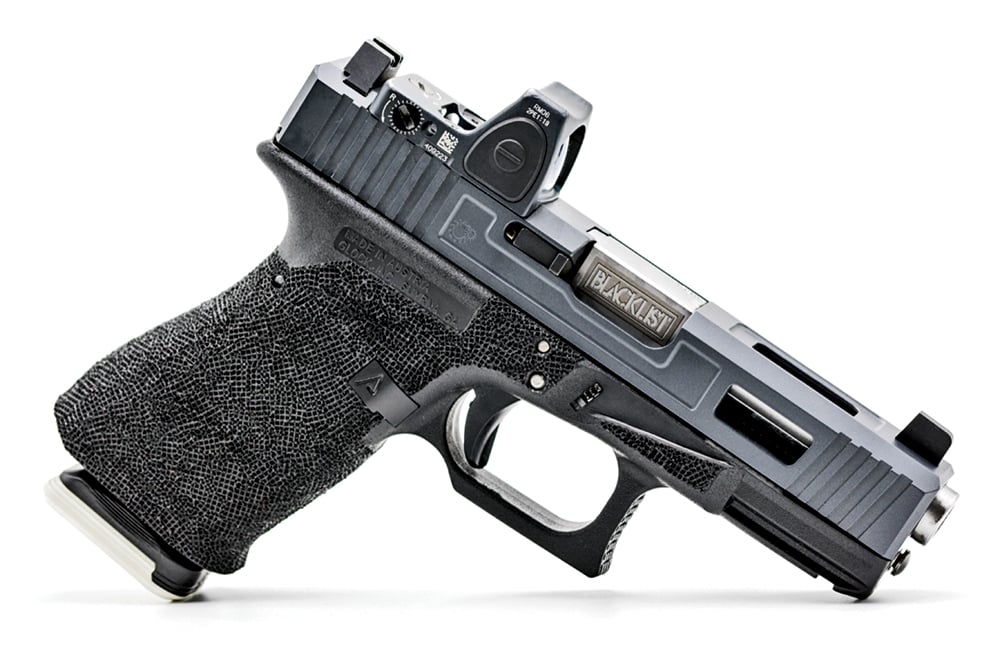
More aggressive stippling generally lasts longer, ultra fine (microdot) can wear down in under a year with steady use. The front and back straps seem to be the most helpful in terms of grip, but another often-overlooked portion is the body side of your carry gun. I essentially stipple half of my carry gun, leaving the part touching my skin smooth, whereas the other half is really aggressive.
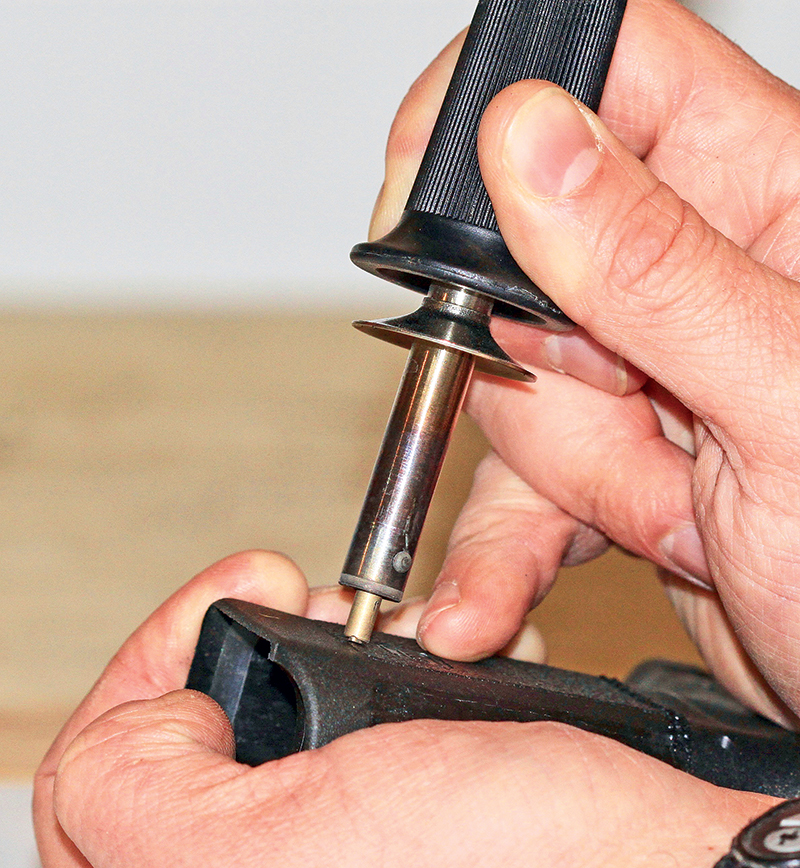
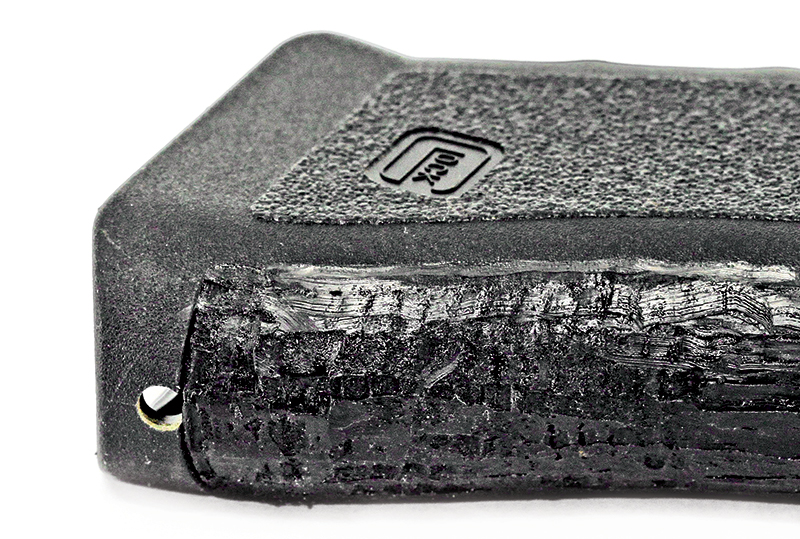
The number one rookie mistake? Sinking the tip in too deep. Start shallow, think 0.030″ or about the thickness of two standard business cards at most.
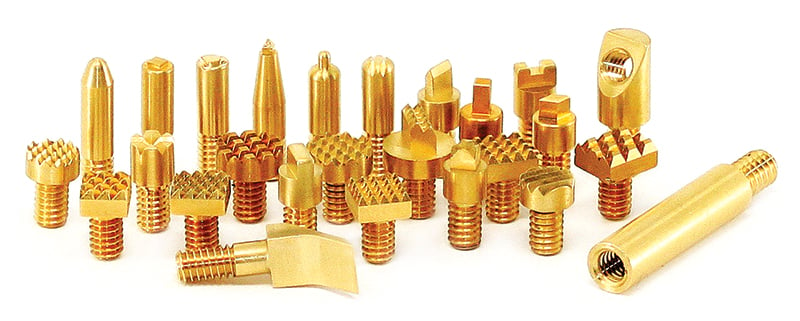
Also, some tips are best used at an angle, while others, like many of the OTDefense tips, are designed to be used 90 degrees from the part being stippled. Practice will tell you.
With most materials you can let the burner do the majority of the work for you, and let it flow into the material without you pushing very hard. Don’t be in a hurry or greedy to move lots of material!
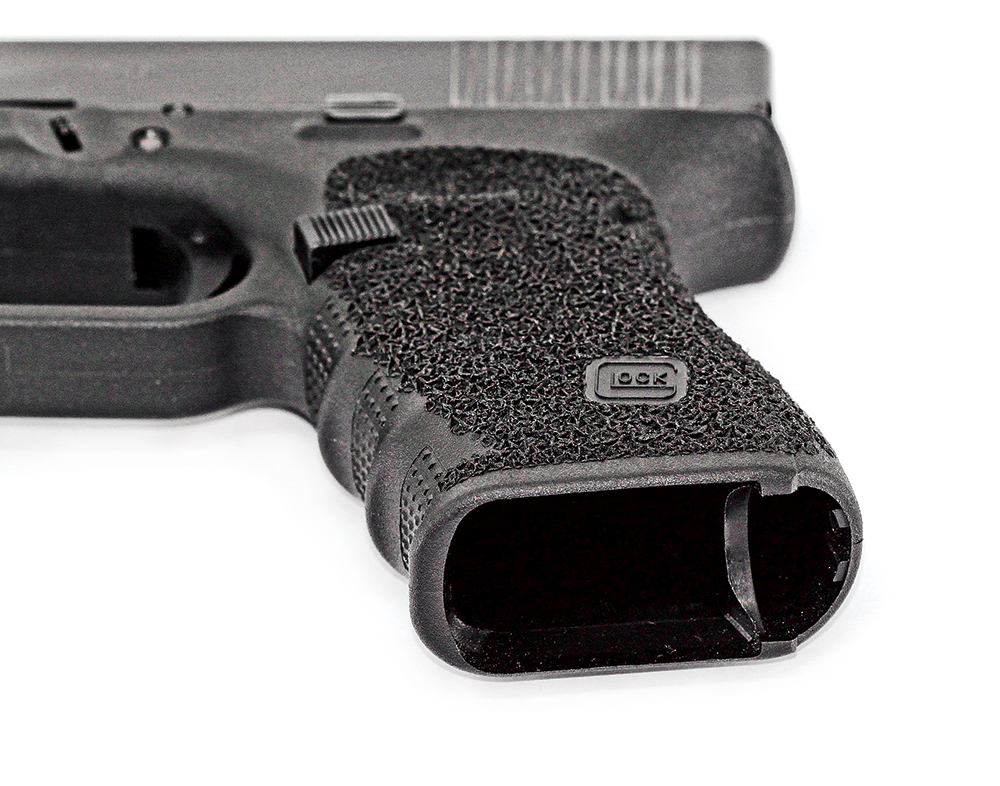
Different things use different polymers and different levels of glass fill — and stipple differently. Your Sig P320 is not going to stipple the same as your XD. Your M&P back straps will be buttery soft compared to the rest of the gun. Some materials just don’t hold certain patterns well. You’ll soon find differences, so start each job slowly, with a light touch.
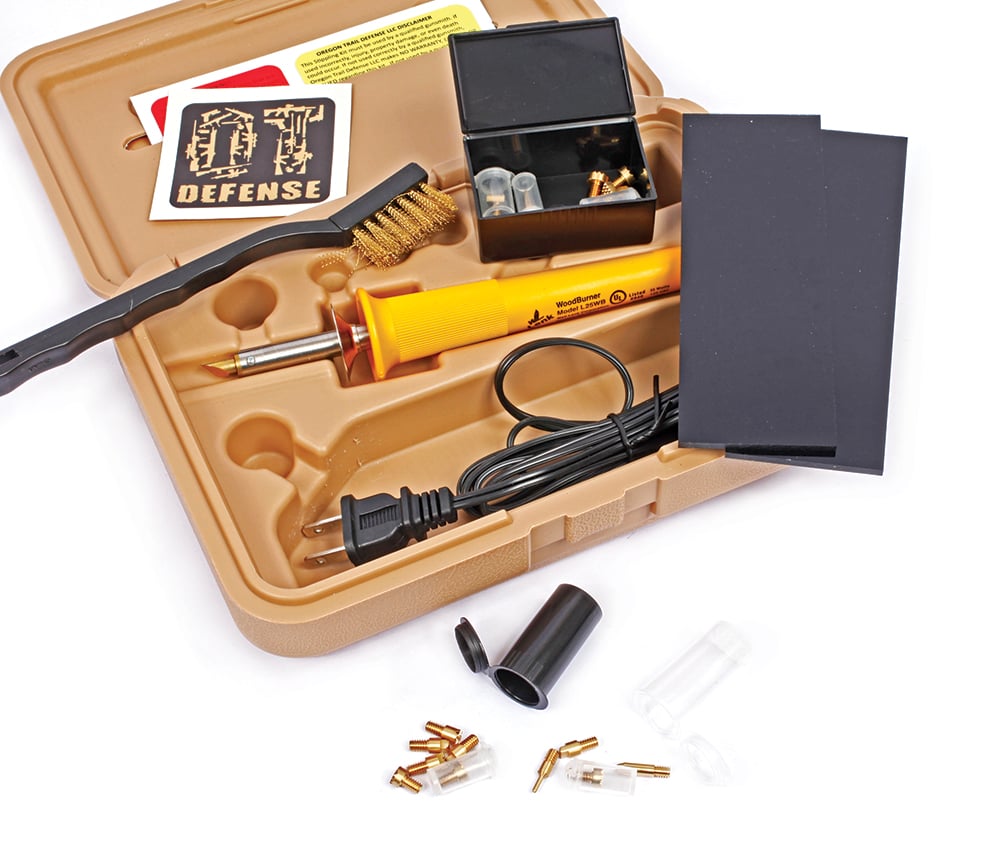
Keep a brass or copper wire brush handy too. While not mandatory, it helps to keep the tip clean with a simple pass or two of the brush. A steel brush is harder than your brass tips, don’t use it unless you want to reduce the tip life. Tip cleaning is 100 percent necessary when doing colored frames. If you don’t, you’ll have black streaks in your tan material. Colored frames simply take more time.
Some tips are more beginner-friendly than others, allowing for some application error on your part, letting you touch up areas coming out less than perfect. Other tips or patterns may be a “one press” deal, with a misplaced press making your pattern not as pretty as you want. That’s why you practice, right?