How to Shoot Tiny Groups
Accuracy.
It’s the bane of the range. We read articles about the latest, greatest gob of lead flinger and how it will shoot .0027″ groups from a quarter mile using leftover ammo from the War of 1812. Then we get our hands on one, and, well, the results don’t quite live up to the expectations.
Modern Accuracy Expectations
The only thing I did showing the faintest glimmer of foresight a couple of decades ago was to start logging the results of all guns and ammo I formally tested. Not to bore you with detail, but, never able to cauterize the OCD tech geek lobe from my brain. I spent some hours building my own custom database to log guns, ammo, group sizes, velocities and a few other tidbits. Long story short: I can now look back at most every combination of gun and ammo I’ve ever shot to see how it performed.
There are some interesting and perhaps surprising insights. Keep in mind I only use this database to track formal testing results. I don’t track my recreational shooting or practice, standing freehand, plinking away at targets. For this, I record testing conditions: known distance, formal groups, bench rests, caliper-measured groups, temperature, wind conditions (for rifle shooting) and the like.
Just in case you’re wondering, the average temperature on testing days was 74.6 degrees. I would have guessed higher, but apparently, I chicken out on range days when the “feels like” is the “interior of a lobster pot.”
The Big Reveal
But here’s the big shocker and the point of today’s article. The average of all handgun groups tested at a legit 25 yards, with any caliber of handgun and all ammo types I’ve formally tested, is … 2.37″ for five shots. Again, that’s the non-weighted average of all handguns and all ammo I’ve ever recorded.
Surprised? I was, but only a little. The bottom line is modern handguns can perform far better than most of us.
And here’s the most important point. This says absolutely nothing about my shooting skill, or lack thereof, because, as we’ll see in a second when testing for accuracy, I do everything in my power to remove my ham-handed ineptitude and male-pattern blindness from the testing equation. That’s the secret to understanding what your handgun (and not you) can do. By removing the human variables, anyone can achieve similar measurements that accurately show the accuracy potential of their own gun.
Learnings and Tips
The key to measuring what your gun can do is to remove as many variables as possible not related to the gun itself.
A big one is sighting error. Our eyes are not biologically capable of maintaining perfect focus on the rear sight, front sight and target concurrently. If you do see universal focus, that’s your brain rapidly switching back and forth. Add to this the downrange bullet impact point shift of even the smallest misalignment of sights and target. I won’t bore you with the math, but a fraction of a millimeter off between the front and rear sights blows a group. Add to this our inability to see millimeter-level sighting precision at a target 25 yards down range, and you get the idea. Our eyes can’t line everything up as precisely as most guns can shoot.
Then there’s stability before, during and after the trigger press. I don’t care how statuesque you are; if you’re not using a rest of some type, your groups are subject to at least slight musculature movement.
So, let’s explore some tips and tricks to allow handguns to work unobstructed by our human imperfections.
Sighting Aids
The first thing I do is to try and avoid using iron sights. Yeah, I know it’s not purist, and there’s no opportunity to do that complete and total B.S. gun-writer brag. “Yeah, I held this new 15mm blaster with my support hand at 75 yards and shot for groups while walking to get a Coke. I measured quarter-inch groups more or less.”
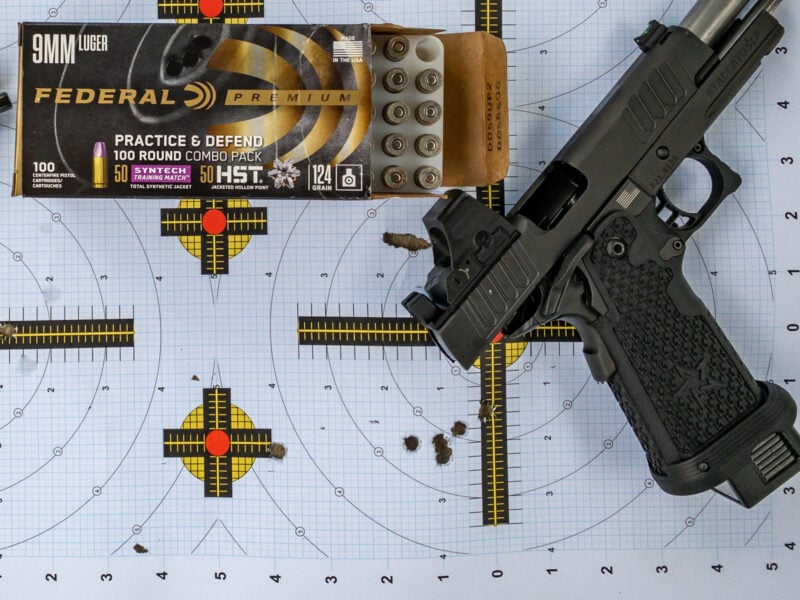
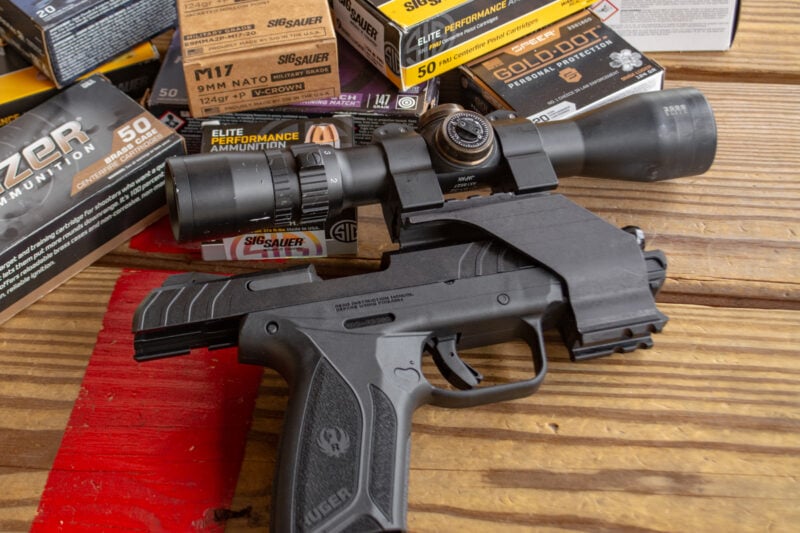
For reasons stated above about the limitations of human eyesight, I’ll take full advantage of optic cuts and accessory rails to mount either a handgun scope or, at minimum, a red dot sight with a small MOA dot. Over the years, I consistently get same-gun and ammo groups using optics that are roughly half the size of iron-sight-fired groups.
For any gun with an accessory rail, UM Tactical makes a nifty optic mount that allows temporary or permanent scope or dot mount.
Iron Sight Targets
Plenty of really nice guns, and most revolvers will limit you to iron sights. Enter cheating targets. The aim point size, color and shape can be tweaked to help minimize sighting errors.
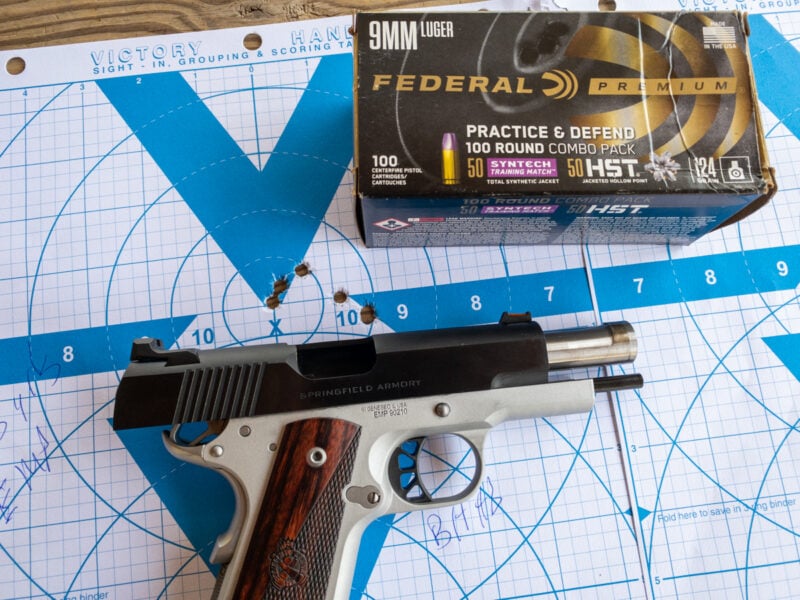
Roy turned me on to the Victory Target from Mountain Plains Industries. The unique combination of a giant “V” and horizontal bars is designed specifically to aid your eyes in lining up front and rear sights precisely for windage and elevation. Just try shooting at these versus a standard target, and you’ll be surprised at the results.
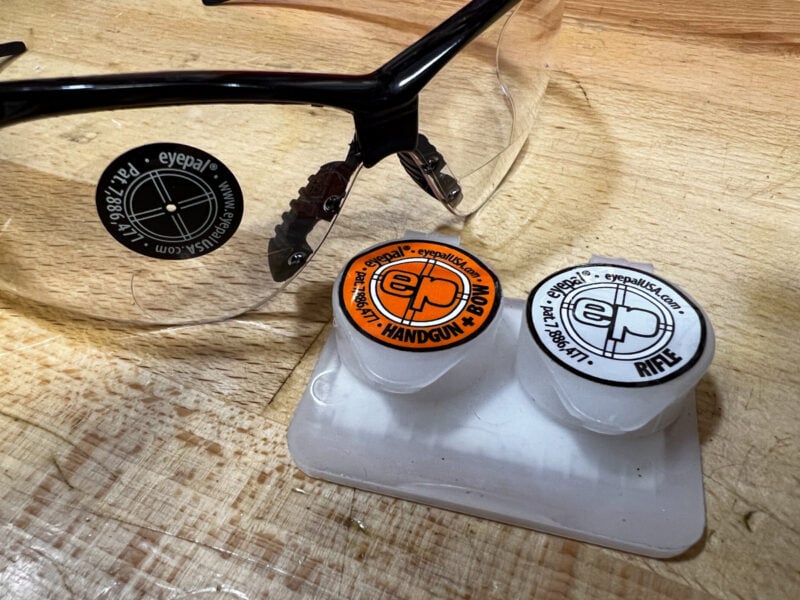
In combination with the right target, if you must rely on your eyes, also try out the EyePal stickers for your shooting glasses. These small-aperture sighting aids sharpen the depth of field, improving your focus on sights and target.
Bench Rests
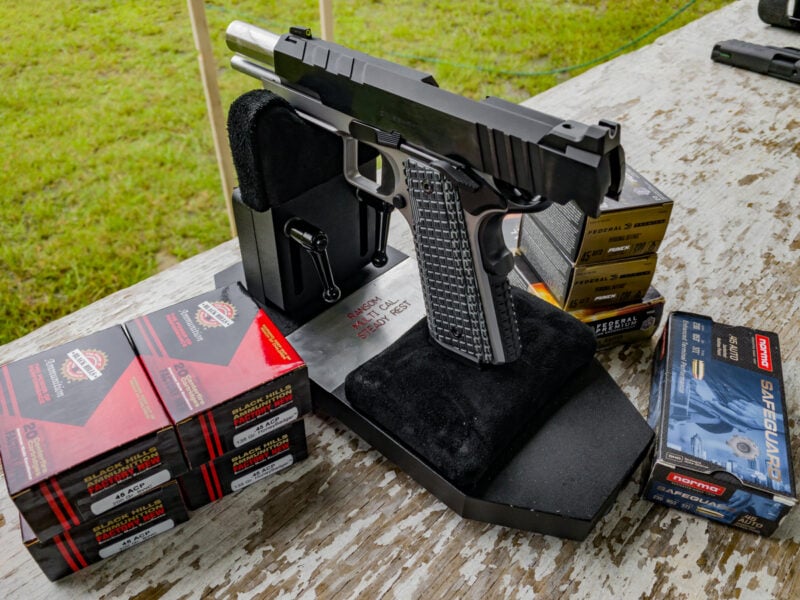
Gotta have stability of your handgun. You can use heavy sandbags or bags of lead shot, but I prefer the effective Ransom Multi-Caliber Steady Rest. This unit requires no inserts or gun disassembly like the namesake machine rest, so it’s portable and, in comparison, light. The real benefit is its flexibility and steadiness. All-metal construction and rubber feet make this the best general-purpose rest I’ve ever tried. It’s worth every penny.
Give It the Finger
The shooting aids mentioned above are critical, but without a decent trigger press, all is for naught. The good news is a decent trigger press is much easier when using a proper rest. Just take your time, and don’t try to “time” the shot at the precise instant when the sights are perfectly aligned. If you’re using a good rest and easy sighting, you shouldn’t need to “time” a shot anyway. Just do a multi-second slow and easy trigger press, making sure the gun doesn’t move as you break the trigger.
Give it a try; you might just be amazed at what your gun can really do. Then the rest is up to you. As you work on improving your freehand shooting skills, you’ll know what a perfect shot should look like.

