Big Mouths, Tight Necks
& Close Shaves…
Things To Avoid While Handloading
Handloading provides us freedom like no other. It lets us choose the bullet for the task at hand while also deciding how fast or slow we want to drive our handpicked projectile. Besides saving money, it provides us with independence, convenience and pride. Handloading can be as basic or as complicated as you want. The decision is yours.
High-strung, anal-retentive personalities will add an extra hundred steps during reloading, aiming for the holy grail one-hole group. Think bench rest competitors. The more laid-back, casual handloader aims for proficiency and ease of loading. Both can load safe, accurate ammunition.
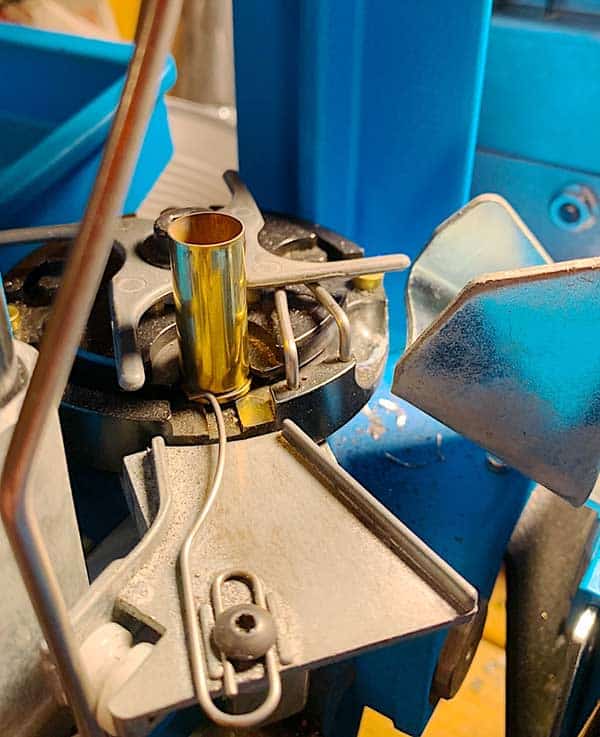
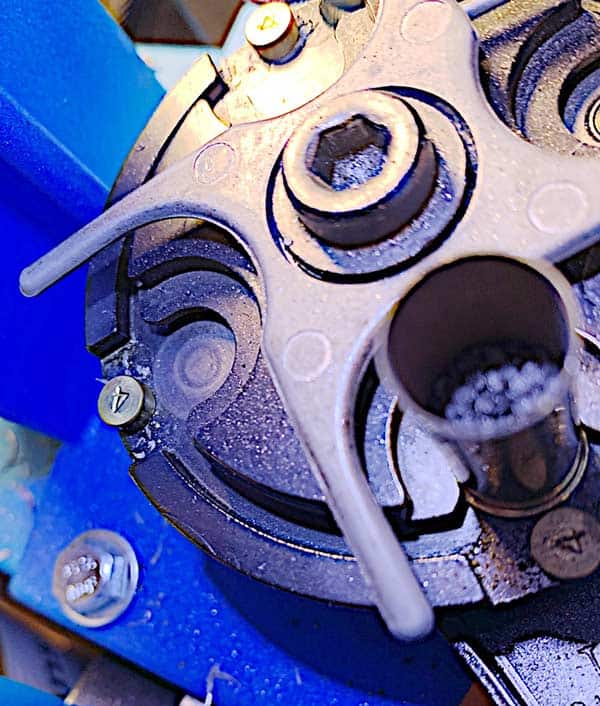
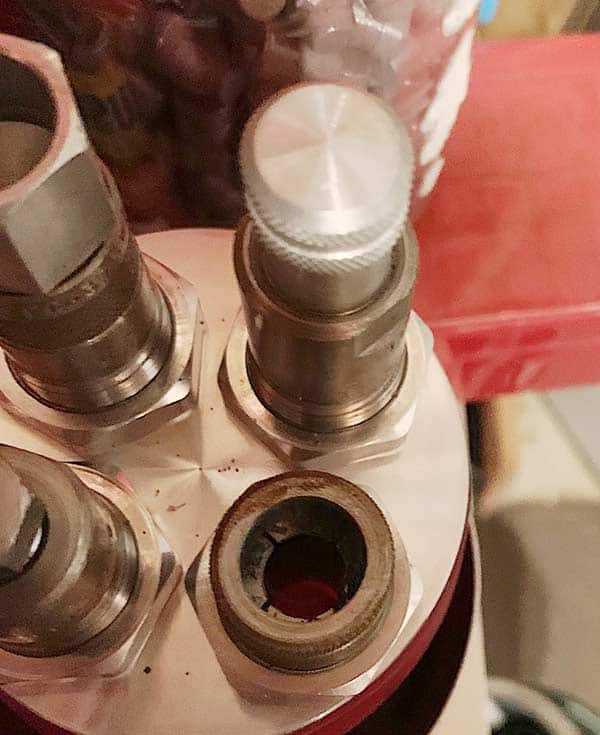
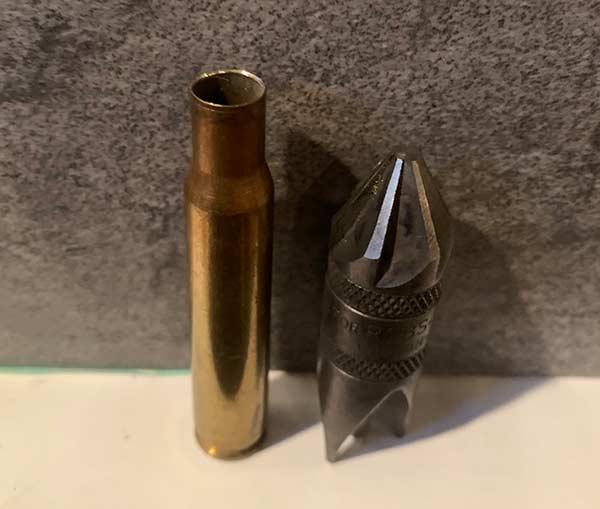
Here’s a once fired piece of brass ready to be re-sized and
spent primer punched out and new primer seated. A lot goes
on during the first stage on a Dillon 550C press.
The Steps
1: Sizing: Whether starting with new or fired brass, the first step for handloading is running your brass through your sizing/de-capping die. When sized, new brass mouths are trued up, and uniform neck tension is applied. Fired brass is sized back to factory standards, and the spent primer is punched out.
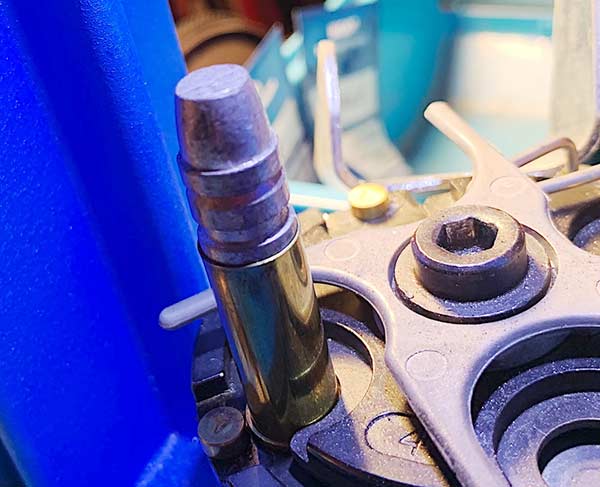
Stage two the case is charged with powder and flared.
2: Priming is the next step. Standard or Magnum primers are selected, depending on the powder used and quantity. Your loading manual will let you know. Primers should be seated until they “bottom out” in the primer pocket.
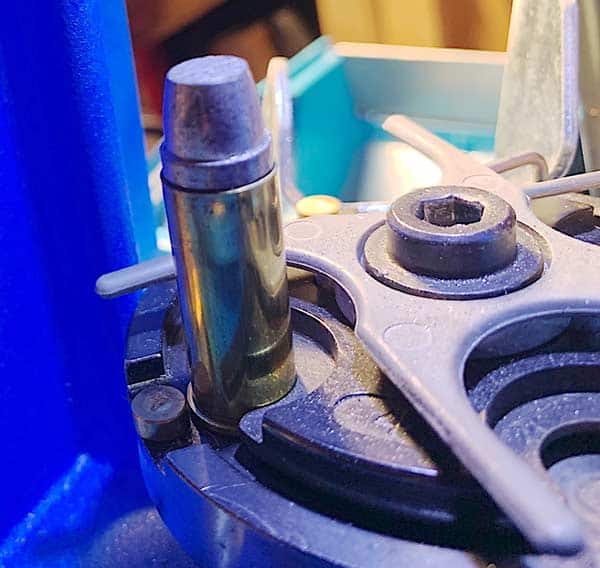
Stage 3 the bullet is added to be seated. Notice how the flare
is just enough for bullet to start? This keeps you from
overworking the brass, leading to premature split necks.
3: Charging the case with propellant (powder) is the next step. This can be painstakingly done by scale for each load or dumped by a powder dispenser. The choice is yours. Always visually check your powder-charged case for uniformity. If using a dispenser, measure every 10th load for consistency.
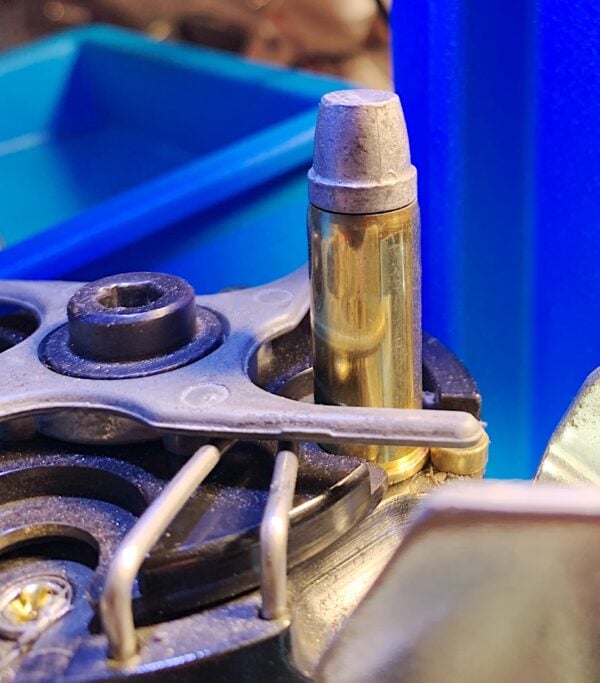
The bullet is seated to proper depth on
stage 3 and ready for the crimp.
4: Flaring is simply widening the mouth of straight-walled cartridges so the bullet can enter the cartridge case without shaving the bullet as it is seated. This is particularly true for cast bullets. The bullet should be able to enter and slide down the cartridge case when being seated without shaving lead or bullet jacket. Yet, we don’t want to over flare. This unnecessarily stresses the case mouth, causing split mouths from overworked brass. A good handloader is frugal, wanting as many reloads as possible from their brass.
The bullet is crimped and ready to shoot.
5: Bullet Seating: I like to seat and crimp in separate steps. It’s easier seating a bullet to the crimp groove on cast bullets or cannelure on jacketed bullets. You don’t have to “time” your seating depth and crimp in the same step. It’s possible, and I’ve done it for years with 3-die sets with perfectly fine results, but doing it in two steps is easier and lets you keep a closer eye on your crimp.
Too much and not enough flare. If your flares
look like this, re-adjust your flare die.
This is what a Lee Precision collet die looks like.
They sure are handy.
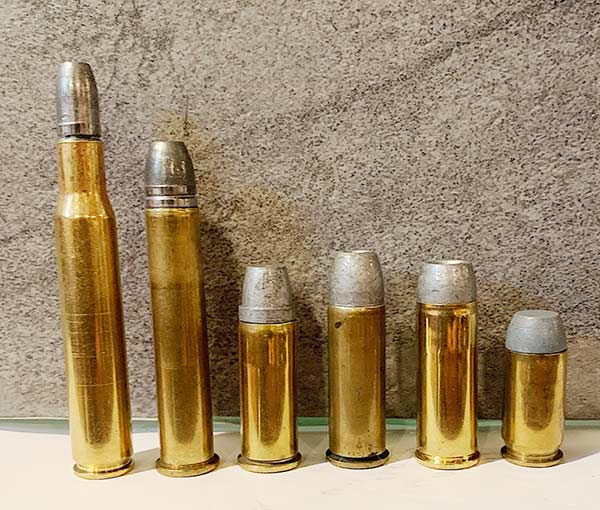
A lineup of various crimps (left to right): Taper crimp,
collet crimp, roll crimp, roll crimp, hard roll crimp, taper crimp
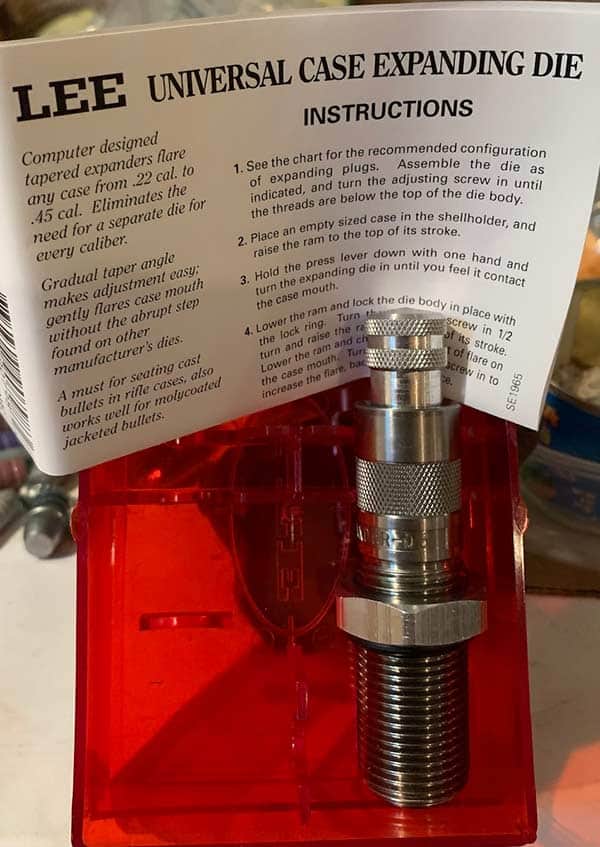
A Lee Precision Universal expander die — very handy!
A few inside turns with a chamfering tool is all you need
to seat cast bullets in bottleneck cases, whether gas
checked or plain base.
6: Don’t Skimp the Crimp
There are three types of crimps for handloads — roll, taper and collet.
A roll crimp is used for straight-walled cartridges. It really locks the bullet in place by the crimp groove, especially on cast bullets. On jacketed bullets, a cannelure is needed to roll crimp, but it won’t be nearly as severe as with cast bullets.
A taper crimp is used for cartridges with headspace on the front edge of the cartridge, such as 9mm and .45 ACP. The flared mouth is taper crimped back into place, providing a snug purchase for the projectile.
Special dies from Lee Precision provide collet crimp. Like most factory-crimped ammunition, a collet die places a snug crimp near the top of the case mouth. I love collet crimps and use them regularly on most bottle-neck cartridges and straight-walled rifle cartridges with cast bullets. They’re easy on your brass and keep the bullet in place.
There are exceptions to every circumstance, but these crimps are basically how they are implemented for the many different calibers available to us. The bottom line is to use enough crimp to keep your bullet in place during recoil.
This is especially true with hard recoiling revolvers, so your bullets don’t creep out, effectively tying up your gun, or heavy recoiling rifles to keep bullets from deep seating themselves from the effects of recoil.

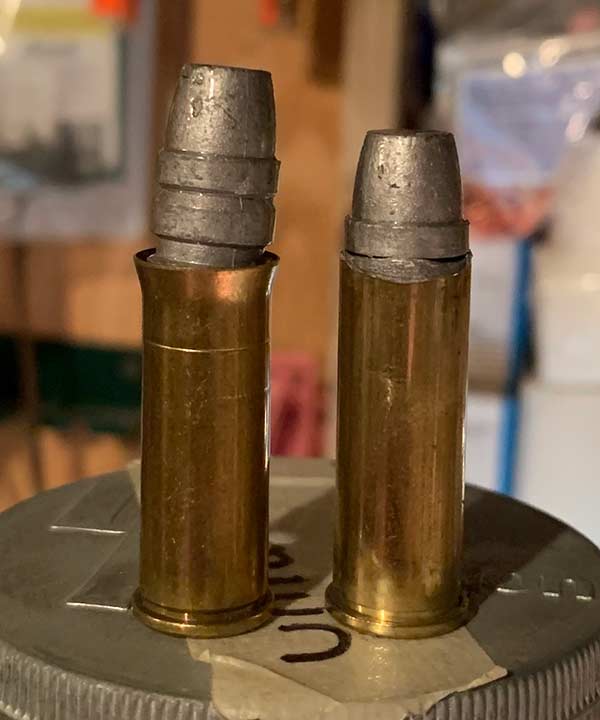
A great example of how heavy recoil makes bullets deep seat themselves.
The two bullets on right were carried in a 500 Jeffery rifle. Since Tim
Sundles usually needs just one shot, he tops his magazine after the shot.
These two experienced numerous firings to seat deeper in the case.
Once the cases crimped edge hit the crimp groove, seating stopped.
Finally…
This surely doesn’t cover every situation during handloading. It would be impossible to do so in one article, or 100, for that matter. It just gives you something to think about and maybe provides a few tips to make things easier for you when handloading your own ammunition.
Handloading my own ammo is probably the smartest thing I ever did some 40 years ago. There’s been many trials and tribulations along the way and I’m always looking for newer and better ways of doing things. Like I said, that’s the great thing about handloading, you can do it your way, as easy or as complicated as you want it.