Blade-Blank Build
No forging, no fires, no grinding! It’s easier than you think
to craft your own knife the way you want it
Start with a simple material for the scales, and then as you get more
experience you can move into different materials. Regardless of the
material you’re using, take time to finish it so you end up with a good-looking knife.
If you’re reading this, it means you’re probably into knives. Knives serve a variety of purposes — from everyday chores to wilderness survival to personal defense. We have an almost-instinctual connection to them. Unlike almost any other tool, knives are very personal.
Making a blade from scratch takes time and money, but there is an affordable option. Today you can buy “blade blanks” that are ready to go — hardened, tempered and sharp. You make and install the “scales” (or handles). With a short list of tools and a little time you can create a semi-custom knife, even though you’re not really starting from scratch. With a blade blank you can wet your toes, see what’s involved in making a knife, have some fun and produce something you can be proud of.
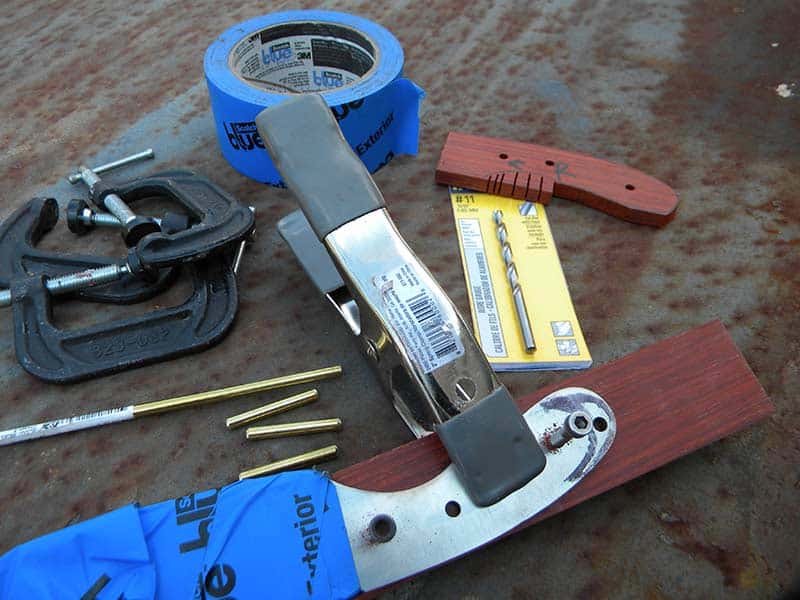
Assembling a knife from a blade blank is actually a fairly simple process. Step one is choosing a blade, the material for the scales, and pins to attach the scales to the tang of the blade. Next, you’ll need some tools. Your “home shop” will probably have most of what you’ll need. If not, it’s a short shopping list; simple hand tools will do the job.
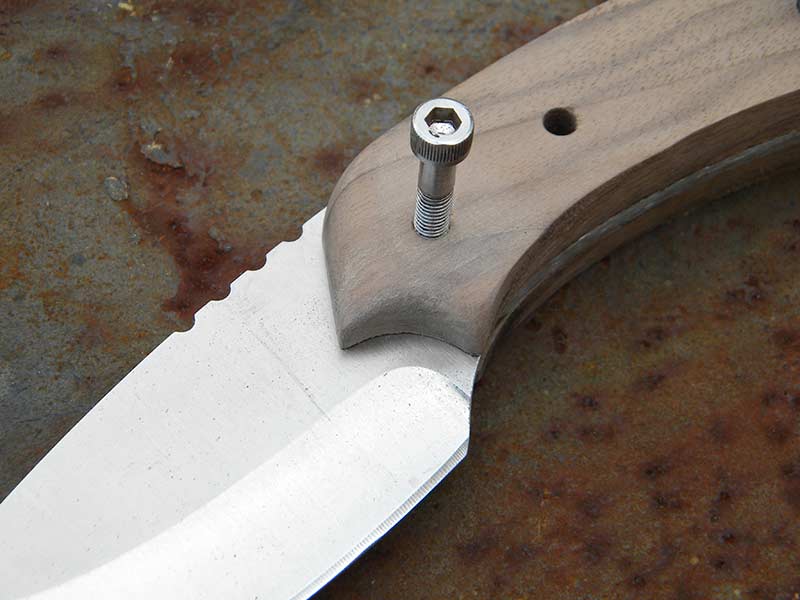
The front of the scales must be completely finished before the scales
are attached to the knife tang. Once they are on you don’t have any way
of working on them without risking damage to the blade.
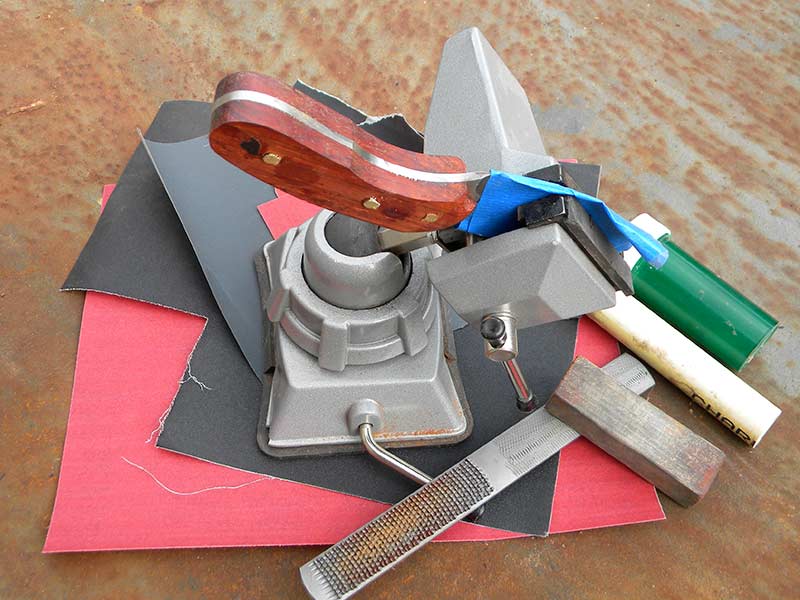
To sand the scales to fit the blade, use different shaped
“blocks” to ensure you don’t create high and low areas.
Using a block also keeps the scales from being sanded too much compared to the knife’s tang, which is steel.
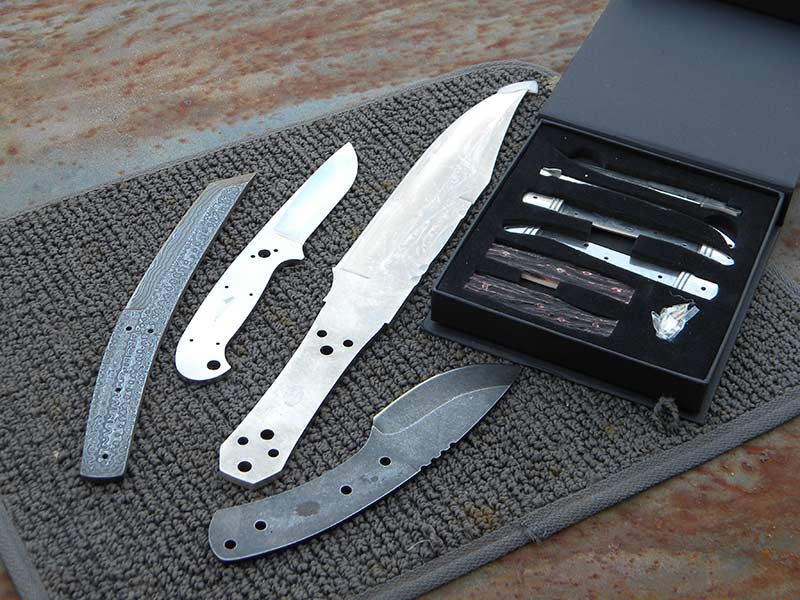
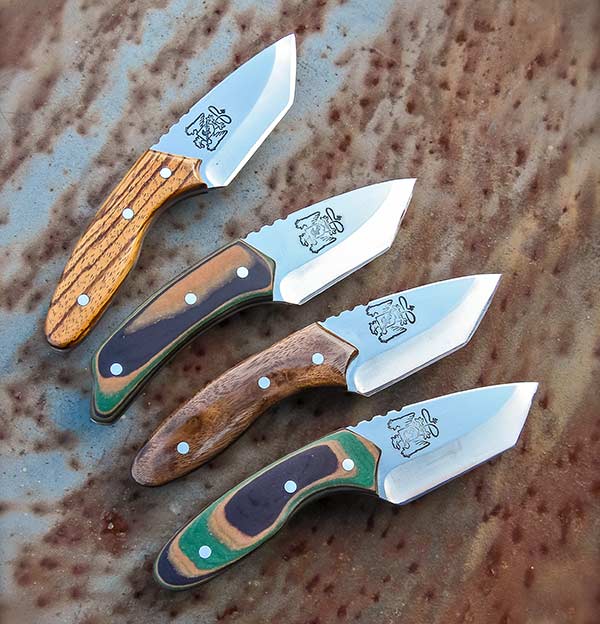
The first step is picking a blank blade to work with. In the beginning
it’s best to keep it simple, using a shape easy to work with and a material
like stainless. Later you can go with more complex shapes or different types of steel.
Main Elements
The first step is to buy a blade. I started with Premium Knife Supply. They offer blade blanks in an assortment of styles — both fixed and folders. In the beginning it’s wise to start out simple, which normally means a fixed, full-tang blade. Choose one that doesn’t have a lot of complicated curves.
For the scales, again think simple. A good choice for your first project is wood. Unless you have experience in working with it, pick something sturdy — oak or walnut. For my first blade I actually used some quarter-inch oak purchased at a home supply store. Don’t start with expensive wood because you’ll make mistakes. Mistakes are part of the learning curve. Don’t count on your first (or even fifth) blade being “perfect.” In fact, part of the fun is getting better with each one you make.
Exotic wood has difficult grain and care must be taken to ensure it doesn’t break or chip during fitting. After getting some experience you can start working with zebrawood, burlwood or various types of animal horns. Micarta, a synthetic material, is great for scales. It’s a little more difficult to work with than wood, but it’s available in a variety of colors.
Now you need pins to attach the scales to the tang. Start with brass or aluminum. These are soft and easy to cut, file and sand. Premium Knife Supply has these materials, or you can find them at most craft shops. Be sure your material is the right diameter for the pre-drilled holes in the blade’s tang. Remember, the blade is hard — you won’t be filing or drilling the holes larger. You can use various screws and other fittings, but in the beginning I would avoid these due to the complexity, cost and the need for extra tools.
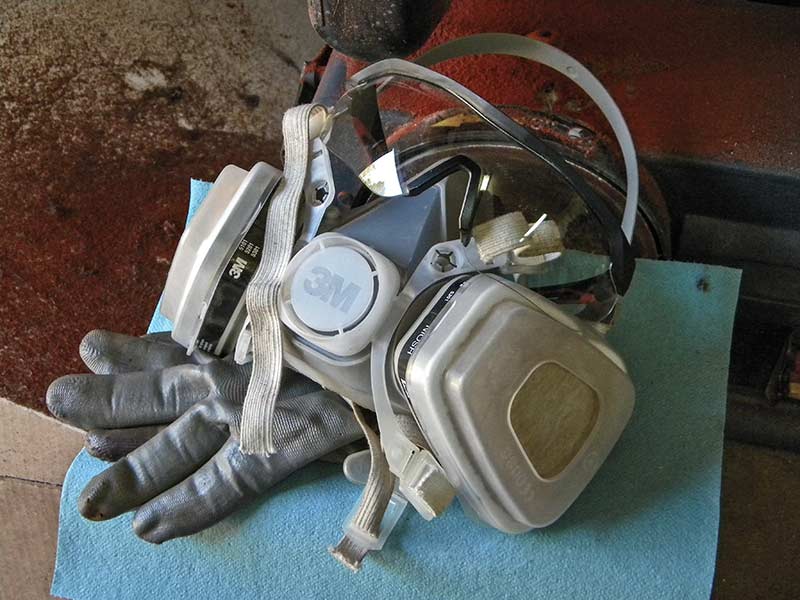
Always make sure to wear protective gear when working in the shop.
Protect your eyes and hands. Wear a mask to keep from inhaling
shavings and dust created when you’re sanding and grinding.
Tools, Safety Gear
Finally, you’ll need tools and related equipment. First on the list is safety gear. Eye protection is a must. The very first thing I do when I step in the shop is to put my eyes on. Make this a habit. Otherwise you may find yourself running the belt grinder without eye protection. Bad idea!
Wear a mask too any time you’re sanding, grinding or doing anything generating dust. A good mask — one that actually fits and has filters — prevents you from inhaling fine metal or wood shavings. None of this stuff is good for you.
Wear shop gloves. You are working with knives, which are made to cut, and grinders, sanders or files can all injure your hands. Taping and covering the blade is good, but you still need to wear gloves. Ear protection is used for any machinery like belt or disc grinders. I also wear long sleeve shirts, a hat and long pants. Basically, the more body parts you cover, the better.
The tools you need are simple. To cut the scales — wood or Micarta — you’ll need a saw. This can be a small hand saw, coping saw or shop bandsaw. You’ll also need a hacksaw to cut pins for the scales. You need a drill — a small hand drill will work if you take care, a drill press is better, even if you have to go to your buddy’s shop. To shape the scales, use a wood rasp, file or belt sander. You’ll be doing a lot of sanding, so get lots of sandpaper in grits ranging from rough 80-grit up to about 400 fine. You’ll need a few small C-clamps, some epoxy and a good solvent to clean the blade.
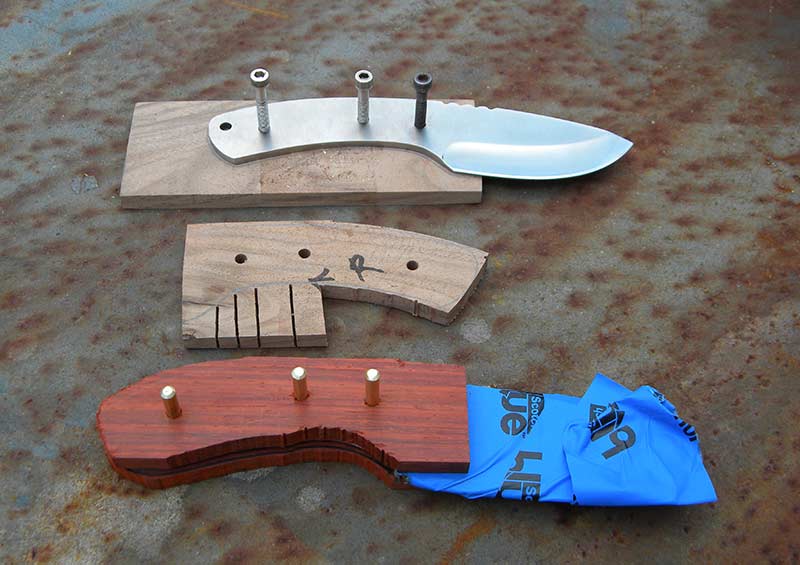
Once the pins have been installed you’re ready to rough cut
the scales to shape. Think about the direction sequence of your
cuts to make it easier to work, especially when dealing with concave shapes.
The blade is taped to protect its finish and your hands, and
clamped to the scale material to drill holes for the pins. Once a
hole is drilled, install a pin to hold the blade in position on the scale.
Do this one side at a time and make sure to mark the scale material
so you don’t get the sides mixed up.
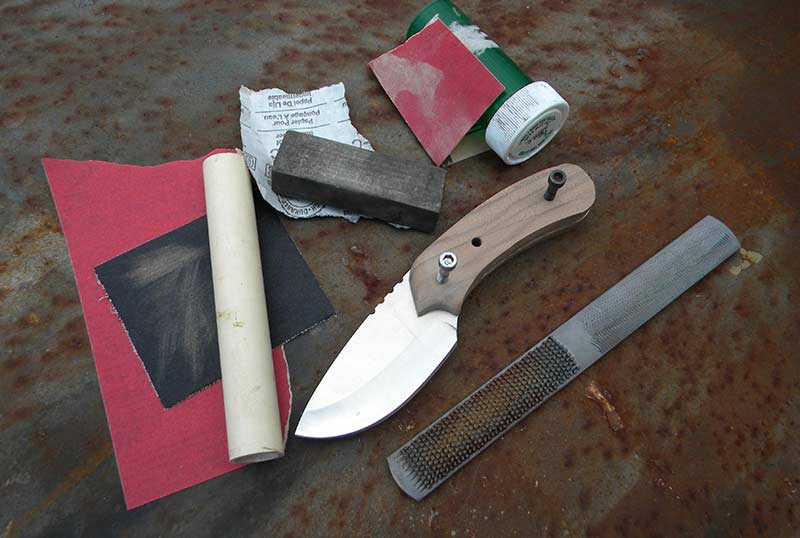
The scales are attached, the pins have been trimmed and now it’s
time to start shaping the scales. You can start with a rasp, then work
into using sandpaper, beginning with an 80-grit paper and moving up.
For wood, Tiger normally stops with a 320- to 400-grit, depending on the wood type.
Pins, Clamps, Drills
Put on the appropriate safety gear and tape the sharp edge of the blade to protect your hands. Examine your scale material — especially if it’s wood — so you can match the grain of the wood on each side and decide which will be the left and right scales. You want the best part of the wood showing to the outside. Once you determine how the scales will mount to the blade, mark them on the inside. Trust me on this one. Labeling the scales keeps you from getting confused. Without marking them it’s easy to get mixed up on which side is which.
I start the build by cutting the pin material. Add the width of the scales and the blade then cut the pins longer than they need to be. The extra length will help during the assembly process; you can trim them to the final length during finishing. After cutting the pins, use a file or sandpaper to bevel the edges so the pins will fit through the holes you’ll be drilling without any burrs or sharp edges to chip the scales.
Measure the pins to determine the right size bit you’ll need for drilling the scales. Either use a caliper to check the actual diameter or drill a scrap piece of wood for testing the fit. Holes too large mean a lot of slop, which will show up in the final work. Too tight a hole and you won’t be able to easily install and remove the pins during fitting.
Clamp one scale to the tang (remember, they’re marked, so get it right). Make sure to leave a lot of extra material on the front end, where the scales extend towards the blade. This you’ll shape after drilling and fitting the pins. Drill one hole for a pin, using the pre-drilled holes in the tang as a guide. After drilling one hole, stick a pin in it so the knife won’t shift on the scale material as you’re drilling the rest of the holes. Drill another hole, pin it and repeat the process until all the holes are drilled. Remove that scale, clamp the other scale on the other side of the blade and repeat the drilling and pinning process.
After drilling both sides of the scales, you’ll want to check the fit with the tang and both scales and pins. Attach both scales to the tang using one pin and see if the other pins will fit smoothly. If the holes are not exact you’ll need to fine-tune the holes as a complete assembly. You should be able to install and remove the scales without having to hammer the pins in and out.
Now it’s time to rough cut the scales. Pin one scale at a time to the knife and outline the shape of the tang. Make your outline a little large for the first cut.
Time to saw. If you’re using some type of hand saw, clamp the scales to a piece of backing wood to ensure you don’t break them while cutting. Also, think about the angles of the cuts needed. For example, when dealing with concave shapes it works best to make a series of cuts towards the center of the curve so they look like teeth, then cut these small sections out one at a time. Cutting a series of lines is much easier than trying to make one continuous curved cut. Remember, this is a rough cut so leave extra material you can remove during the final fitting and sanding. Think of it as a gradual process, removing a little material at a time. You can always cut more off, but going too far at one time means starting over.
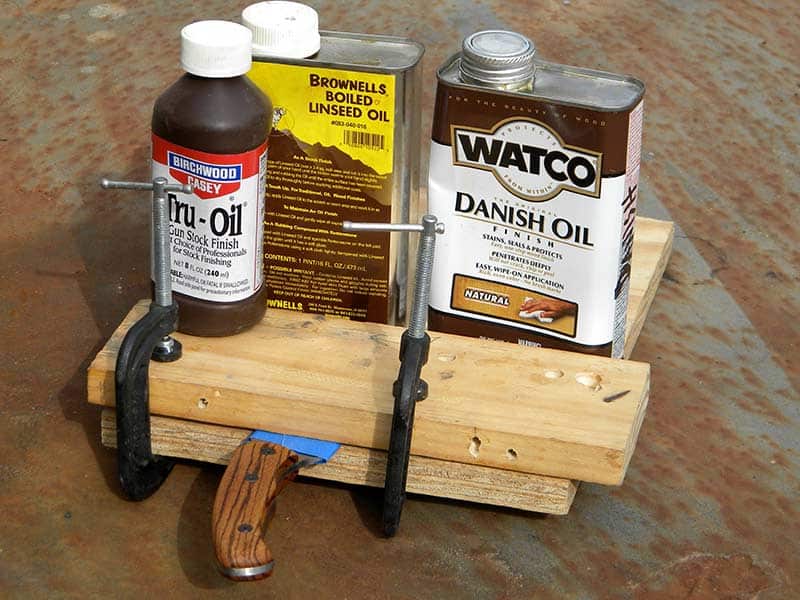
A small homemade vise can be made using two pieces of wood
and some C-clamps. Don’t worry about spending a lot of money
on tools, unless you catch the bug and decide to get deeper into
the blade business.
Pre-Glue Prep
After this you are ready to shape and finish the front section of the scales. Doing this before permanently attaching the scales to the blade is mandatory. Once the scales are pinned and glued to the tang, there’s no way to work or shape this front section without damaging the blade. The rest of the scales will be shaped and contoured later, but the front section must be completely shaped and sanded prior to attaching. In the beginning, think simple — such as a nice convex shape to match the blade design. Later, once you’ve got some experience you can start getting more complicated with the shape of the front section.
After shaping the front section of the scales, you have a choice to make. This is a simple build and attaching the scales to the knife before the final fitting makes the task of the final fitting easy. The other option is fitting the scales exactly prior to attaching them to the tang. A blade with a specific finish requires fitting the scales exactly without disturbing the finish. The advantage of starting with stainless blades is any sanding on the tang occuring during the final fitting of the scales can be sanded and polished out to match the rest of the blade.
Check the fit of the scales and pins to the knife’s tang one more time. Some shifting may have occurred during the fitting process and you don’t want to struggle with forcing the pins to fit once you start gluing the scales on. The tang and the inside of the scales will need to be roughed up some to give your epoxy a good grip. You can use a rotary tool, or something like 80-grit sandpaper to give the tang and scales some texture. Glove up and use solvent to remove any oil residue that may be on the metal or wood. Normally I’ll use acetone first, then simple rubbing alcohol as a final wipe. After this, make sure you don’t touch the scales or tang with your bare hands — this can leave oily residue preventing the glue from getting a good bond.
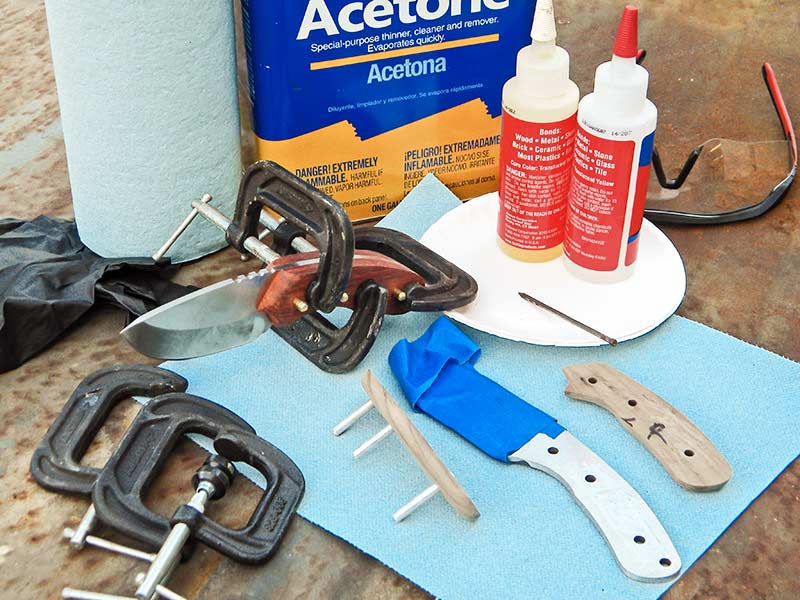
Everything is fitted and ready to be glued together. Make sure to lay out
everything you’ll need in advance. Epoxy will start drying immediately, so
having all the pieces ready will ensure good results. Small C-clamps are
used to clamp everything tight, and some type of solvent will help remove
the overflow that results when the parts are clamped together.
Glue Time
At this point you’re ready to permanently attach the scales. I use standard 2-part epoxy. There are specialty glues for bladework, but so far I’ve had good luck just using regular epoxy. Keep in mind the cure time is quick, so you’ll want everything set up and ready prior to mixing your glue.
Install your pins in one of the scales, only sticking them partway in. Mix up the epoxy and apply a thin coat of it to one scale. Line it up to the blade tang and push the pins through far enough to hold the scale in place. Apply glue on the other scale and slip it into place, pushing the pins all the way through so they stick out on both sides of the scales.
Now use C-clamps to clamp the scales to the blade. Use a good amount of pressure, but not enough to crack the scales, dent them or push all the glue completely out from between the tang and scales. Once the scales are clamped, use solvent and towels to wipe off the excess glue that comes out from around the edges. The more you clean off now the easier your final sanding and fitting will be. Let the glue dry for at least 24 hours. It must be fully cured before you start messing with it.
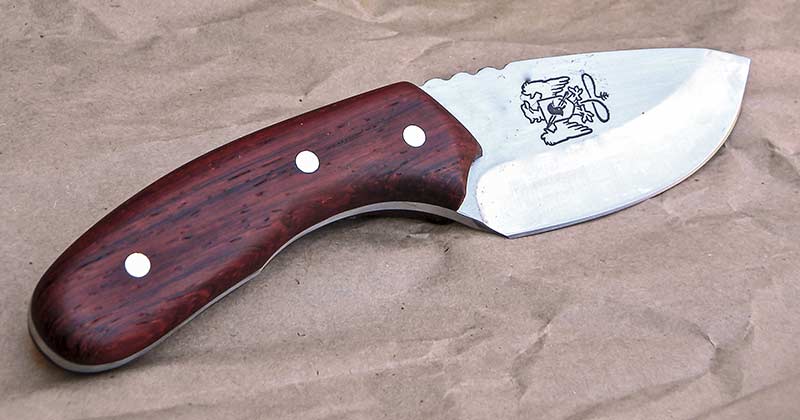
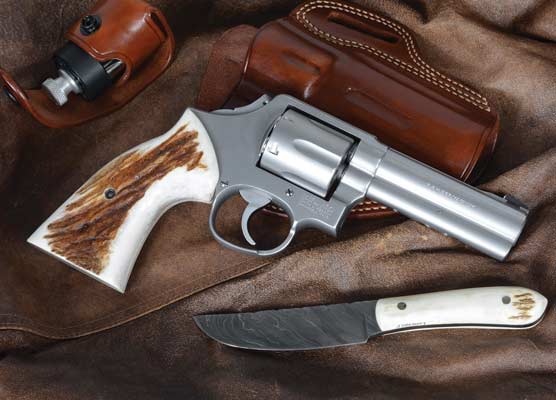
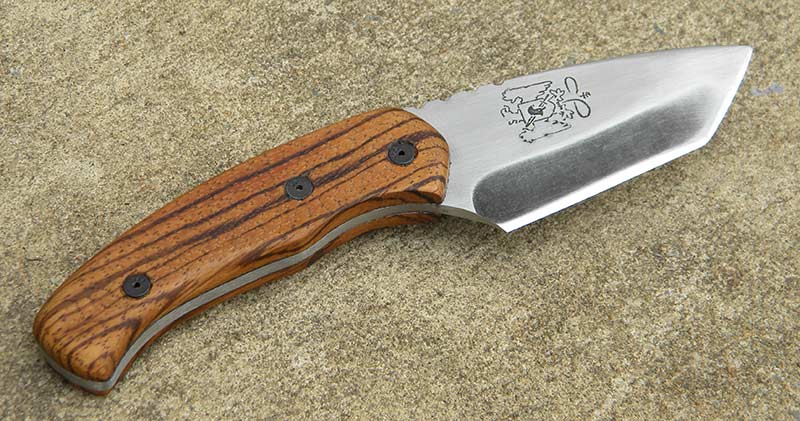
A nice looking semi-custom blade doesn’t have to be fancy
to look good. Also, don’t be afraid to experiment with different
shapes, materials and techniques. If you create something ugly
it can always be used as a shop knife.
Final Fit And Finish
The first step for the final fitting is to trim off the extra pin material. You want to cut them close to the scales so the pins are easier to finish, but make sure you don’t cut into the scale material while trimming the pins. Leave a little material and you can work it down with a file
and sandpaper.
Start shaping the scales to match the tang or handle of the blade. Use sanding “blocks,” which can be square or rounded to fit the scales. Or you can use a belt sander.
Once the outline is fitted you can start to contour the outer edges, rounding and working the edges to the desired shape. Go slow, removing a small amount of material at a time and striving to get both sides symmetrical. As you get closer to the final shape start working with finer grit sandpaper. This way you’re working out all the sanding marks as you get closer to your final shape. Start simple, concentrating on making both sides symmetrical so they match. Later you can play with tapering the front or rear of the scales or adding concave areas for finger grooves.
For finishing the scales, linseed oil is good. Tru-Oil is also easy to work with. Each type finish will have specific directions on how to apply it. By building up coats you can make a matte finish, or by applying multiple coats you can build up a gloss finish. It all depends on what you’re looking for.
Now you’ve got a semi-custom blade. Maybe it’s not perfect, but you made it. If you’ve got the bug, the next one will be better. Eventually you may decide to get into making blades from scratch, or maybe you’re just happy being able to create one-of-a-kind blades for personal use or as gifts. Either way it’s great to take your mind off the world while creating something of use.
For More Info:
www.etch-o-matic.com
www.premiumknifesupply.com
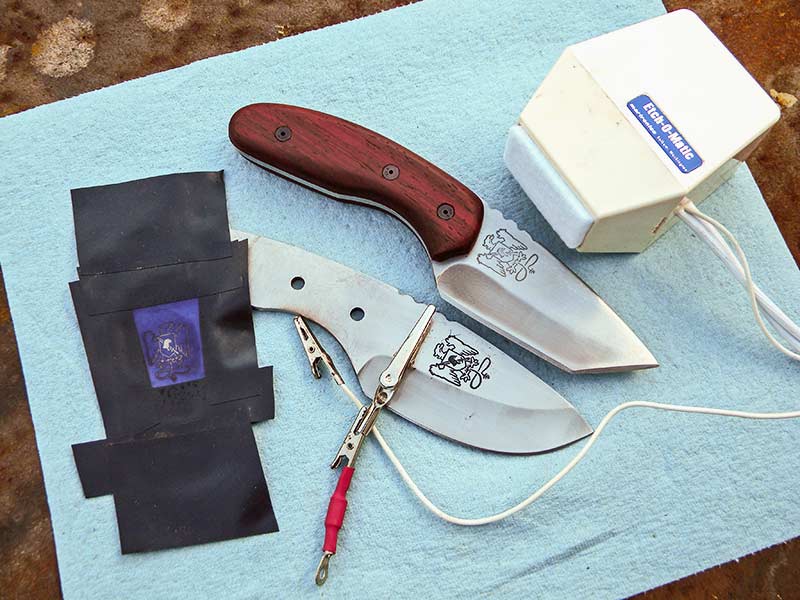
Using the Etch-O-Matic is a good way to customize your
work even more. With some practice — Tiger used the tangs
of the blades which are going to be hidden under the scales —
you can get professional results.
The Personal Touch
I first started making blades using blanks for Christmas gifts for my instructors. A personalized knife for each of them needed the Shootrite logo on it. For these blades I wanted everything to be done “in house,” so after researching the various ways of etching I ordered a kit from Etch-O-Matic. The results were good, but it does take a lot of practice, so get a cheap blade you can test and experiment with.
Etching in this manner uses AC and/or DC current, depending on the type of etch you want to make. The “electrolyte,” which is the liquid used during the etching process will vary according to what type metal you’re working with. For stainless steel you’ll need the electrolyte specifically listed for stainless. If you’re working with carbon steel a different fluid is used.
For custom logos you’ll also need a way to burn stencils. I ordered the Mark 440 stencil kit, which comes with stencil material, a light source for “burning” your stencils and the chemicals and instructions needed. There is a learning curve with this as well so a little testing may be necessary to discover what works best. For example, I have found for a deep etch the lines of your logo should be a little thinner than you want them to end up. As you etch, the lines will “grow” slightly so you end up with a good etch.