How to Upgrade Your Ruger SP-101 Revolver Trigger
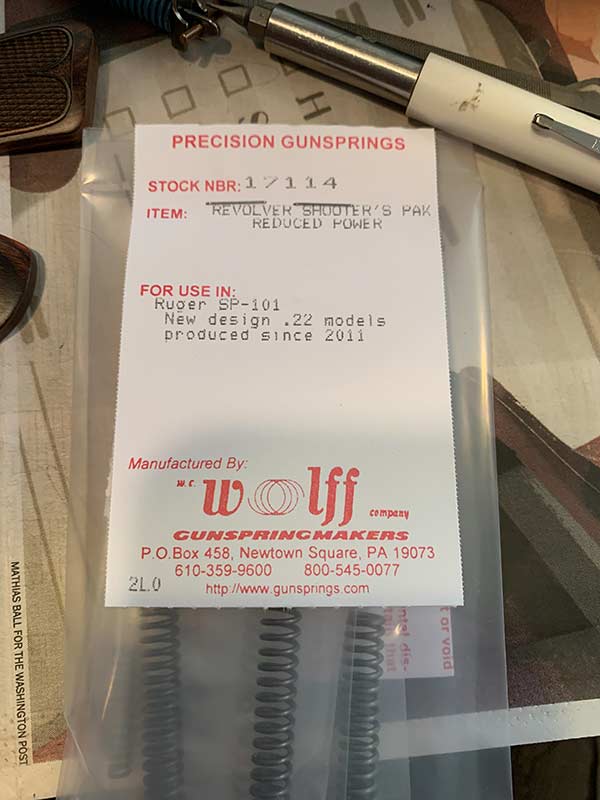
Here’s the Wolff Spring Kit you want to buy for your Ruger SP-101 .22lr revolver.

The Kit comes with a trigger return spring and three different hammer springs with different weights.
We all love our Rugers, no matter the model we have. They’re a true value, being ruggedly and strongly built. To keep prices down and lawsuit-hungry lawyers in check, Ruger keeps their trigger pulls at, let’s say, heavier than optimal. Today I’m going to show you how to lighten up your Ruger SP-101 trigger pull.
Gunsmiths such as Ken Kelly or Bobby Tyler won’t have anything to worry about, as I’ll explain the basics to lightening your trigger pull. You’ll discover how the innards work, while doing this DIY project, which is always good.

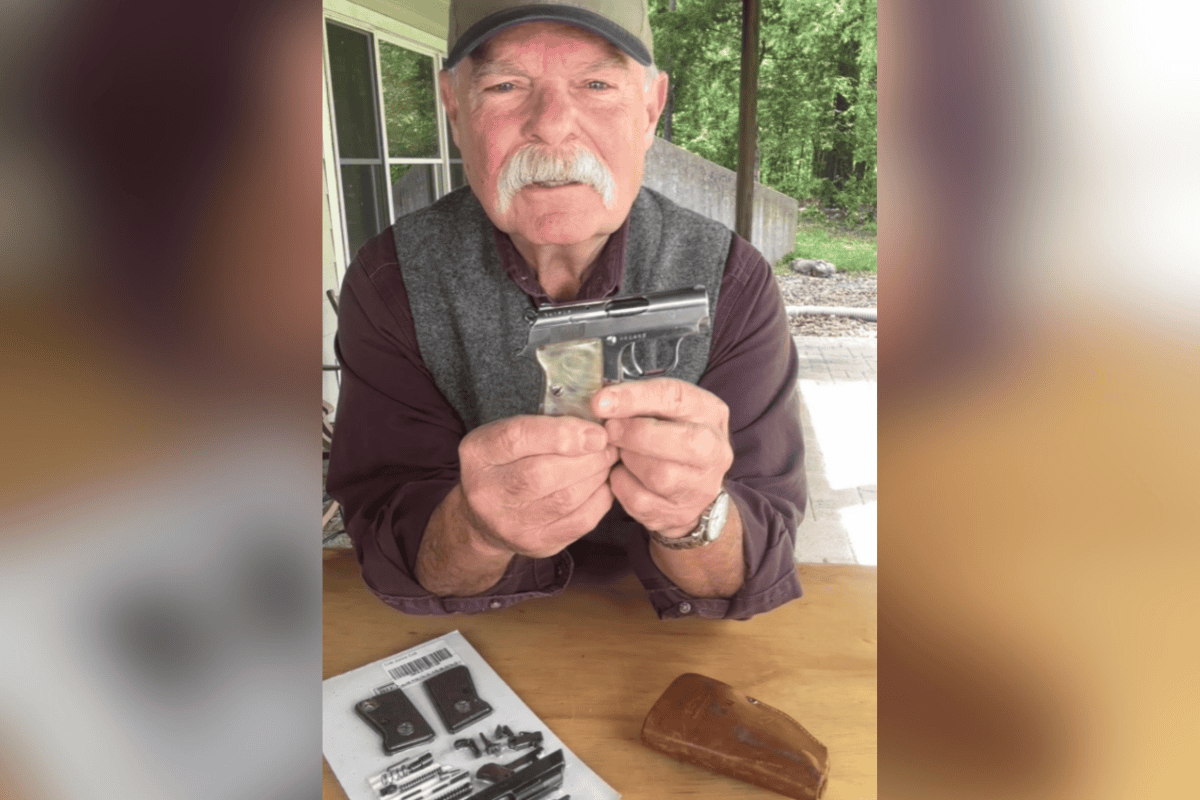
The Ruger SP-101 is a wonderful gun that can benefit from a better trigger.
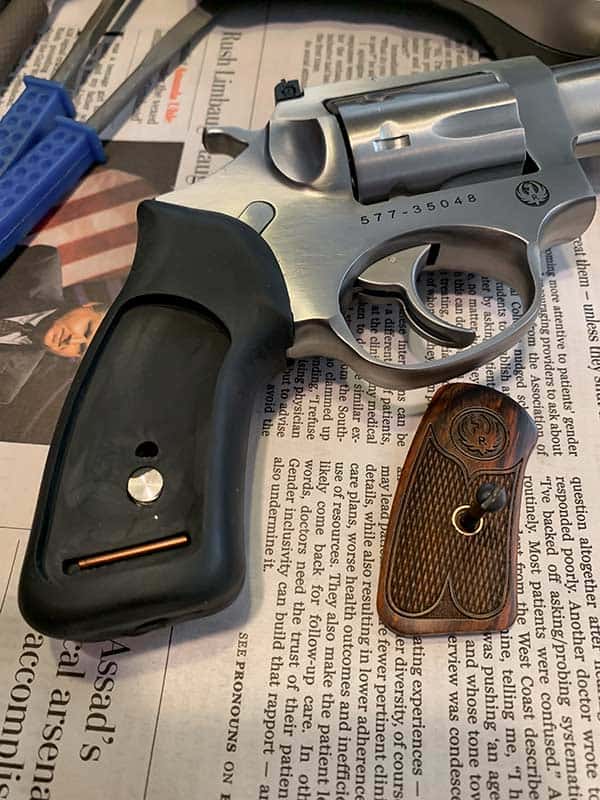
After removing the panel screw, remove both panels and the grip locator.
See that copper pin? We’re going to use it.
Jump On In …
Let’s get started. You’ll need Wolff Spring pack #17114, for the Ruger SP-101 .22lr, as this is the gun we’re working on today. The kit comes with a lighter trigger return spring and three hammer strut springs with different weights.
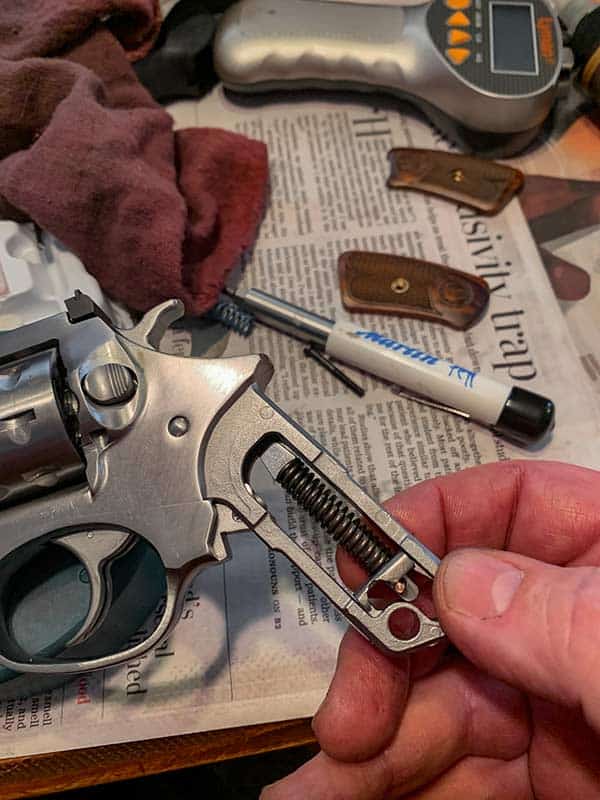
We start by removing the grip screw and panels. Now we push the aluminum grip locator pin out so we can slide the rubber grips off. Now the hammer spring is exposed. Cock the gun and place the slave pin into the bottom of the hammer strut and de-cock the gun.
This keeps the spring/strut under tension so we can remove it as a unit. Now push the hammer pin out and remove the hammer. Just fiddle it a bit and it will come out.

Now the rubber grip can slide off, exposing the hammer strut and spring.
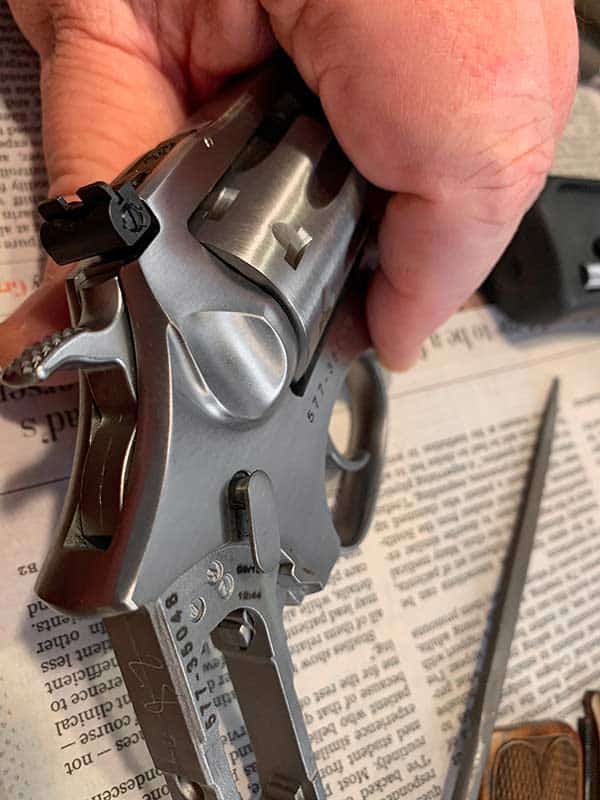
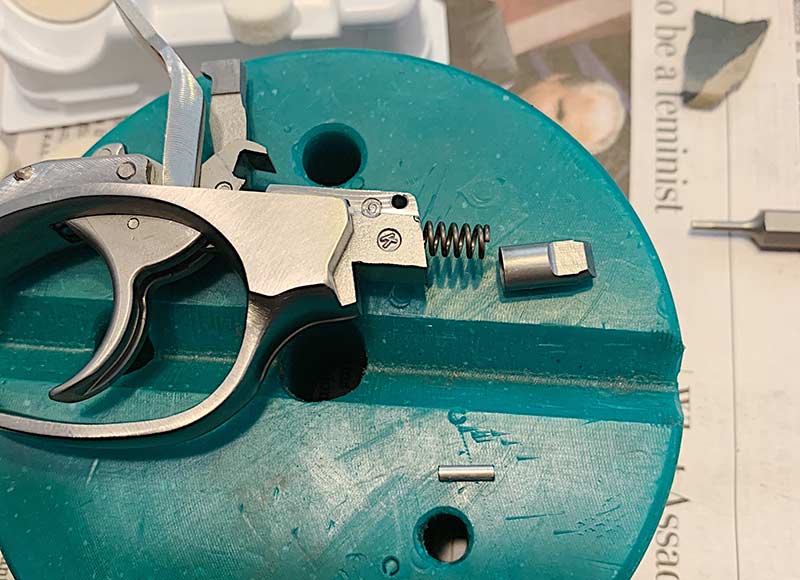
Notice orientation of strut seat with rounded bottom groove facing towards the muzzle.
Cock the hammer and place the copper pin in the hammer strut hole,
then slowly release the hammer. Now you can remove the hammer strut.
Push on the hammer pivot and remove it.
Trigger Housing
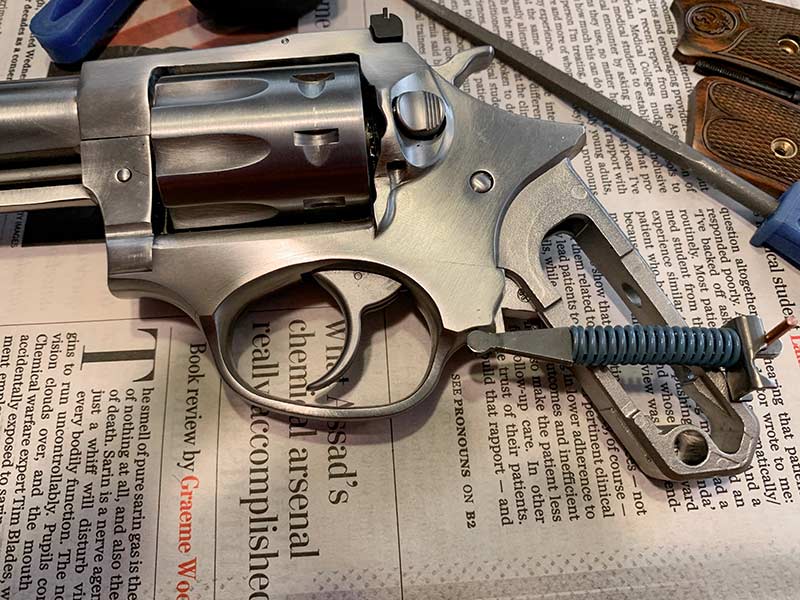
Using a small screwdriver, depress the trigger guard latch and pull down on the trigger housing. It will pivot from the front as you remove it. Drift out the guard latch retaining pin. The latch is under tension, so watch out for flying springs. Remove latch and replace the spring.

The hammer will now lift out. It may take some jiggling, but it will come.

Use something to depress the trigger assembly latch and pull down
on the trigger guard to remove the full assembly.
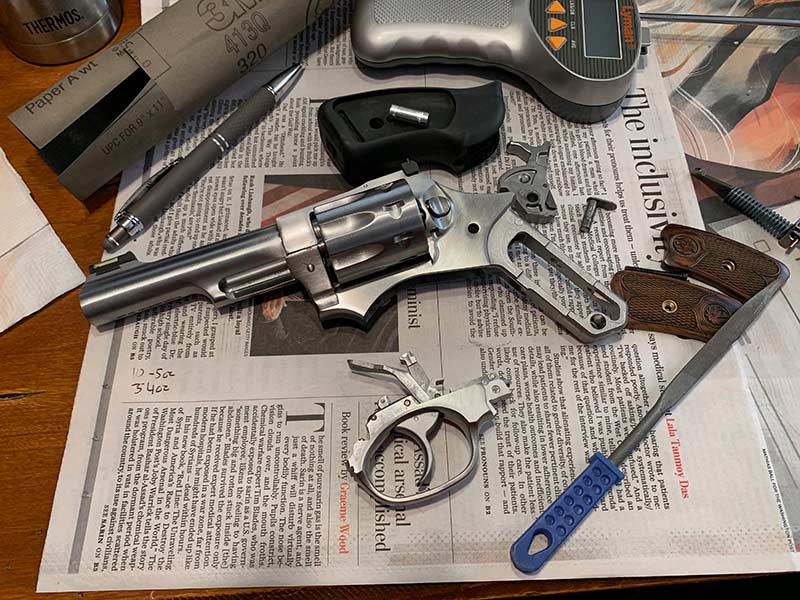
Okay, here’s where we are now. Almost there.
Strut Your Stuff
Replacing the Hammer spring is a little trickier, but not too difficult, especially with a bench block. I insert the hammer strut in a hole in the bench block, so the strut seat is facing up. Using pliers, I compress the spring and remove the slave pin. The Hammer spring can be removed now. Be careful, it’s under a lot of tension.
Now is the time to file, sand and polish the strut, to smooth up spring compression when it’s put back together. The smoother you make it, the less friction you’ll have, hence a smoother cocking gun. Don’t forget working the strut seat hole over, as well. When you’re satisfied, put on the hammer spring of your choosing. I went with the 13-lb. spring. Again, using pliers, grab the spring, compress it, replace the strut seat and replace the slave pin. Make sure you orient the strut seat correctly to the strut.
Now just reverse the takedown instructions and put it all back together. Simply replacing the reduced springs will work wonders. Test fire your gun several times, making sure the hammer spring has enough tension to discharge your ammo.

Using pliers, grab the hammer spring and pull down so you
can remove the slave pin and strut seat.
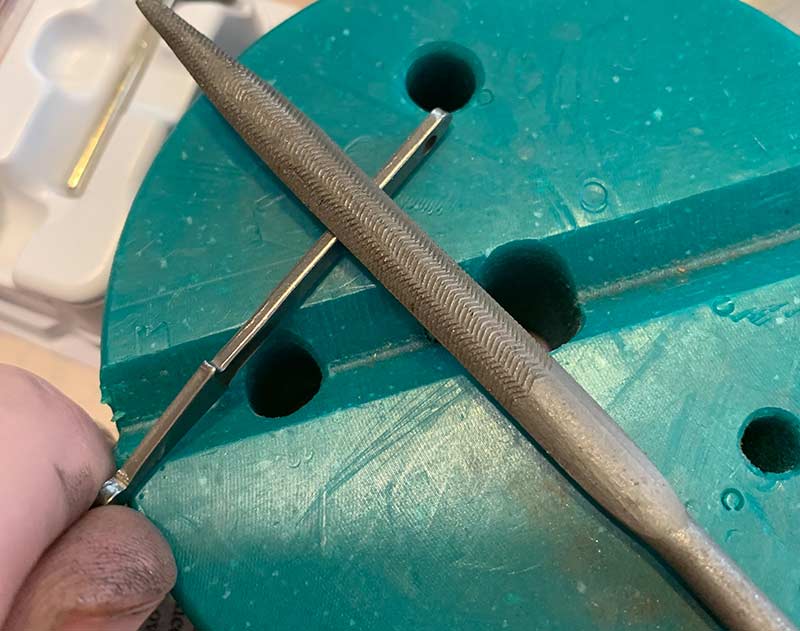
File rough edges of the hammer strut to smooth spring compression.
Now push the trigger assembly pin out while depressing the latch. Be careful, it’s under tension.
You can replace the factory spring now with the reduced Wolff spring and put the latch and pin back in place.
Return the trigger assembly and hammer spring/strut back into place.

Here’s the final SA average, down from 3 lb. 4oz.
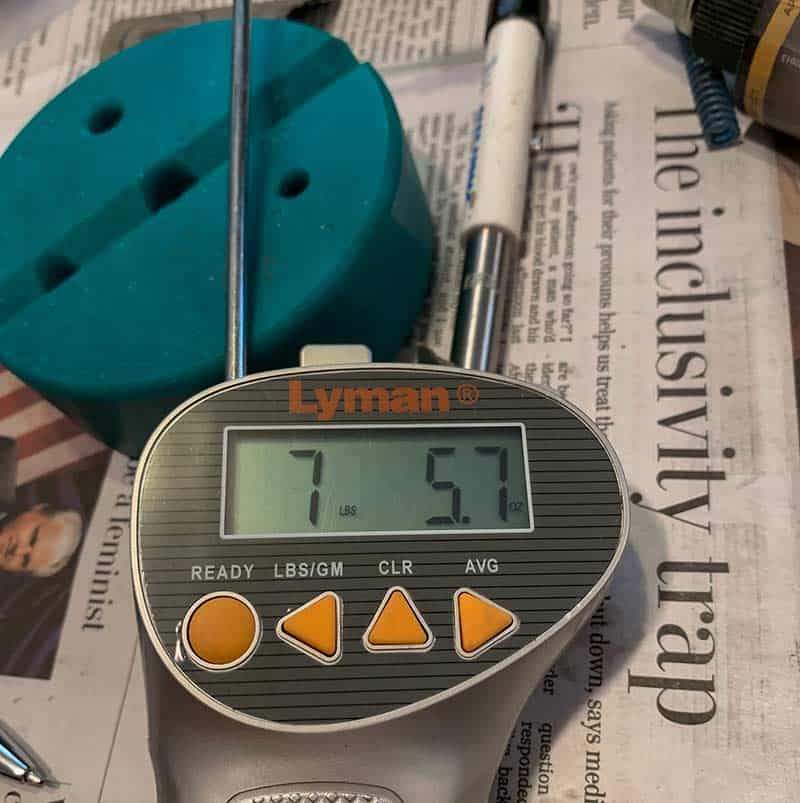
And the DA average, down from 10 lb. 5oz.
Polishing Parts
You can break down the trigger assembly into individual parts. Later, I’ll do another piece just on this aspect of working a trigger. Once apart, you can see the rub, or friction marks on the moving parts.
Polishing these spots with a Dremel tool does wonders to slicking things up. I wouldn’t mess with the sear at all. Better to leave that for the experts.
I broke the trigger housing unit down and polished everything from the pawl and transfer bar — anywhere parts touched. It indeed made a difference. My before trigger pulls are as follows: Before — DA 10 lb. 5 oz., SA 3 lb. 4oz.; After — DA 7 lb. 4oz., SA 2 lb. 0.8oz. The DA pull is considerably smoother, and the SA pull is perfect. Test firing popped every .22lr tried.
Doing a project like this gives tremendous satisfaction, educates you on the workings of your gun, and makes the gun more “yours” in ways you’ll understand after doing it.