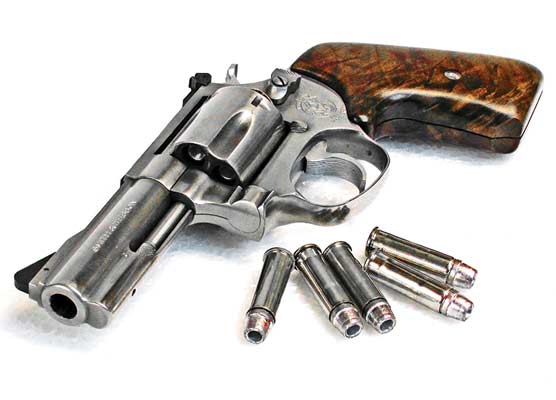
Make It “Just Right”
Dehorning & Melting Your Handgun
Fit” is key for the efficient use of a firearm; it’s much more important than people realize. The pistol’s dimensions and shape must match your hand size. Another part of fit is “feel.” For example, when shooting and manipulating the pistol, its sharp corners and edges — hot spots — wear sore spots in various places on your hand. A pistol, or any other tool, that “bites the hand that feeds it” isn’t one you want to spend time with. Getting the ideal feel may require some “dehorning” and/or “melting.”
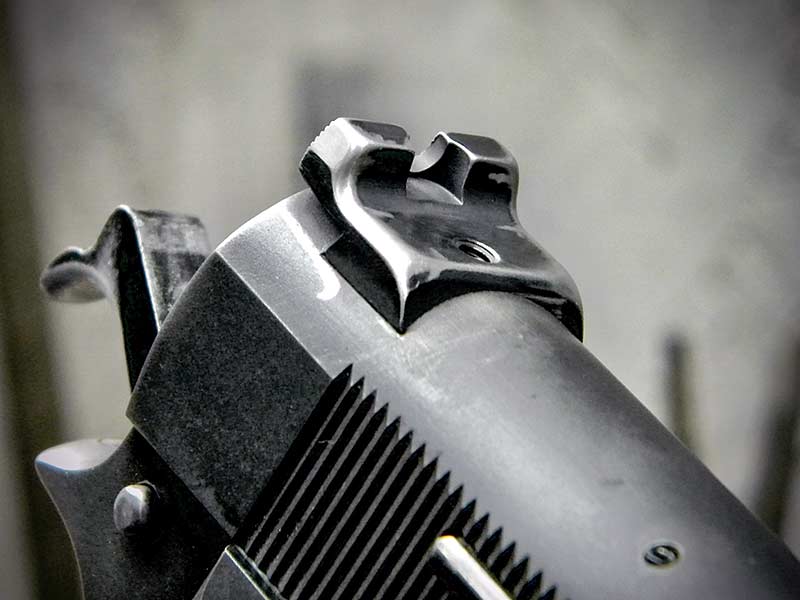
Using a firearm properly — safely and efficiently — requires lots of repetition, with both dry and live-fire practice. (Ninety percent or more practice should be dry — without firing a live round.) This is especially true for “gun handling” or your manipulation skills. You practice until you can operate the pistol at a subconscious level. This is especially true for “functional” manipulations — reloading and clearing stoppages and malfunctions. The pistol’s slide locks to the rear on an empty magazine. The conscious mind thinks, “Reload.” The subconscious takes over to perform the actions required to reload, freeing the conscious mind to focus on dealing with the threat(s). Developing this level of skill requires thousands of proper repetitions. If every time you cycle the slide, the sharp edges of the rear sight catch and snag your hand, you’re not going to practice as much or as often as needed.
While there are more options for handgun type and size today than ever, you’re probably not going to find “perfect.” Everyone’s hands are different. After choosing the best pistol and spending time with it, its “imperfect” points will be revealed. The cure is to either dehorn the pistol, addressing specific edges or corners, like removing the horns from a bull or melt it, smoothing and rounding every edge and corner. Obviously, you can have a gunsmith perform this task. But it’s an ideal DIY project, requiring minimal equipment. It’s one of the first “custom” modifications I ever performed on a pistol. A warning, though: It is addictive.
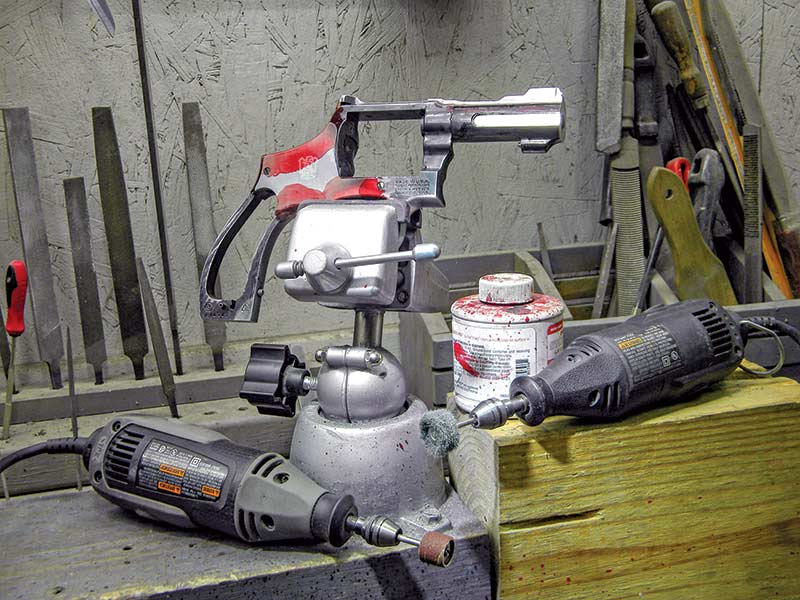
A vise that rotates and pivots is mandatory. It holds the pistol securely;
slips with a rotary tool create ugly “scars.” The ability to change your
angle of approach allows you to grind and sand from every different direction.
Marking fluid helps you see as the work progresses and reveals scratches
that need more sanding.
Hot Spots
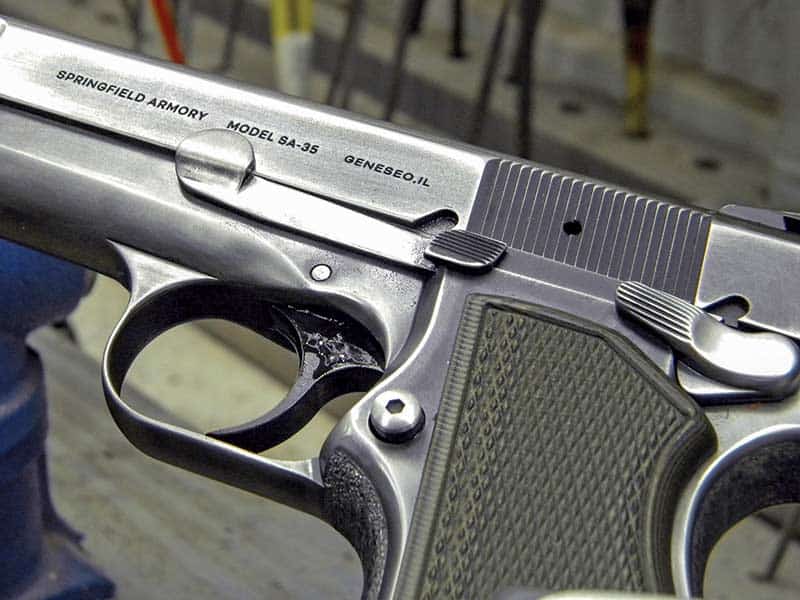
The first step is identifying the pistol’s hot spots. Some will be immediately apparent. For example, after depressing the thumb safety to fire a 1911-style pistol, the thumb stays on top of the safety, especially when shooting. (If the thumb is underneath the safety, it can bump it up into “Safe” while shooting.) Sharp edges/corners on the safety will wear into the web of the hand between the thumb and trigger finger during recoil. Other hot spots will be subtler. After cycling the slide several hundred times during a day of training, the hot spots on the rear sight are revealed, something that won’t be indicated with just a few racks of the slide.
Dehorning and melting will change the way you grip the pistol. The hand will instinctually avoid areas that want to harm it, which produces an improper grip or hand position on the pistol. As the hot spots are smoothed out, the hand begins to find the proper grip. This adjustment in your grip may then reveal other areas needing attention. Ultimately, the pistol should feel like a well-used bar of soap worn to fit your hand.
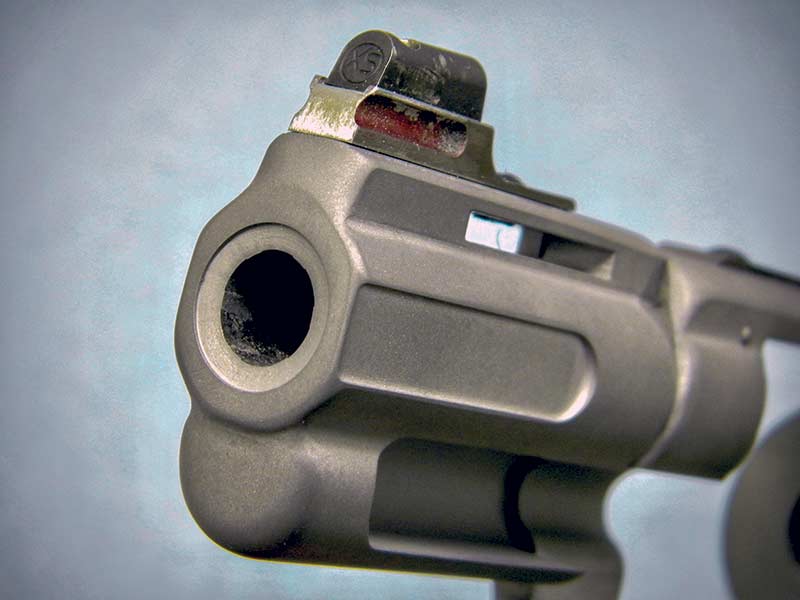
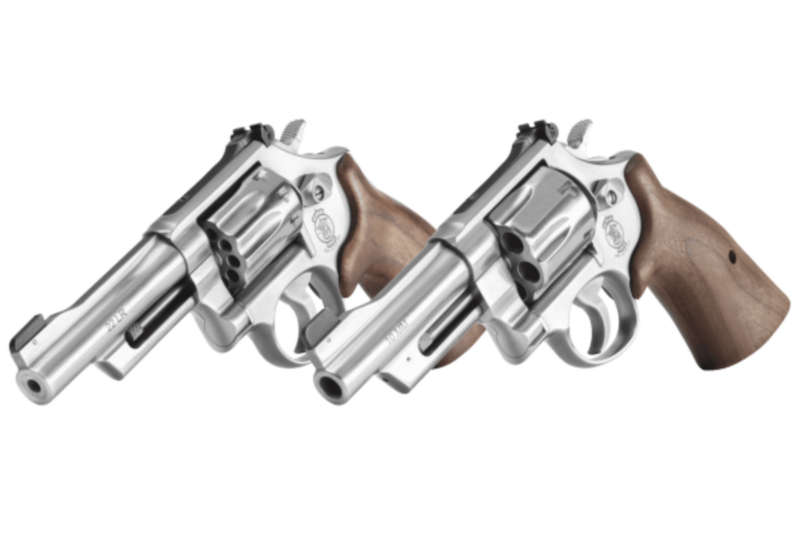
Some dehorning/melting has nothing to do with how you grip the pistol. Putting a nice smooth radius on the front end of the barrel or slide makes it a little easier to holster the pistol. The same is true for the front edge of the cylinder on a revolver. Bobbing a hammer, and removing the thumb spur, ensures it doesn’t catch on clothing when drawing from concealment. Narrowing the trigger guard on a wheel gun makes it easier for the finger to flow onto the trigger. There’s also no denying a pistol with a nice melt job looks good.
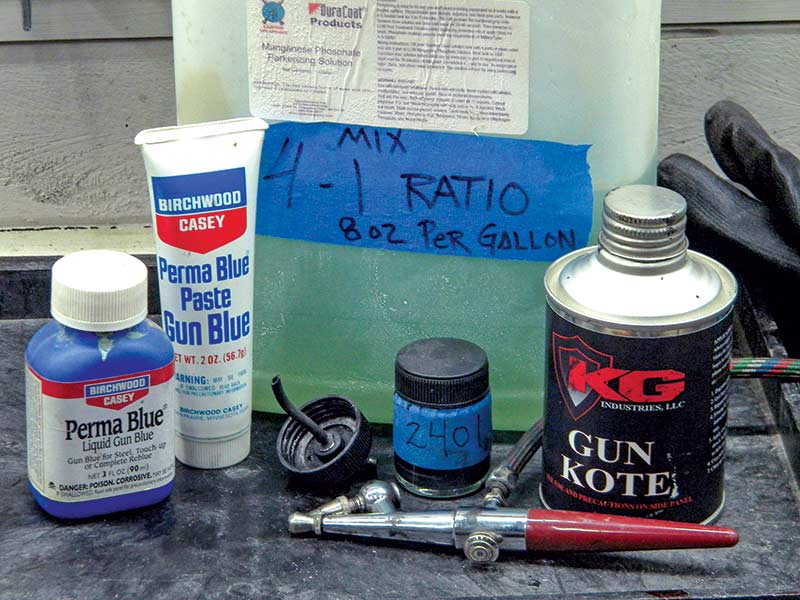
Once the dehorn/melt work is done, you’ll need to think about refinishing.
“Cold blue” works well for small areas or something like a thumb safety.
There are a lot of different spray ’n bake finishes that are affordable and
an easy DIY project. Parkerizing is perfect for carbon steel and as a
base for a spray-on finish.
Make Ready
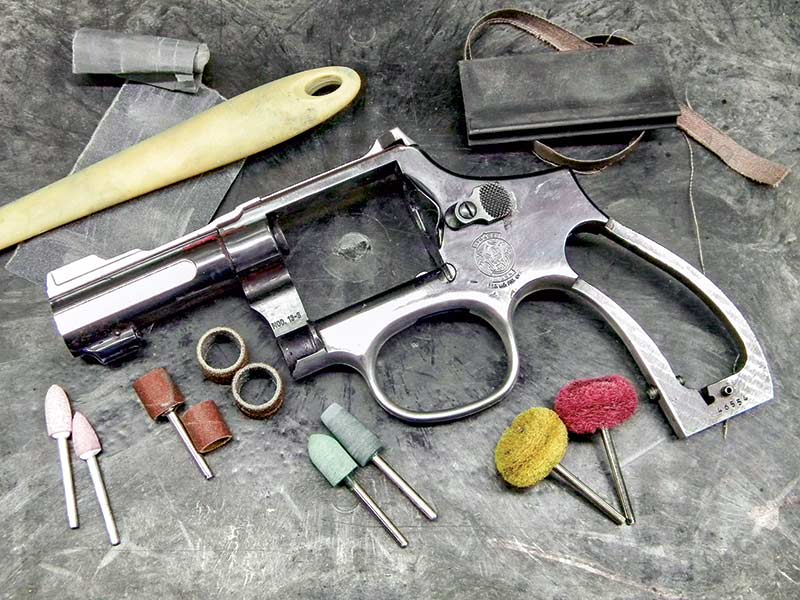
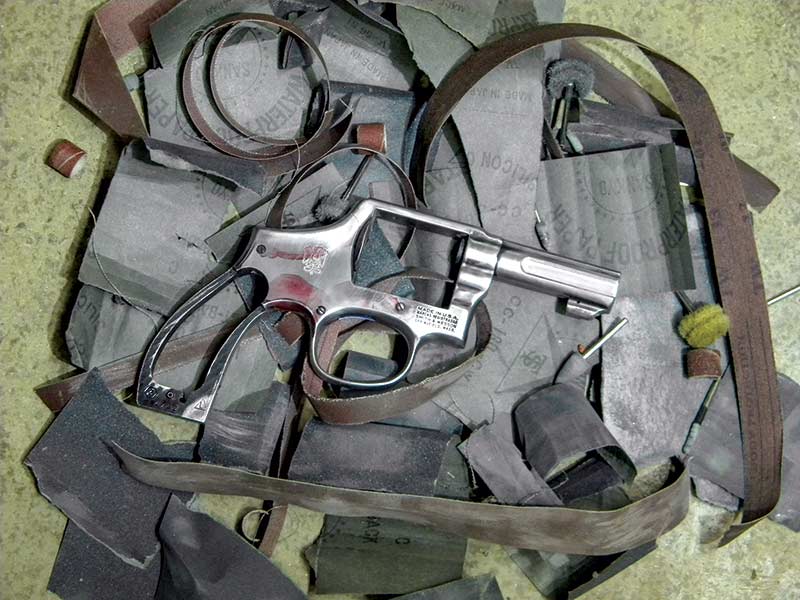
The tools required are not extensive or expensive. You’ll need a hand-held rotary tool with assorted grinding stones and sanding drums in various grits. The course grits are for the initial rough work. Different types of sandpaper, both paper sheets and cloth-backed rolls, and sanding “blocks” of different shapes are used for cleaning up everything. Rubber drums and Scotch-Brite wheels in different grades are used for final finishing. Unless you have super vision, magnifying eyewear like something in the 6x zone lets you see details. Plus, you’ll need all the standard safety gear. Last but not least, allocate time. Plenty of time. Doing this project in a “rushed” state of mind will only result in disappointment.
For removing large amounts of material, it’s best to start with grinding stones. With a stone, the key is to get the piece close to the final shape but leave enough material to go back over the work with the finer sanding drums to remove the aggressive marks left behind by the stone. If there’s minimal material to remove, start with finer grit sanding drums. The best teacher here is experience. If you’re not sure, always start out with finer, less aggressive sanders. It’s much easier to keep working the material as opposed to going too far, too fast and cutting away too much metal.
Regardless of how you start and what the middle looks like, eventually, you’ll end up doing some hand finishing. This is where the different types of sanding blocks come into play. I use both hard and soft blocks to wrap the paper around. Some of these blocks are store-bought; others are homemade. I use wooden dowels, a rubber-coated handle from a paintbrush, along with rubber blocks molded into concave and convex shapes. Rolls of cloth-backed sanding paper are good for sanding using long dragging and pulling motions, just like using a cloth to buff polish your shoes.
Be patient. When I first started this type of work, a lot of my time was spent correcting mistakes. Practice your angles of attack, determining how the hands and tools will flow before starting the actual grinding/sanding. If you’re not sure how to proceed, step back from the bench, reach for a beverage and ponder on it before moving forward.

