Pistol Presentation
A Swift, Sure Draw Is An Essential Skill
For anyone carrying a pistol the ability to efficiently and safely draw a handgun from the holster is an essential skill. As Morrison states in “The Modern Technique Of The Pistol,” edited by Jeff Cooper, a “swift, sure presentation of the sidearm can be critical to the successful outcome of a pistolfight.”
There are numerous approaches to drawing the pistol, and when it comes to fightin’ there are always exceptions. The key is to start with good technique, then explore variations such as an injured hand or arm or drawing while on your stomach pinned to the ground. The four-count draw-stroke below contains the minimal amount of action to safely and efficiently put the weapon into both hands and easily modified to fit a variety of situations.
Step One: Grip and Slap.

Step Two: Draw to retention position.

Step Three: Both hands grip.

Step Four: Extend the pistol out, either on target or into a low-ready position.
The four steps of the presentation, in this sequence drawing out onto target. Each step is critical and should be practiced until you can flow from step to the next smoothly and safely. Practicing the proper technique will develop speed.
Safe and efficient gunhandling is a result of details, and with fighting skills small things make big differences. This is especially true for Step-One, “Grip and Slap,” the foundation for every action that follows. Get it right or at some point you have fix it. Most attacks don’t contain time for corrections or adjustments.
Step One
Both arms move at once on Step-One. The dominant hand acquires a firing grip on the handgun while the support hand is slapped to the center of the body. The trigger finger is straight, the thumb is ready to deactivate any safeties, and the last three fingers wrap around the pistol’s grip. Practice obtaining the proper grip, slowly at first and with repetition will come speed. Retention latches or snaps are disengaged while acquiring the grip. At the same time your body is in or establishing an aggressive fighting stance. A holster allowing you to acquire the proper grip is mandatory.
The support hand is slapped to the center of body for a variety of reasons. Fighting with a two-handed grip is always preferable. Positioning the support hand where it’s ready to meet the handgun as you continue the draw stroke is efficient. The support arm is tight against so it’s not hanging out there for the bad guy to grab. From here the support arm can also strike, block, or push without having to cock it first, which telegraphs your intentions and costs time. Finally, if you have to fire from a retention position, the support hand and arm are safe and clear of the muzzle.
On Step Two
Two the pistol is drawn into the retention firing position. This position allows you to obtain combat effective hits when the threat is too close to extend your arms out to get a sight picture. The support arm/hand stays flat against the body. The pistol comes straight up and out of the holster and you drop the elbow and straighten the wrist so the pistol is level, pointing at the target. Bring the pistol chest high so it’s chest high give-or-take on the threat in front of you. This points the pistol in the right direction. Press the heel of the hand and wrist against the ribs, creating the resistance necessary for the pistol to function properly if fired, and tilt the pistol slightly outboard away from the body to reduce chances of the slide hitting body or clothing and creating a stoppage.
Scoring combat effective hits from one to three yards or more relies on indexing the pistol against the body in a consistent manner. When firing from retention the safety is disengaged as the pistol clears the holster but your finger is off the trigger until the sights are on target and your body parts are clear of the muzzle.
The first half of the presentation, Step-One and Two, moves the pistol from holster into the retention position safely, so you don’t muzzle yourself or others, and efficiently, because time is important in a fight. These two actions apply to a lot of situations. Threats move, often toward you, and hitting that retention position allows you to fire without extending the weapon closer to the threat. The same technique works when sitting, with the additional action of swinging the legs and feet to the inside — to the left for a right-handed shooter — to insure you don’t sweep them with muzzle as you draw. Once the pistol hits retention you reposition the legs for movement. With slight modifications these actions work behind the steering wheel of your vehicle, flat on your back in a parking lot, while moving or dropping behind cover. I practice just the first half of the draw, hitting that retention firing position efficiently, as much or more as the full four step draw-stroke.
The second half of the draw-stroke extends the weapon out, either into a low ready position or on target ready to fire. Again, attention to detail is essential for our two primary concerns, safety and efficiency.
Step-Three
The primary hand slides the pistol to the center of the body and a two-handed grip is established. Elbows are tucked against your sides, finger is off the trigger and unless you’ve fired from retention the safety is still engaged. Acquiring the correct grip with the support hand is crucial. You don’t want it to be chasing the pistol or the primary hand, which is holding the pistol, waiting for the support hand to catch up.
The low ready position: Eyes up, watching the area or specific point of concern. Keep arms,
hands and pistol low enough so you can see what’s going on.
On Step-Four
Extend the arms out, either to a low-ready position or straight on target to fire. Administrative actions such as loading, unloading or a system-check to confirm the status of your weapon are performed in the low-ready position, arms extended and muzzle pointing downward in a safe direction. In a confrontation the low-ready is used in anticipation of having to fire in the very near future; you’re assessing the situation to determine if/when you need to engage. The sights are not on target so the trigger finger is straight. On the 1911 I have my thumb on top of the safety ready to depress if needed.
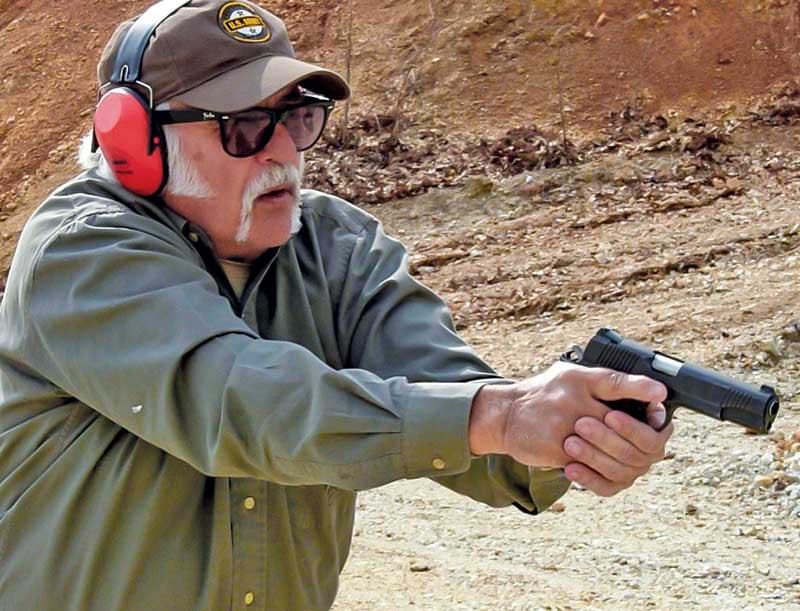
The other option for Step-Four is punching straight out onto the target to shoot. The sequence starts with your visual focus, which is on the point you want to place the shot. The arms are extended out from the center of the body so the pistol’s sights intersect your line of vision. You now have a sight picture — alignment of the sights between your eyes and target. Your objective is to get quick accurate hits on target, and this sequence is much more efficient than bringing the sights up, dropping the head and eyes down to find the sights and then attempting to get all that into alignment with the target.
The thumb safety is disengaged as the pistol is punched onto the target. Once the sights are on target, which occurs slightly before you actually have sight alignment with your eyes, you place the finger on the trigger. Before starting the trigger press obtain the sight picture necessary for the shot you’re making. Waiting until you decide to shoot to place the finger on the trigger will cost you time, disrupt the sight picture, and greatly increase the probability slapping or jerking the trigger instead of pressing it smoothly.

Strike – Advanced variations of the presentation include striking the threat to create time
or distance, or blocking their strike prior to drawing the pistol into the retention position.
Concealed
With concealed carry the presentation is the same except you’re clearing the cover garments during Step-One. In a fight I won’t have time to remember what type garments or how many layers I’m wearing so the technique I use works with an open or closed front garment and multiple layers. I bring both hands back and down to grab the bottom hem, or as close as possible, of my garments. My support hand grabs forward of the holster and the primary hand grabs the clothing behind the pistol’s grip. Both arms pull straight up. Once the garments are up about chest high and the pistol’s grip is fully exposed the support hand pulls the garments’ slack tightly to the center of the body while the primary hand acquires a grip on the pistol. Proceed to Step-Two.
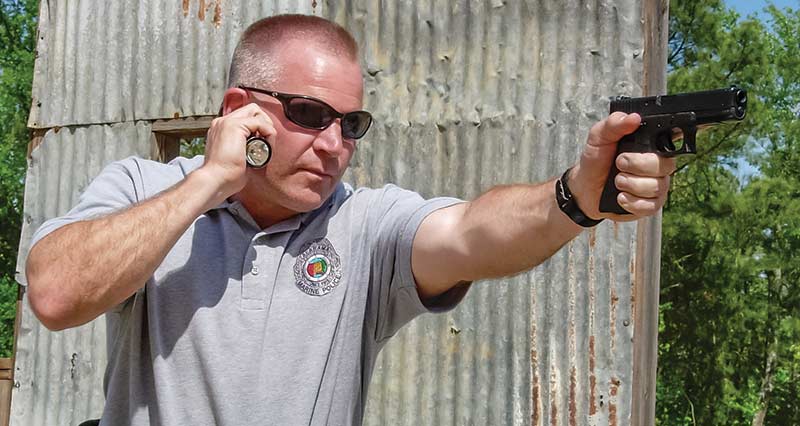
Before even thinking about holstering make sure it’s safe to do so. Scan and assess. Scanning disrupts the tunnel vision or target fixation you may be experiencing. You’re also checking for additional threats. Where are your partners? (Partners include friends, family, or armed teammates.) Look for cover, better cover, or an exit. It may sound silly now, but check to make sure your pistol is still loaded and ready. The key to performing these actions under stress, like all fighting skills, is practice.


Garments – To clear concealment garments grab all layers in front and behind the holster.
Both arms pull up, then the support hand takes the clothing’s slack to the center of the
body so the primary hand can acquire the proper grip.

Grip – The foundation of the presentation is acquiring the proper grip on the pistol, and
disabling any retention devices, prior to the pistol ever coming out of the holster.
Holstering
Holstering begins by clearing any cover garments. Keep the pistol extended out in front of you, bring the support hand as far back and down as possible to pull your garments up and to the center of the body. This sequence insures you don’t sweep your support hand/arm with the pistol’s muzzle. Bring the pistol into the retention position, Step-Two, and hold. Scan, confirm your finger is straight and clear of the trigger guard the weapon is safe or de-cocked. Keep your head and eyes up and simply rotate the muzzle down to locate the holster and gently slip it in.
Holstering with quick forceful actions is dangerous. Should part of your garment get between the holster and trigger guard — the plastic adjusters on the elastic bands at the bottom hem of a lot of coats are notorious for this — and you force the pistol into the holster it can be ugly. Smoothly holstering also makes it easier to reverse directions, both physically and mentally, if you need to get the pistol back into action. Just because you decided to holster doesn’t mean the fight is over. Stay mentally and physically plugged into the fight until everything is locked down, secured and there is no chance of anything else occurring.
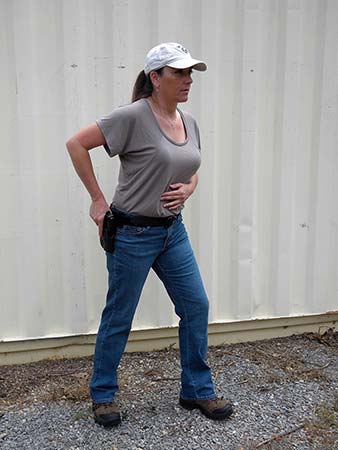
Many confrontations mean multiple threats. So once the pistol is holstered maintain your firing grip, keep the support hand in the center of the body, hold an aggressive stance, and scan again. If you physically unplug any other potential bad guys out there know you mentally disengaged. This could be their opportunity to counter attack. Even though the pistol is holstered you’re still in the fight.
To fight with a handgun you have to be able to apply the fundamentals at a subconscious level under any type conditions. The best way to learn is dry practice. “Blue” guns, plastic dummy replicas of your type pistol, allow you to practice safely without having to be on the range. Don’t worry about fast, concentrate on efficiency. In “Shooting From Within,” Plaxco tells us “Moving less means you move faster.”
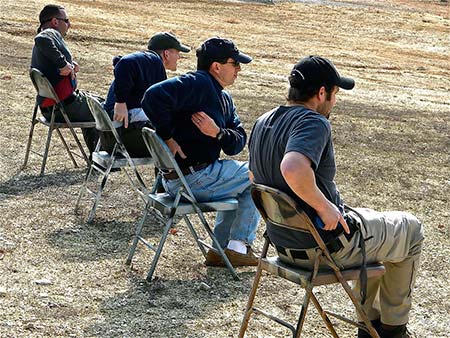
Sitting – Students practice drawing from a seated position with dummy pistols.
They are sweeping their legs out of the way to draw into the retention position,
then repositioning them for standing and moving.
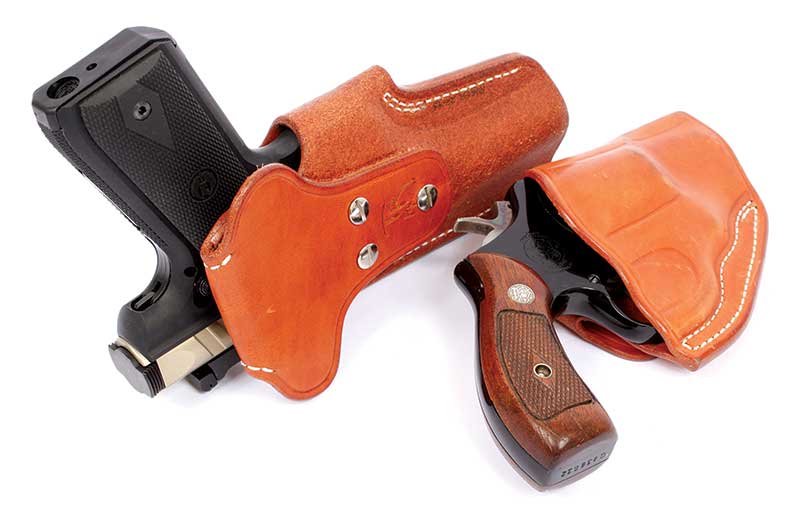
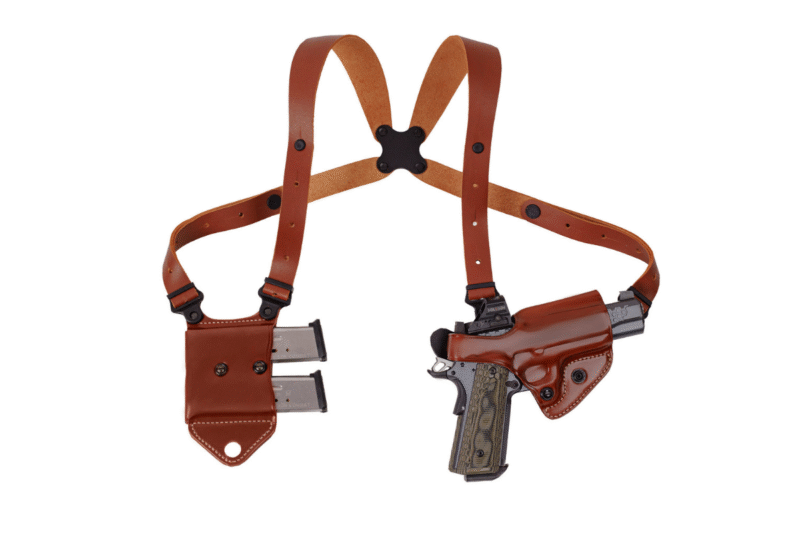
Gear – Holsters are as important as any other piece of gear. Don’t stop testing until you find what works for you.
Dummy pistols, replicas of your type weapon, are the best way to practice safely in any environment.
It’s All Basics
Start with the basics, step by step, with safety always being your primary concern. Once you get the basics down you can start adding in blocks and strikes, firing from retention position and starting from various positions such as sitting or from the ground.
Just keep in mind Charlie Beckwith’s advice — “You can’t be unconventional until you’re conventional first.” In a fight something unsafe may occur, but that should be the exception, not the rule.
In a perfect world when forced to fight we could start with a rifle from far off. Reality tells us when it’s time to “fill your hand” a safe draw in a timely fashion under less than ideal conditions is called for. One solid technique, which can be performed on demand and modified as needed, will serve you well.
(Important Note: No techniques should be attempted unless under a qualified instructor or after receiving the proper instruction.)

Get More Carry Options content!
Sign up for the newsletter here: