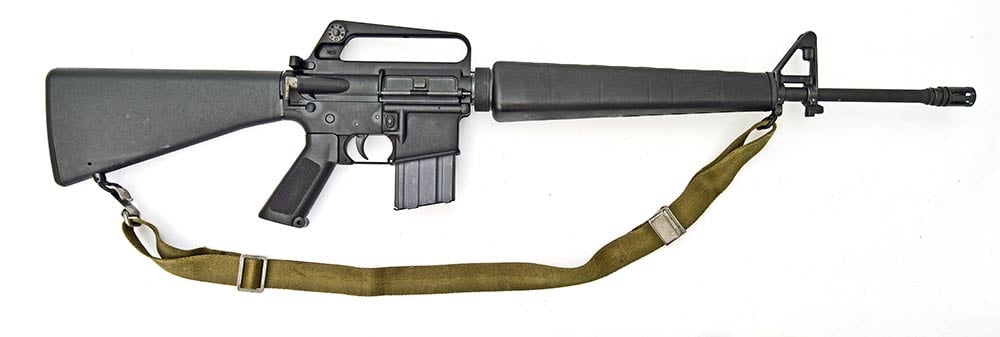
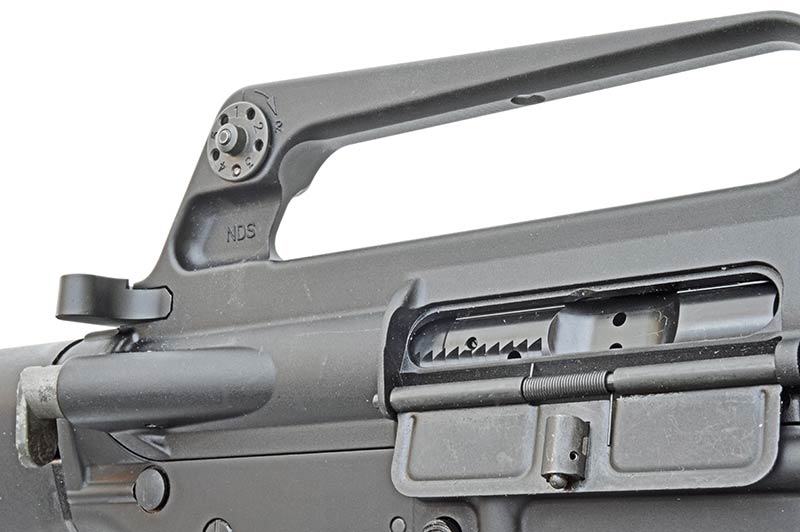
A Solid Beginning
Brownells was the source for all the retro M16A1 parts for my project. The upper A1 upper receiver has a forward assist and no shell deflector. The lowers have less metal reinforcing their pivot pin hole in the front and the mounting threads for the buffer tube in the rear. These are made from forging but obviously aren’t as strong as the beefed-up modern receivers. There’s a reason the military retired the A1 receiver, but outside of actual combat, or utterly ham-handed manipulation at the hands of a disinterested draftee, I expect they will hold up fine. I know my 35-year-old Colt SP-1 has. Though the Vietnam-era guns were really grey, I chose black anodized upper and lower receivers ($150 each) because black is easy to match.
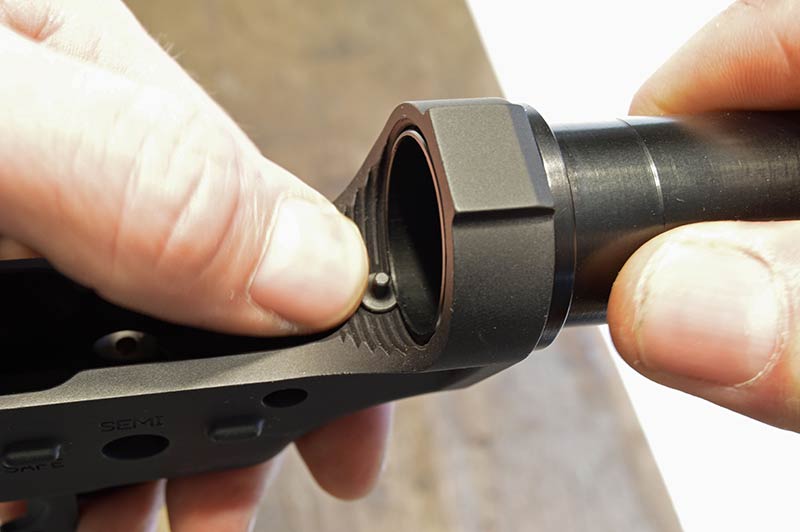
I chose a complete pencil barrel assembly, 20″ chrome-lined, 1:7 twist, with the front sight base, nylon coated sling swivel and round front sight post, triangular handguard cap, straight delta ring, barrel nut and weld spring ready to mount for $242.99.
While the M16A1 had a black parkerized bolt carrier group, I wanted a nitride-coated one for better corrosion and wear characteristics. It cost only $89.99. I am always leery of bolt carrier groups of unknown manufacture which is why I like that Brownells doesn’t keep this information a secret. Theirs is made of 9310 steel, shot peened and heat treated, with O-ring upgrade on the extractor, staked gas key screws and magnetic particle inspected.
The original the M16’s distinctive triangular shaped foregrip is a natural fit to the hand and one of the best aspects of the rifle. I compared the Retro stocks to the original and found they recreated the geometry faithfully, including the early rubber buttpad. The only noticeable difference is the aluminum heat shield, hidden when assembled, and a slightly more evenly matte finish. The entire three-piece stock set costs only $79.99.
The new Brownells 20-round magazines differs from the GI issue in three small ways: their name is on the side, the follower is plastic instead of an aluminum, and they have a more matte grey finish. They appear well made, functioned fine with the usual 18 rounds loaded and cost only $20. Their AR-15/M16A1 Rifle Buffer Tube Assembly ($54.99) turned out to be made by LUTH-AR. It included tube, spring, buffer and buttstock screw.
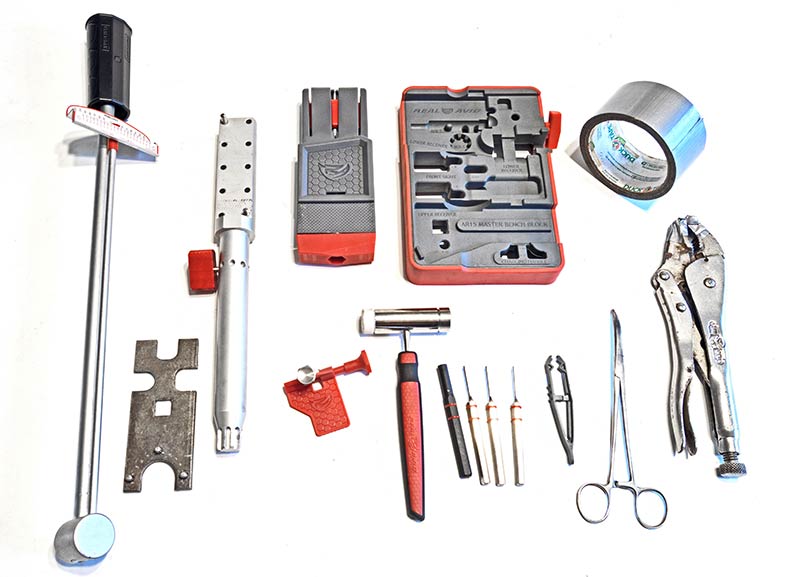
A gun is only as accurate as its trigger pull allows it to be, so I decided to go with the best. I am considering using this rifle in a Camp Perry Service Rifle competition for the fun of showing it off to its grandchildren. With this in mind, the only choice was a Giessele Automatics Hi-Speed National Match. This is a $240 trigger at full retail, and worth every cent. You won’t find one better. Competitive shooters made their mind up about that long ago. The Geissele Hi-Speed National Match is a two-stage trigger that is adjustable for first- and second-stage pull weight and over travel, allowing the competitor to tune it to his tastes and competition type. It comes with three sets of springs. The Service Rifle gives you a range anywhere you want from 4.5 to 6.5 pounds. (That’s a combination of first and second stage.) CMP Service Rifle competition requires a minimum trigger pull of 4.5 lbs. The next set of springs gives you a range from 3.0 to 5.1 lbs. (This is the set I used because I don’t see myself dialing my trigger pull down to bench rest competition levels.) The final set of springs gives a range of 1.9 to 3.4 lbs.