Behind the Scenes
A Parkerizing Job
I’ve written about my young friend...
…Dusty, who has gotten his custom gunsmithing business off the ground and is doing well. He has a back-log of work, which is good, but I help him out as-needed or when some skill I have can help him with a project. I used to do Parkerizing some 30 years ago, so when he needed to “Park” a 1911 build he did, he reached out.
After digging out the containers, chemicals and goodies we needed, we got to work. It’s actually a very simple process and frankly, anyone with a stove top, bead blaster and some common sense can do it. Brownell’s sells the chemical and it’s not very “toxic” once it’s mixed. Parkerizing is done using a diluted zinc phosphate solution. They use the same stuff in the food industry to sterilize pots and pans! The undiluted solution would burn the skin a bit of you spilled it, but once mixed with water, it’s less concentrated than the phosphoric acid in a soft drink. The gas it gives off while being heated is, from what I can tell, mostly just hydrogen, but diluted. I use old stainless steel containers from steam tables and do it outside using a small portable burner.

The gun, blasted and wired, ready for the tank.
For this job on a 1911, Dusty used his bead blaster to blast the parts. You need to do an “etch” on the metal surface or the chemical magic won’t happen. Then you tie some wire lengths onto various parts to suspend them in the pot. See the picture. If you’re doing a barrel, you can plug the ends to keep the solution out of the bore and chamber. The chemical mix is about 5% or so, but it’s not critical, and it’s only heated to about 170 degrees.

A simple set-up with stainless steel pans, wire hangers, and a thermometer
Once the solution is up to temp, you just suspend the parts in the tank. Sometimes adding a bit of file shavings from old nails or iron helps to kick-start the process. You’ll soon see bubbles coming off the surface of the parts, a bit like the old Alka Seltzer used to do. As the process continues a micro-crystalline sort of surface forms on the metal, which will hold oil to protect the surface. The zinc gives the Parkerizing a grey color, while other base metals might give it more of a black color.

Out of the tank and rinsed, here the parts get their spray oil covering to stop any rust and to saturate the Parkerizing coating.
After about ten minutes or so the bubbling stops and you remove the parts, give them a cool water rinse (I like to use a very soft brush to help get the solution off), then a blow dryer to dry the parts. A good spray lube like Remoil or WD40 puts the final touch on things. Total time from beginning to blast the parts to final assembly is less than a couple of hours.
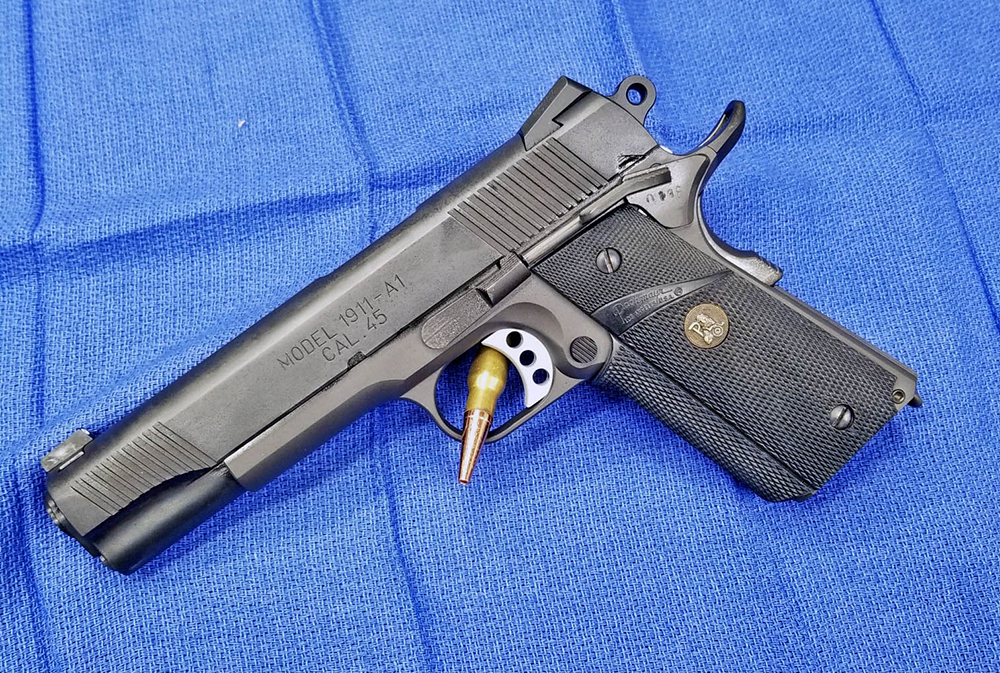
The gun assembled. It’s not uncommon for the Parkerizing to sort of suck-up the oil and it may take a few coats to even out the color. Even then, due to different metal hardness and alloy contents, different bits of the same gun may be slightly different colors. That’s perfectly normal and often visible on old military finishes on surplus guns.
It’s pretty satisfying to see the final result and does make a very “business-like” look to a gun or other ferrous metal. You can’t Park stainless or non-ferrous metals though, like aluminum. Jump on-line and there are loads of detailed “How-to” vids and info. Don’t be afraid to give this a try. A simple table-top blaster from Harbor Tools, the solution, tank, portable burner, etc. might cost around the $250 mark, but you’d be in business then!
Find the gear you need at www.brownells.com or learn more about my friend Dusty’s custom gun work at https://www.facebook.com/hscustom34/