Light On, Light Off?
I run 15 to 35 tactical runs a week with students, week after week, month after month. An average of two thirds of these runs are in low/altered/failing or no-light environments. I’ve learned a few things.
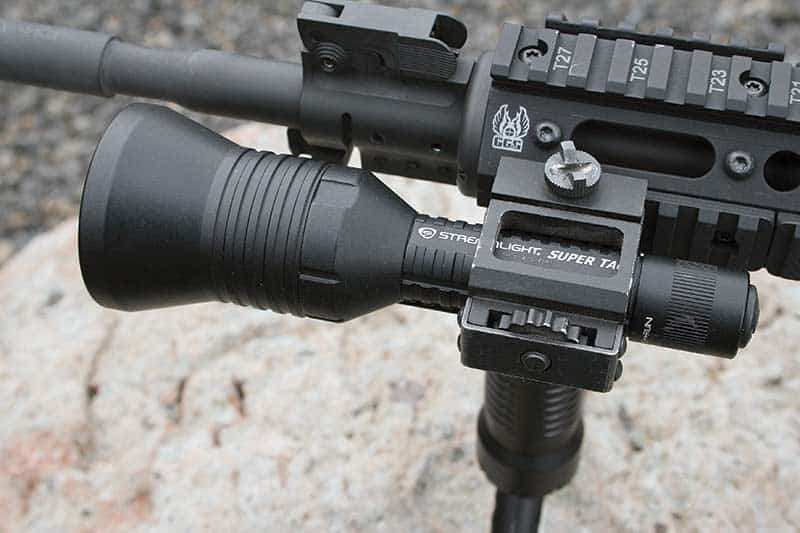
The vast majority of new handguns today have some sort of rail attachment. Yet, about 85 percent of my students do not have a rail-light system attached, and rely on handheld lights. I would avoid buying a gun requiring a special adaptor to mount the attachment to the rail. It complicates things. Most serious defensive pistols today have a rail readily accepting lights, and that’s the best approach.
Handheld Techiques
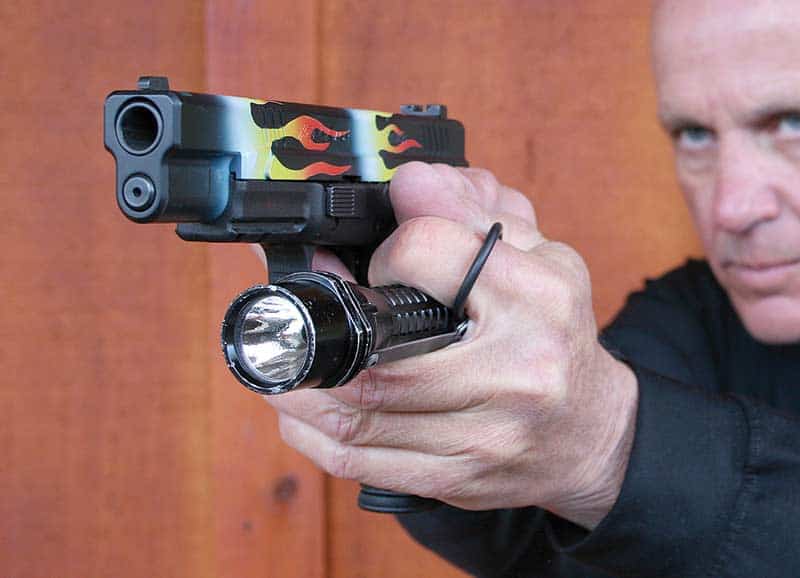
The big four techniques have been around for a while and they are the basic foundation for handheld light techniques. The “cross wrist” technique (Harries) favors Weaver-style shooters, but is tiring until learned well and it sucks on hard right corner clearance because much of the gun and shooter clear the corner before the light comes clear to illuminate the threat area.
Uncrossed is the response to the hard right corner issue, but keep the thumbs in contact so the slide movement, or the revolver cylinder gap/flash doesn’t get to shooter’s hands while firing.
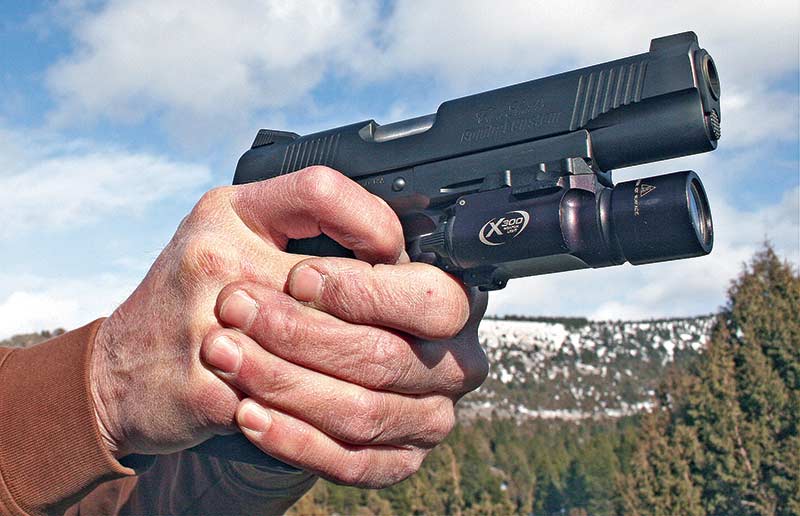
The Syringe favors isosceles shooters and the key issue is to keep the thumbs together addressing the function of the handgun during firing. In syringe-mode, both hands are together and forward, and more upper body leaning is required to get the light spot into the area being cleared. Syringe-supported is a personal favorite, as good control of the light and handgun generally results from its use. The light hand’s lower two or three fingers are open and create a “pocket” for the gun-hand to fit into, giving more 2-hand support for both the gun and the light.
On-Gun Technique
The on-gun lights are best as they only require the shooter know how to turn the light on/off. All other manipulations of the pistol stay the same. If you use a rail light — especially on a polymer frame — shoot the pistol quite a bit with your defensive loads to confirm the pistol will function. The weight may change the slide-cycle pulse and cause malfunctions. I have seen this most often on Glocks.
Spots And Arcs
Any light will create the spot (the bright, center part) and the big circle (we call the arc). Keep in mind your extended hands and arms block the lower part of the arc. The spot should be choreographed with the muzzle, while the arc will often illuminate much of the area being addressed. Train to use the spot as a clock system 3, 12, 6 and 9 and “cut” the light on corners to drive the spot into the area being addressed.
Doubling Up
Even if you use a weapon-mounted light, I encourage you to train to use the gun light and an additional handheld. It allows you to double-light an area, to have an immediate backup, or to use the second light to “bounce” light off the ceiling or offset doorways or to direct both straight forward.
Stupid Lights
I think strobes are dumb and jack your eyes up really bad. I have had people miss the bullet trap — not the target, but the 24″x36″ entire target trap — at distances of less than eight feet. When questioned, it’s always the same answer, “It really messed up my eyes while firing.” Make your own decision.
Smart Lights
A simple light is best, something you push on and off. I don’t need a light with teeth and striking claws. If you want a light, get a light. If you want a club, get a club.
On Or Off?
For most people, a light should be used to find the light switch on the wall, and to absolutely confirm what you’re shooting at. When I turn the light on I can get killed and I know it. But without the light, I might kill my partner or family member. Remember, when you turn the light on, you do so to fight — seeing is just a residual benefit. Understand weapon-mounted and handheld lights and techniques — and train for both.

